
Storing your nativity figurines safely requires a methodical approach that shields delicate materials from physical impact, moisture, and temperature extremes. Because these seasonal displays often feature a mix of fragile materials—such as hand-painted ceramics, delicate porcelain, carved wood, and molded resin—standard packing methods can lead to chips, cracks, or faded finishes over the long off-season. By establishing a structured routine of cleaning, wrapping, and organizing, you can preserve the structural integrity and vibrant colors of each piece. This guide provides a step-by-step framework to prepare, wrap, box, and store your nativity set so that every figure remains pristine and ready for next year’s display.
Preparing Your Nativity Set for Storage
Before wrapping a single figurine, you must carefully inspect and clean each piece to prevent dirt and moisture from causing permanent damage during months of storage. Begin by setting up a clean, well-lit workspace, preferably on a soft surface like a towel-covered table. Pick up each figurine individually and examine it closely for any hairline cracks, loose joints, or pre-existing damage. Pay close attention to vulnerable, protruding elements such as angel wings, shepherds’ staffs, animal ears, and delicate halos. Identifying these weak spots early allows you to handle them with extra care during the packing process and prevents minor fractures from turning into clean breaks.
Once you have assessed the condition of your figurines, proceed with a gentle cleaning to remove accumulated dust and oils from handling. Avoid using water, liquid detergents, or chemical cleaners, as these can penetrate porous materials like unglazed ceramic or wood, leading to discoloration or structural softening. Instead, use a clean, dry microfiber cloth to wipe down smooth surfaces. For intricate crevices, detailed drapery, and hard-to-reach areas, a soft-bristled makeup brush or a clean artist’s paintbrush works exceptionally well. These soft bristles dislodge dust without scratching delicate paint or glazed finishes.
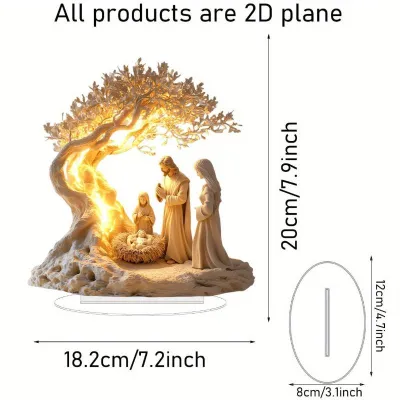
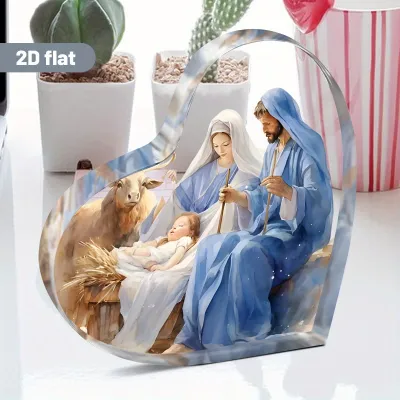
Products mentioned in this guide
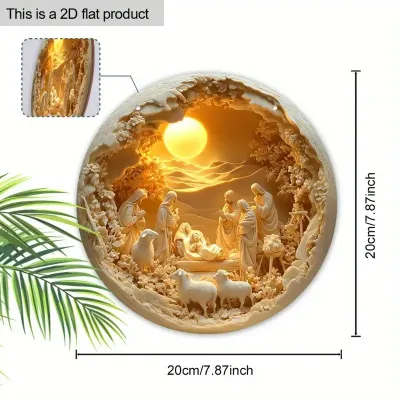
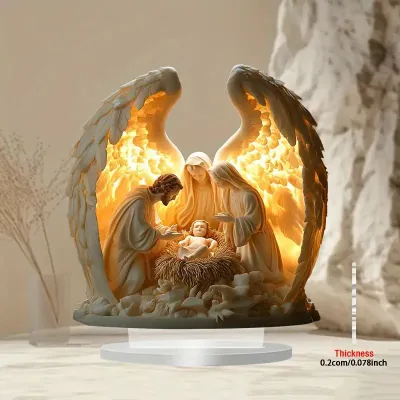
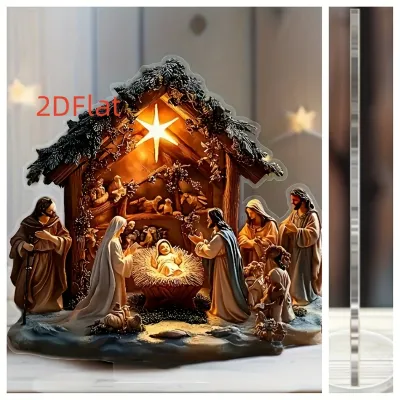
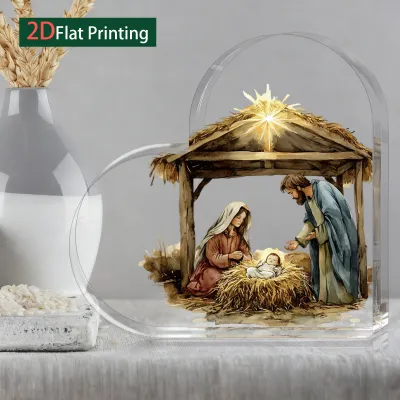
2 Lazada user ratings
Very nice items! Everything is perfect and exactly as described in the photos. Highly recommended seller, thank you.
Everything is perfect and exactly as described in the photos. Highly recommended seller, thank you.
Prices are valid at publication and may change. Please refer to the product page for the latest price.
The final step in preparation is ensuring that every figurine is completely dry and has acclimated to room temperature. If you live in a humid climate, or if the figurines were displayed near a window or drafty area, they may hold trace amounts of surface moisture. Trapping even a tiny amount of moisture inside airtight wrapping materials can encourage mold growth, mildew, or the degradation of delicate finishes. Leave the cleaned figurines sitting in a dry, climate-controlled room for several hours before packing them. This simple waiting period ensures that no ambient humidity is sealed inside the protective layers.
Selecting Safe Wrapping and Padding Materials
The choice of wrapping materials directly impacts how well your nativity set survives the off-season. While it is tempting to grab whatever packing supplies are readily available, certain common materials can chemically react with paint finishes or trap damaging moisture. For the primary layer—the material that directly touches the surface of your figurines—always opt for acid-free tissue paper or unprinted newsprint. Standard newspaper should be strictly avoided, as the acidic ink can easily transfer onto porcelain, resin, or painted wood, leaving permanent, unsightly stains that are nearly impossible to remove without damaging the underlying artwork.

Soft cotton cloths, such as clean old t-shirts or flannel scraps, also make excellent primary wrapping layers, especially for highly polished or exceptionally fragile pieces. When considering plastic bubble wrap, it is crucial to understand its limitations and potential risks. Bubble wrap is an outstanding shock absorber, but it should never be wrapped directly against the bare surface of a figurine. Over time, plastic can trap ambient moisture or release chemical plasticizers that react with delicate glazes, varnishes, or paints, causing them to stick to the plastic or peel away. Always wrap the figurine in a protective layer of acid-free tissue paper first, using the bubble wrap strictly as an outer secondary cushion.
Additionally, avoid using standard household adhesives, packing tape, or rubber bands in direct contact with the figurines or their primary paper wraps. Rubber bands degrade rapidly in storage, turning brittle and melting into a sticky residue that can ruin painted surfaces. Standard tapes can leave behind stubborn adhesive residues that attract dirt and require harsh solvents to clean. If you need to secure your wrapping paper, use low-tack painter’s tape or acid-free archival tape, applying it only to the paper itself and never directly to the figurine’s surface.
Step-by-Step Wrapping Techniques for Fragile Pieces
Wrapping fragile nativity figurines requires a deliberate technique that prioritizes structural reinforcement before overall cushioning. The most common cause of damage during storage is not a major drop, but rather the subtle shifting of pieces that causes delicate protrusions to snap under pressure. To prevent this, begin by identifying any protruding elements on a figurine, such as a raised hand, a staff, or animal horns. Take small pieces of crumpled acid-free tissue paper and gently tuck them into the negative spaces around these protrusions. This creates a supportive bridge that absorbs external pressure, preventing the delicate part from bending or snapping when the main body is wrapped.
Once the delicate protrusions are reinforced, you can employ the “bundle and cushion” method to wrap the core of the figurine. Lay a sheet of acid-free tissue paper flat on your workspace and place the figurine in the center. Gently fold the paper over the figure, rolling it loosely but securely to create multiple layers of air-filled paper cushioning. The goal is to build a soft, protective cocoon around the figurine rather than a tight, restrictive bind. Wrapping too tightly can actually apply unwanted leverage to fragile parts, increasing the risk of breakage.
To secure the wrapped bundle, fold the excess paper at the top and bottom inward, much like wrapping a gift. Secure these folds with a small piece of low-tack tape, ensuring the tape only adheres to the paper layers. If you are wrapping exceptionally heavy or highly fragile pieces, add an outer layer of bubble wrap over the tissue paper bundle, securing it gently with tape. This dual-layer approach combines the surface safety of acid-free paper with the robust impact resistance of plastic air bubbles.
Small accessories, such as tiny sheep, gifts of the Magi, or loose manger straw, require a slightly different approach to prevent them from getting lost or tangled in the larger packaging. Wrap each small piece individually in a single sheet of tissue paper. Once wrapped, group these related small bundles together and place them inside a clearly labeled, small cardboard box or a breathable fabric pouch. Keeping these accessories consolidated prevents them from shifting to the bottom of the main storage container where they could easily be crushed by heavier figurines.
Boxing and Organizing Your Nativity Set
How you arrange your wrapped figurines inside their storage container determines how well they withstand physical shocks and stacking pressure. While cardboard boxes are easy to find, they are highly susceptible to moisture absorption, structural collapse, and pest intrusion. For long-term seasonal storage, opt for sturdy, stackable plastic bins with secure, latching lids. These bins provide a rigid protective shell that shields your collection from accidental impacts, dust, and water damage, while allowing you to stack multiple holiday containers safely.
Before placing any figurines into the bin, construct a thick shock-absorbing base layer at the very bottom. You can create this barrier using several layers of bubble wrap, thick foam sheets, or a dense layer of crumpled unprinted newsprint. Once the base is prepared, begin organizing your figurines by weight and structural durability. Always place the heaviest, largest, and least fragile pieces—such as the wooden stable, large camels, or heavy stone mangers—at the bottom of the bin. This prevents heavier items from shifting downward during transport and crushing lighter, more delicate pieces.
Next, arrange the medium-sized figures, and reserve the top layer for your most delicate pieces, such as the Holy Family and flying angels. To keep the figurines from knocking against one another, use adjustable cardboard dividers or plastic grid inserts inside the bin. These dividers isolate each wrapped bundle in its own dedicated compartment, eliminating lateral movement entirely. If dividers are not available, you can achieve a similar effect by wrapping each piece thoroughly and packing them snugly enough that they cannot slide, but not so tightly that they compress one another.
Once all the pieces are arranged, fill any remaining empty spaces, gaps, or corners with crumpled acid-free paper or packing peanuts. These fillers act as stabilizers, preventing the contents from shifting when the container is moved. Before sealing the lid, perform a gentle “shift test” by lifting the bin slightly and tilting it gently from side to side. If you feel or hear anything sliding or clinking inside, open the bin and add more packing material to secure the loose areas. Once the contents are completely stationary, secure the lid firmly.
Choosing the Right Storage Environment
Even the most carefully packed container cannot fully protect your nativity set if it is stored in an unstable environment. Extreme temperature fluctuations and high humidity levels are major catalysts for material degradation. In unconditioned spaces like attics, garages, or damp basements, wood can warp and split, ceramic glazes can craze, and delicate paint layers can peel or bubble. To preserve your investment, always select a stable, climate-controlled indoor space for off-season storage.
Ideal storage locations include interior closets, under-bed storage areas, or sturdy shelving units located within the main living areas of your home. These spaces maintain a relatively consistent temperature and humidity level year-round, protecting sensitive materials from environmental stress. Avoid placing your storage bins near heating vents, radiators, or exterior walls that are prone to condensation.
Finally, clear and accurate labeling is essential for ensuring your nativity set is handled with care year after year. Use a bold permanent marker to label the outside of the plastic bin clearly. Write “Nativity Set” along with a brief inventory of the contents so you do not have to open multiple boxes to find specific pieces next season. Crucially, mark the container with “This Side Up” orientation arrows and prominent “Fragile” warnings on multiple sides. This ensures that anyone moving holiday decorations in the future knows exactly how to handle and orient the box, preventing accidental drops or upside-down storage that could compromise the internal packing structure.
Frequently Asked Questions (FAQ)
Can I store nativity figurines in their original cardboard boxes?
Reusing the original cardboard boxes and custom-molded styrofoam inserts is highly convenient, as they are specifically designed to fit the unique contours of each figurine. However, storing these cardboard boxes directly in unconditioned spaces poses long-term risks, as cardboard naturally absorbs ambient moisture, degrades over time, and can attract pests like silverfish or rodents. To balance convenience with safety, use a hybrid approach. Place your figurines back into their original custom inserts and cardboard boxes, but then pack those individual cardboard boxes inside a large, sealed plastic storage bin. This method utilizes the perfect physical fit of the original packaging while providing a robust barrier against moisture, dust, and pests.
How do I store a nativity set with built-in lighting or electrical parts?
Nativity sets that feature built-in lighting, illuminated stars, or animated elements require extra electrical precautions before going into storage. Always remove all batteries from battery compartments to prevent corrosion, acid leakage, and permanent damage to the electrical contacts over the off-season. For pieces with power cords or delicate light strings, loosely coil the wires without making sharp bends or kinks, which can fracture the internal copper wiring. Store these electrical components and cords in separate compartments or place them at the very top of your storage bin to prevent heavier figurines from resting on the wires and crushing the insulation. Additionally, verify the voltage, wattage limits, and electrical certifications of any integrated bulbs or power adapters against the manufacturer’s instructions before next year’s setup to ensure safe operation.

Community discussion
Share your experience or ask a question. Comments are reviewed before publication.