
Selecting the right LED light strip case depends on your mounting surface, the power output of your light strip, and the visual effect you want to achieve. Rigid aluminum channels offer excellent heat dissipation for high-wattage setups on flat surfaces, while flexible silicone sleeves excel on curved profiles and in damp environments. Lightweight plastic diffusers provide a budget-friendly option for simple, low-wattage indoor runs. Matching the physical properties of these housings to your specific installation surface ensures both the longevity of your lighting and a clean, professional finish.
Comparing Aluminum, Silicone, and Plastic LED Strip Cases
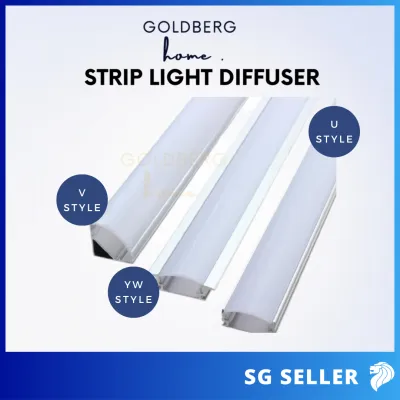
Aluminum channels serve as the gold standard for high-performance LED installations. Because LEDs generate heat during operation, managing thermal output is critical to preventing premature brightness decay. Aluminum acts as an active heat sink, drawing warmth away from the circuit board to preserve the diodes. This thermal management is particularly vital for high-wattage strips, which can overheat and fail if enclosed in materials with poor thermal conductivity. Without proper heat dissipation, the adhesive backing on the strip can also degrade, causing the lights to sag inside the housing.
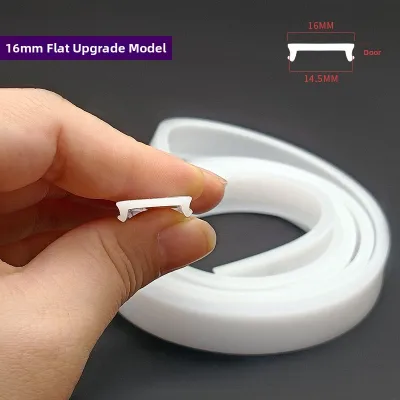
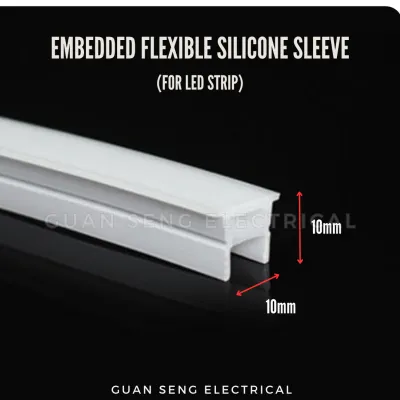
Silicone sleeves offer unmatched flexibility and environmental protection. These housings are extruded from flexible polymers that allow them to bend around tight corners and follow complex architectural curves. Many silicone sleeves carry high Ingress Protection (IP) ratings, making them highly resistant to dust and moisture penetration. However, silicone has a limited bend radius, and forcing a sharp fold can damage both the sleeve and the enclosed light strip. Additionally, silicone does not dissipate heat as efficiently as aluminum, meaning it is best suited for low-to-medium wattage strips.
Products mentioned in this guide
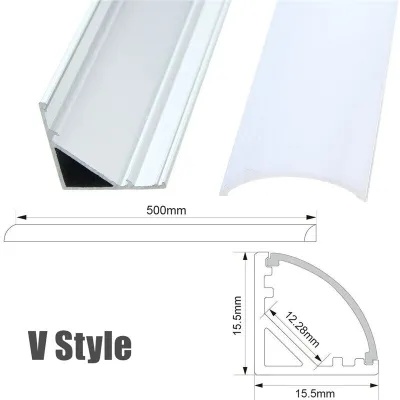
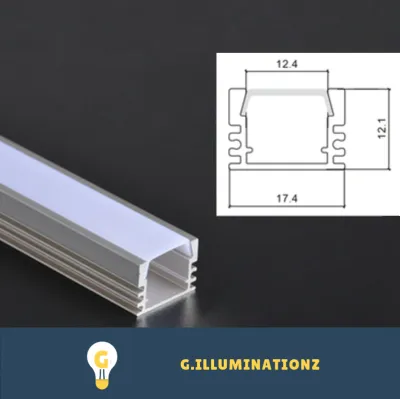
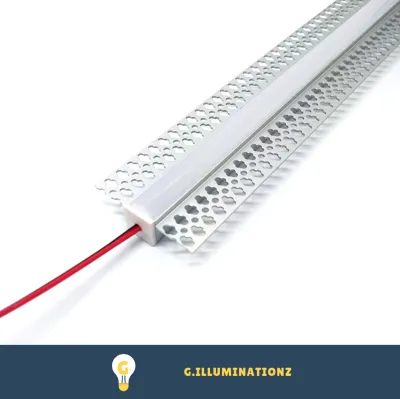
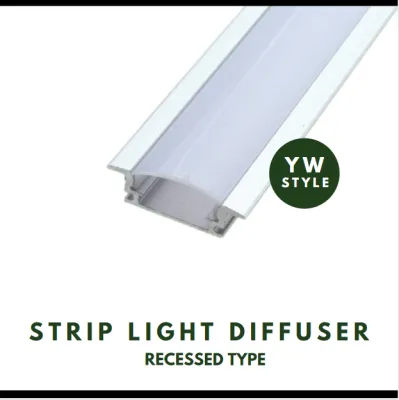
![[Local Seller] LED Strip Light Aluminium Profile Diffuser Corner With Milky Diffuser Light Housing](https://img.lazcdn.com/g/p/c4dcac9dc69ca1857fcdfc77852219a6.jpg_400x400q80.jpg_.webp)
Prices are valid at publication and may change. Please refer to the product page for the latest price.
Plastic diffusers, typically made of polycarbonate or acrylic, represent a lightweight and cost-effective alternative. They are easy to handle and cut, making them popular for straightforward DIY projects. However, standard plastics are susceptible to UV degradation and can become brittle over time when exposed to direct sunlight or constant heat. When selecting plastic housings, verifying the manufacturer’s specifications for UV resistance is essential for long-term durability. They are also prone to cracking if subjected to physical impact or thermal stress.
When comparing these materials, weight and structural support are also key factors. Aluminum channels provide a rigid, protective barrier that shields the delicate LED components from physical impact, dust, and accidental contact. This makes them ideal for high-traffic areas, under-cabinet installations, or floor-recessed lighting. In contrast, plastic and silicone are much lighter, reducing the load on delicate mounting surfaces but offering less structural protection against heavy impacts.
From an aesthetic standpoint, the choice of material also influences the visual integration of the lighting into your space. Aluminum channels offer a sleek, modern, and architectural look, often appearing as a deliberate design element rather than an afterthought. They can be anodized in various finishes, such as silver, black, or white, to match surrounding hardware or trim. Silicone sleeves, on the other hand, provide a more organic, seamless appearance, especially when used for neon-flex style lighting where the housing itself becomes the visible light source. Plastic diffusers are more utilitarian, often hidden from direct view inside valances or behind baffles where their basic appearance does not detract from the room’s decor.
Matching the Housing to Your Mounting Surface
Mounting LED strips on wood or drywall requires careful consideration of heat transfer and adhesion. Raw wood and painted drywall are poor thermal conductors, meaning heat can build up behind a bare LED strip. Using an aluminum channel on these surfaces creates a safe thermal barrier that protects the underlying material. For secure mounting, standard adhesive backings may struggle to grip textured drywall or porous wood, often requiring mechanical mounting clips or specialized construction adhesives to prevent the channel from falling.

Glass and metal surfaces present unique challenges related to thermal expansion and adhesion. Metal surfaces conduct heat well but can expand and contract with temperature shifts, which may cause adhesive tapes to shear over time. Glass surfaces are smooth but non-porous, meaning standard adhesives can fail under the weight of a heavy channel. For these materials, utilizing dedicated mounting clips or high-bond acrylic foam tapes is highly recommended to ensure a permanent hold.
Curved, uneven, or textured surfaces make rigid aluminum channels impractical. When wrapping light strips around circular pillars, under-counter curves, or irregular masonry, silicone sleeves are the ideal choice. The flexible nature of silicone allows the housing to conform to the surface profile without creating tension points. These installations typically rely on flexible mounting clips or silicone-based adhesives that can bond to irregular substrates without peeling away over time.
Damp areas, such as bathrooms, kitchens, or outdoor patios, demand strict environmental protection. Standard indoor plastic or aluminum channels do not prevent moisture ingress on their own. For these environments, you must verify that the housing and the LED strip together meet the necessary IP rating for the specific location. Outdoor installations also require weather-resistant mounting hardware and silicone end caps sealed with outdoor-grade sealant to prevent water from seeping into the electrical connections.
In tropical climates like Singapore, high humidity and ambient heat can accelerate the degradation of standard adhesives. When mounting LED housings in these conditions, relying solely on double-sided tape is often insufficient. Mechanical fasteners, such as screws and mounting brackets, provide the necessary physical support to keep the channels secure. This is especially true for overhead installations, where gravity and humidity combine to pull the housing away from the ceiling or cabinet underside.
Tile and stone surfaces, common in modern kitchens and bathrooms, require specialized mounting techniques. Drilling into porcelain tile or natural stone to install mounting clips carries a high risk of cracking the material. For these surfaces, high-strength, moisture-resistant construction adhesives or specialized epoxy resins are preferred. However, because these adhesives are permanent, precise alignment is critical during the initial installation. If you are mounting aluminum channels to tile, ensure the adhesive used is compatible with both metal and ceramic to prevent the channel from detaching due to the weight or thermal movement.
Selecting the Right Diffuser for Your Desired Light Effect
The cover or diffuser of your LED case dictates how the light is distributed across your space. Clear covers offer maximum light transmission but do nothing to hide the individual LED “dots,” which can create harsh glare and distracting reflections on polished surfaces. Frosted covers offer a middle ground, softening the light output while retaining moderate brightness. Opal or milky diffusers provide the highest level of diffusion, blending the individual light points into a continuous, seamless beam of light.
For minimalist designs where the lighting fixture should remain invisible when turned off, black or dark-tinted diffusers are highly effective. These covers blend seamlessly into dark cabinetry, black ceilings, or modern architectural features. When the LEDs are powered on, the light penetrates the dark cover, though with a noticeable reduction in overall lumen output. This trade-off makes dark diffusers excellent for ambient or accent lighting rather than primary task lighting.
Specialized aluminum channels can also modify the beam angle of your light strips. While a standard flat channel disperses light at a wide angle, channels with curved or deep-set lenses can focus the light into narrower beams. This focusing effect is highly useful for wall washing, highlighting artwork, or directing task lighting onto specific work surfaces without spilling light into surrounding areas. Some specialized channels even offer asymmetric lenses to direct light at a specific angle, perfect for indirect cove lighting.
The depth of the channel itself plays a crucial role in achieving a dot-free effect. Shallow channels place the diffuser cover very close to the LED diodes, making it difficult to eliminate hot spots even with an opal diffuser. Deep channels provide more space for the light to spread and mix before reaching the cover, resulting in a perfectly uniform glow. When planning your installation, matching the depth of the channel with the density of the LEDs (measured in LEDs per meter) is key to achieving your desired aesthetic.
It is also important to note that different diffuser materials and thicknesses can slightly shift the perceived color temperature of your LED lights. Thick opal diffusers, for example, can absorb a small percentage of the light and slightly warm or cool the output depending on the specific polymer blend. When color accuracy is critical, such as in art displays or vanity lighting, testing a small sample of the diffuser with your chosen LED strip beforehand is highly recommended. This allows you to verify that the final light output matches your expectations and does not introduce unwanted color casts.
How to Decide: Conditional Rules for Your LED Strip Project
To select the ideal housing, start by assessing the wattage and power density of your LED strip. If your project utilizes high-wattage strips (typically exceeding 10 to 15 watts per meter), you should choose aluminum channels to ensure adequate heat dissipation. Aluminum is also the correct choice when your design demands perfectly straight, rigid lines of light, such as under-cabinet task lighting or recessed ceiling slots.
If your installation path involves tight curves, three-dimensional bends, or continuous runs around architectural features, you should choose silicone sleeves. Silicone is also the preferred option for wet or highly humid environments due to its superior sealing capabilities. Ensure you check the minimum bend radius specified by the manufacturer to avoid crimping the internal circuitry of your light strip.
For low-wattage accent lighting on a budget, plastic diffusers are highly suitable. These work well for simple, straight runs inside closets, drawers, or low-impact display cases where thermal buildup is minimal. Before finalizing your purchase, verify that the dimensions of the plastic channel match the width and height of your LED strip, leaving sufficient clearance for any solder joints or connectors.
Always verify the compatibility of your mounting hardware with the target surface before beginning installation. Heavy aluminum channels may require anchors when mounted to drywall, while silicone sleeves on outdoor masonry will need specialized masonry clips. Checking these requirements beforehand prevents installation failures and avoids damaging your walls or cabinetry.
Additionally, consider the ease of maintenance for each option. Aluminum channels with click-on diffuser covers allow for easy access if an LED strip needs to be repaired or replaced. Silicone sleeves, once sealed with silicone glue and end caps, are much harder to open without damaging the housing. If you anticipate needing to upgrade or service your lighting system in the future, a rigid channel with a removable cover offers greater long-term convenience.
Installation Checks and Safety Boundaries
Before cutting any housing or mounting your light strips, you must verify all electrical specifications. Check that the voltage of your LED strip matches your power supply, and ensure the total wattage of the strip does not exceed the rated capacity of the driver. If you plan to dim your lights, confirm that your dimming method (such as phase-cut, 0-10V, or smart controllers) is fully compatible with both the power supply and the LED strip.
Proper surface preparation is critical for any adhesive-based installation. Clean the mounting surface thoroughly with isopropyl alcohol to remove dust, grease, and moisture, allowing it to dry completely before applying adhesive. For aluminum channels, applying firm, even pressure along the entire length of the channel helps establish a strong bond with the mounting tape.
For safety reasons, certain installation steps must be handled with care. If your project involves fixed wiring, connecting to high-voltage mains power, or installing fixtures in wet zones like shower niches, always isolate the power supply at the main circuit breaker before starting. Working at heights or handling suspended loads requires proper safety equipment. If you are unsure about any electrical connections or local wiring regulations, stop and consult a qualified professional electrician.
Furthermore, ensure that any external power supplies or drivers are installed in well-ventilated areas. Enclosing a power supply in a tight, unventilated cavity can lead to overheating and pose a fire hazard. Always follow the manufacturer’s guidelines regarding clearance spaces and ventilation for all electrical components to ensure a safe and reliable lighting system.
Frequently Asked Questions (FAQ)
Can I cut aluminum LED channels to fit custom lengths?
Yes, aluminum channels can be easily resized using a hacksaw with a fine-toothed metal-cutting blade or a miter saw equipped with a non-ferrous metal blade. To ensure a clean finish, secure the channel firmly in a clamp or miter box before cutting. After making the cut, use a metal file or deburring tool to smooth down any sharp edges along the cut line. Removing these burrs is essential to prevent them from snagging or cutting into the delicate backing of the LED strip during installation.
Do silicone sleeves yellow over time?
Lower-grade silicone and cheap plastics can yellow over time when exposed to heat and ultraviolet (UV) radiation from sunlight or the LEDs themselves. This yellowing degrades the light quality and alters the color temperature of your lighting. To prevent this, check the manufacturer’s specifications to ensure the housing is made from UV-stabilized, high-purity food-grade or optical-grade silicone. These high-quality materials are designed to resist discoloration and maintain their clarity over years of continuous use.
Community discussion
Share your experience or ask a question. Comments are reviewed before publication.