
Choosing the right mirror stickers can instantly transform a cramped room, making it feel brighter, loftier, and significantly more spacious. The most effective types for expanding small areas are large seamless mirror sheets, which offer uninterrupted depth, and structured beveled-edge tiles that bounce light across multiple angles. For homeowners and renters seeking to soften rigid layouts, arched decals mimic architectural windows, while geometric mosaic patterns scatter light dynamically without overwhelming the wall. Selecting the ideal option requires balancing material clarity, wall flatness, and strategic placement to ensure the reflection enhances rather than clutters your living space.
How Mirror Stickers Create the Illusion of Space
Mirror stickers operate on fundamental optical principles to alter how we perceive physical boundaries. In compact living environments, such as apartments and HDB flats in Singapore, walls can feel restrictive and close. By introducing a reflective surface, you effectively create a visual duplicate of the room, tricking the brain into perceiving depth where a solid wall exists. This simple extension of the visual field immediately reduces the feeling of confinement.
Beyond depth perception, the strategic use of reflective surfaces is highly effective for light redistribution. Mirror stickers catch both natural sunlight streaming through windows and artificial light from ceiling or wall fixtures, bouncing it into dark corners and recessed nooks. This increased brightness eliminates shadows that typically make a room feel smaller.
Products mentioned in this guide
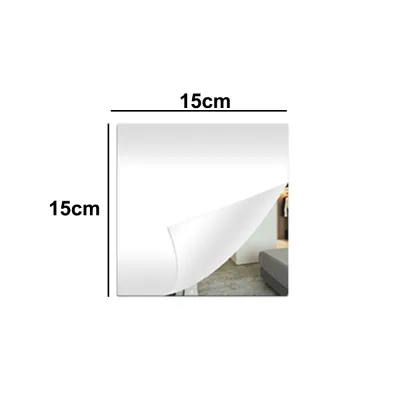
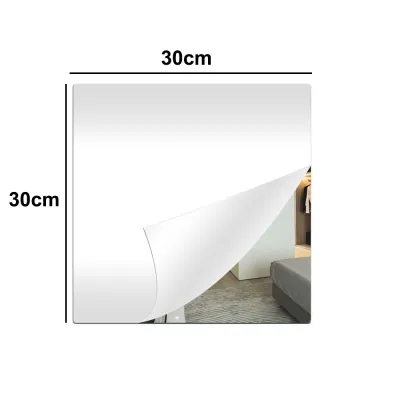
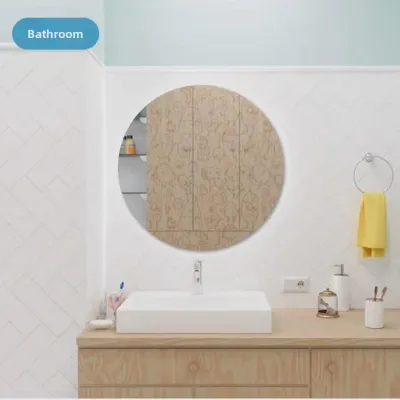
![SG [ READY STOCK ] HD Acrylic soft mirror attached to wall self-adhesive full body dressing mirror non perforated](https://img.lazcdn.com/g/p/10f5a09c2f952c5c8f6fe9a8d334827a.jpg_400x400q80.jpg_.webp)
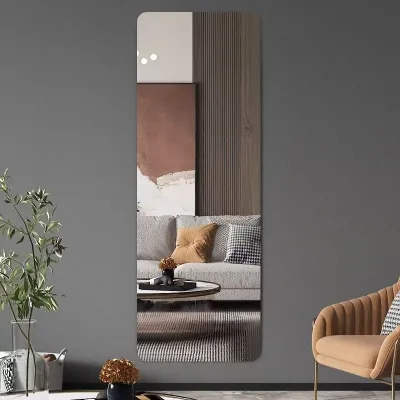
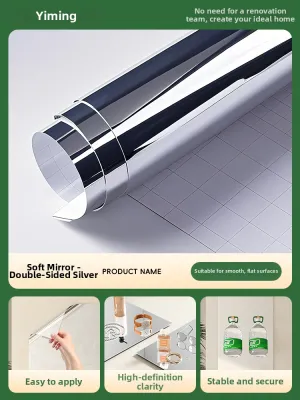
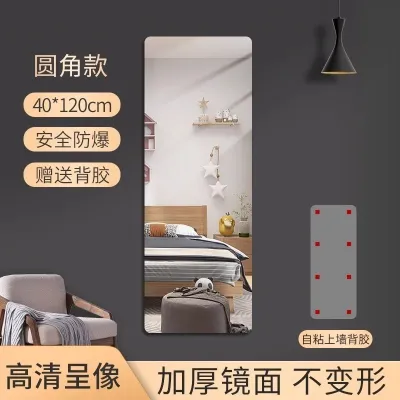
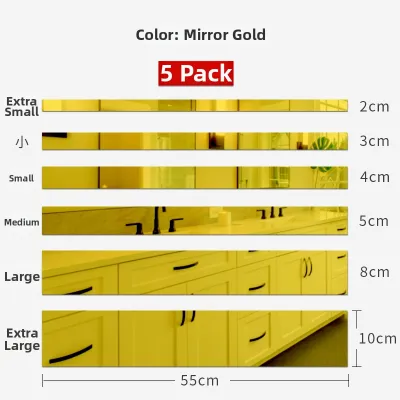
Prices are valid at publication and may change. Please refer to the product page for the latest price.
Visual continuity is the final element in this spatial illusion. When a reflection flows smoothly without harsh interruptions, the eye travels across the room without stopping at physical barriers. However, if the reflection is fragmented or distorted, it can have the opposite effect, creating visual noise that makes the space feel chaotic. Understanding how to preserve or purposefully break up these reflections is key to choosing the right style for your home.
Best Mirror Sticker Styles and Patterns for Compact Rooms
Different shapes and patterns of mirror stickers yield distinct visual outcomes. Selecting the right style depends on your room’s layout, the condition of your walls, and the specific aesthetic you want to achieve.

Large Seamless Mirror Sheets
Large seamless mirror sheets are designed to provide an uninterrupted, continuous reflection. They are highly effective at mimicking the look of a solid glass wall or a large, built-in mirror, making them a premier choice for creating dramatic depth.
These sheets are ideal for creating a “false window” effect or expanding a narrow feature wall in a dining room or living area. By reflecting a massive portion of the room, they offer the most realistic sense of added depth and maximize the amount of bounced light.
However, seamless sheets come with specific limitations. They require perfectly flat, smooth plaster walls to look their best. Because the sheets are large, any slight wave, bump, or imperfection in the underlying wall will cause a highly noticeable distortion, resulting in an unpleasant “funhouse mirror” effect. Additionally, larger sheets can be heavier and more challenging to align perfectly during installation compared to smaller, modular decals.
Beveled Edge Square and Diamond Tiles
Beveled edge tiles consist of individual mirror pieces, typically square or diamond-shaped, featuring angled borders that slope down to the edge. These angled cuts act as prisms, catching and refracting light to create a sophisticated, three-dimensional look.
The primary benefit of beveled tiles is their ability to add architectural interest and elegance to a room without overwhelming it. The structured grid of a square layout provides a formal, grounded feel that works exceptionally well behind console tables or in compact dining alcoves.
Alternatively, arranging these tiles in a diamond or diagonal pattern draws the eye upward and outward. This diagonal flow disrupts the rigid horizontal and vertical lines of a small room, making low ceilings feel higher. Because they are installed as individual pieces, they are easier to handle than large sheets and allow for customizable layouts that fit your specific wall dimensions.
Geometric Mosaic and Honeycomb Patterns
Geometric mosaic stickers, particularly honeycomb or hexagon shapes, offer a modern and artistic approach to spatial expansion. These patterns are applied in clusters, allowing you to create a customized arrangement that flows naturally across your wall.
Unlike seamless mirrors, mosaic patterns deliberately fragment the reflection. This fragmentation is highly beneficial if your walls have minor imperfections, as the eye focuses on the stylish geometric pattern rather than any slight warping in the reflection. The gaps between the tiles also allow your wall paint to show through, integrating the mirror art seamlessly into your existing decor.
These patterns work best in modern living rooms, home offices, or transition spaces like stairwells. They scatter light dynamically in multiple directions, brightening the room while serving as a contemporary focal point that distracts from the physical limitations of the space.
Arched and Curved Mirror Decals
Arched and curved mirror decals introduce organic shapes and soft lines to small spaces, which are often dominated by harsh, rectangular furniture and rigid walls.
Psychologically, rounded edges and curves feel more relaxed and inviting than sharp angles. An arched mirror sticker can be used to mimic the appearance of a traditional arched window or an elegant doorway, suggesting to the mind that there is an additional space or passage just beyond the wall.
Organic, freeform, or “blob” shaped decals serve as excellent artistic focal points. Placing an arched or curved decal in a narrow hallway, a small bedroom, or directly above low-profile furniture softens the visual weight of the area. It draws attention upward, creating a sense of height and fluid movement that makes tight spaces feel less boxed-in.
Finishes and Tints: Selecting the Right Reflection for Small Spaces
The material and finish of your mirror stickers play a crucial role in how effectively they expand your space. Choosing the wrong material or tint can lead to poor light reflection or unwanted visual distortion.
High-Clarity Silver/Glass vs. Acrylic
When choosing mirror stickers, the primary material choice is between real glass and acrylic (plastic) alternatives.
- Real Glass Stickers: These provide the highest optical clarity and a completely undistorted reflection. They do not warp over time and are highly resistant to scratching. However, they are heavier, require stronger adhesives, and must be handled with care to avoid breakage.
- Acrylic Mirror Decals: These are lightweight, highly budget-friendly, and shatterproof, making them an excellent choice for rental homes or children's rooms. However, acrylic is flexible. If your wall is not perfectly flat, the acrylic sticker will bend to the shape of the wall, creating a distorted reflection. They are also more prone to surface scratches and require gentle cleaning.
Clear vs. Tinted Mirrors
The color of the mirror finish significantly affects the brightness of your room.
- Standard Silver/Clear Mirrors: These are the best option for maximizing light bounce. They reflect almost all visible light and preserve the true colors of your room, making them the most effective choice for very dark or extremely compact spaces.
- Tinted Mirrors (Gold, Bronze, Rose Gold): These finishes add warmth, luxury, and a cozy ambiance to a room. They work beautifully as decorative accents in well-lit areas. However, because tinted glass absorbs a portion of the light, dark bronze or grey tints can make a poorly lit, small room feel even darker and more enclosed. Use tinted mirrors selectively rather than as a primary tool for spatial expansion.
Avoiding Distressed Finishes
While antique, heavily distressed, matte, or frosted mirror finishes have a charming vintage appeal, they are not suitable for making small rooms look larger. These finishes scatter or absorb light rather than reflecting it cleanly. This reduces the depth illusion and can make a small wall look cluttered and dull. For spatial expansion, always prioritize high-clarity, high-gloss reflective surfaces.
Strategic Placement Guide for Maximum Visual Impact
To achieve the maximum space-enlarging effect, where you place your mirror stickers is just as important as the style you choose. Strategic placement can double your light and completely change the feel of a compact layout.
Opposite Windows and Light Sources
One of the most effective placement strategies is to mount mirror stickers directly opposite a window or a primary light source. This positioning allows the mirror to capture incoming natural light and bounce it deep into the room. It also reflects the outdoor view—whether it is green foliage, the sky, or a city skyline—effectively creating the illusion of an additional window and breaking down the solid barrier of the wall.
Behind Furniture
Placing mirror stickers behind low-profile furniture is an excellent way to visually “push” the walls back.
- Behind a Dining Table: A mirrored wall next to or behind a dining table creates a classic, spacious restaurant feel, making dining areas seem twice their actual size.
- Behind a Sofa or Console Table: Mounting a series of beveled tiles or an arched decal behind a sofa or entryway console table creates a "breathing zone." This visual gap prevents the room from feeling crowded by the furniture, making the entire layout look more deliberate and open.
Narrow Corridors and Entryways
Corridors and entryways in compact apartments are often narrow, dark, and devoid of windows. Applying vertical mirror strips or a diamond tile pattern along one side of a hallway visually widens the passage. It also catches light from adjacent rooms, illuminating what would otherwise be a gloomy transition zone.
What to Reflect
Always consider what will be visible in the reflection from different angles in the room.
- Reflect Attractive Elements: Aim to position your mirrors so they reflect pleasant views, artwork, indoor plants, or stylish pendant lights.
- Avoid Clutter and Utility Zones: Do not place mirror stickers directly opposite cluttered open shelving, laundry areas, trash bins, or bathroom doors. Reflecting these areas doubles the visual clutter, making your small space feel twice as messy and cramped.
Design and Placement Mistakes That Shrink Your Space
Even high-quality mirror stickers can fail to expand a room if installed incorrectly. Avoiding these common design and placement errors will ensure your space looks open, clean, and cohesive.
Overcrowding Walls with Tiny Decals
A common mistake is scattering a large number of very small, disconnected mirror stickers across a wall. While a cohesive geometric pattern works well, a random assortment of tiny decals creates visual clutter. Instead of opening up the room, it breaks the wall into chaotic, tiny reflections that distract the eye and make the room feel busier and smaller. Aim for larger, more cohesive groupings or single, well-defined statement pieces.
Incorrect Hanging Height
Placing mirror stickers too high or too low ruins the spatial illusion. If a mirror is mounted so high that it only reflects the ceiling, or so low that it only shows the floor, it cuts off the natural sightlines of the room. As a general rule, the center of the main viewing area of your mirror arrangement should sit at average eye level—approximately 1.4 to 1.5 meters from the floor—to ensure a natural, continuous view of the room.
Ignoring Wall Imperfections
Failing to assess the flatness of your wall before installation is a recipe for a distorted reflection. This is especially true for thin acrylic stickers. If your wall has textured plaster, orange-peel paint, or structural bowing, the stickers will telegraph these imperfections. The resulting distorted reflection looks cheap and draws attention directly to the wall’s flaws, defeating the purpose of creating a premium, spacious feel.
Using Low-Quality, Ultra-Thin Materials
Choosing cheap, ultra-thin acrylic stickers (often less than 1 millimeter thick) usually leads to disappointment. These thin materials warp easily under minor temperature changes and can degrade or turn yellow when exposed to indirect sunlight or humidity. Over time, the edges may curl away from the wall, ruining the clean, seamless look required for a successful spatial illusion.
Wall Preparation and Safe Installation Steps
Proper preparation and careful installation are essential to ensure your mirror stickers adhere securely, look flawless, and do not cause damage to your walls.
Surface Preparation
Before applying any adhesive, the wall surface must be meticulously cleaned and prepared.
- Clean the Wall: Wipe down the target area with a damp cloth and a mild degreasing soap to remove dust, oil, and fingerprints.
- Dry Completely: Allow the wall to dry thoroughly. Any remaining moisture will trap dampness behind the sticker, weakening the adhesive over time.
- Check Wall Condition: Inspect the wall for peeling paint, dampness, or powdery plaster. If the paint is unstable, the weight of the mirror sticker may cause the paint to peel off entirely. Do not apply stickers to freshly painted walls; wait at least two to three weeks for the paint to fully cure.
Adhesive Selection
Choosing the right adhesive ensures your mirrors stay in place without damaging the backing or the wall.
- Double-Sided Foam Tape: High-quality, heavy-duty double-sided foam tape is ideal for lightweight acrylic and small glass tiles. The foam core helps absorb minor wall textures, reducing distortion.
- Mirror-Safe Adhesives: If using larger glass sheets, use specialized, solvent-free mirror adhesives recommended by the manufacturer. Avoid standard construction adhesives, acidic silicones, or superglues, as the harsh chemicals can eat through the protective backing of the mirror, causing unsightly black spots or ruin the reflective silvering.
Safe Handling and Testing
Always perform a spot test by applying a small piece of adhesive tape to an inconspicuous area of the wall for 24 hours to check its holding power and ensure it does not damage the paint upon removal. When handling glass mirror stickers, always wear protective gloves to prevent cuts from sharp edges. Work slowly and use a spirit level to ensure your lines are perfectly straight before pressing the stickers firmly into place.
Professional Boundaries
While installing lightweight mirror stickers is an easy weekend DIY project, certain scenarios require professional assistance or extra safety precautions.
- Concealed Wiring: Before drilling, mounting heavy sheets, or applying strong adhesives near light switches and power outlets, verify that there is no concealed electrical wiring or plumbing behind the wall.
- Power Isolation: If you are working close to electrical fixtures or switches, isolate the power at your main distribution board before beginning installation to prevent accidental shocks.
- Work at Height and Heavy Loads: If you are installing large, heavy glass sheets, working near high ceilings, or mounting mirrors in high-traffic areas where a fall could cause injury, do not attempt a solo DIY. Follow the manufacturer's installation instructions precisely, and consult a qualified professional to ensure the installation is safe, secure, and structurally sound.
Frequently Asked Questions (FAQ)
Do acrylic mirror stickers look as real as glass mirrors?
Acrylic mirror stickers can look highly realistic, but their visual quality depends entirely on the flatness of the wall. Because acrylic is flexible, any bump or texture on the wall will cause the sticker to bend, resulting in a distorted, wavy reflection. Glass mirror stickers offer superior optical clarity and a perfectly flat reflection regardless of minor wall textures, but they are heavier and more fragile. For a flawless, high-end look, glass is preferred; for budget-friendly, lightweight, and shatterproof applications, acrylic is an excellent choice provided the wall is perfectly smooth.
Can I remove mirror stickers without damaging my wall paint?
Removing mirror stickers without damaging your paint is possible, but it requires patience and care. To safely remove them, use a hairdryer on a low-heat setting to gently warm the sticker and soften the adhesive backing. Once the adhesive is warm, slide a piece of dental floss or thin fishing line behind the mirror and use a sawing motion to slice through the softened adhesive tape. Any remaining residue can be cleaned off with a mild adhesive remover. Note that removal always carries a slight risk of peeling paint, especially on older, unprimed, or poorly painted walls.
Are mirror stickers safe to use in humid areas like bathrooms?
Mirror stickers can be used in bathrooms, but high humidity and direct water exposure present challenges. Constant moisture can degrade standard double-sided adhesives, causing the stickers to peel or fall. Additionally, humidity can seep behind the mirror backing, causing the silver reflective coating to oxidize and develop dark edges. If you plan to use mirror stickers in a bathroom, ensure you select products specifically rated for high-moisture environments, apply them away from direct splash zones, and ensure the bathroom is well-ventilated to prevent moisture buildup.
Community discussion
Share your experience or ask a question. Comments are reviewed before publication.