
In Singapore’s fast-paced property market, maximizing the visual footprint of compact living spaces is a constant design challenge. Whether you are moving into a newly completed Build-To-Order (BTO) HDB flat, cozying up in a modern condominium, or personalizing a rented room, tight layouts can sometimes feel restrictive. Installing traditional glass mirrors is the classic solution to open up a room, but they are heavy, expensive, require drilling into hard concrete walls, and pose safety risks if they shatter.
A lightweight, cost-effective, and highly versatile alternative is the modern mirror sticker wall. These adhesive-backed reflective panels offer an excellent way to bounce light around a room and create the illusion of double the square footage without the structural commitment of traditional glass. However, achieving a flawless, realistic reflection requires a clear understanding of material properties, proper product selection, and precise installation techniques tailored to Singapore’s unique climate and housing constraints.
How Mirror Wall Stickers Make Small Rooms Look Bigger
The spatial magic of a mirror sticker wall relies entirely on basic optical physics. When light hits a highly reflective surface, it bounces back into the room rather than being absorbed. This reflection tricks the human brain into perceiving a continuation of the physical space beyond the wall. In compact HDB bedrooms, narrow entryways, or tight household shelter corridors, a strategically placed reflective surface can visually double the depth of the area, making a cramped layout feel bright, airy, and open.
Products mentioned in this guide
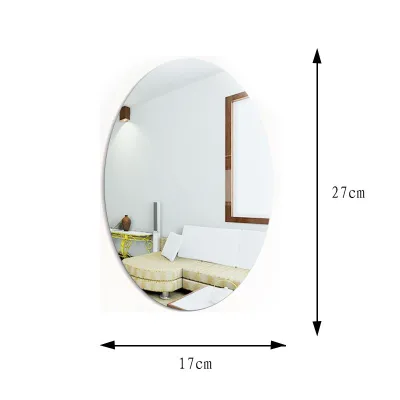
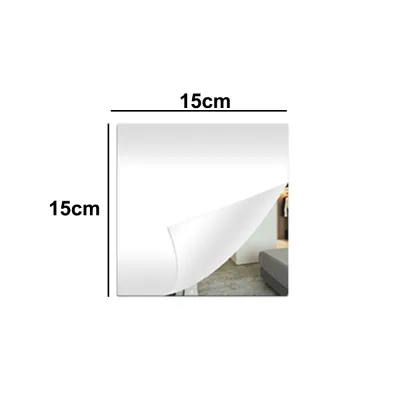
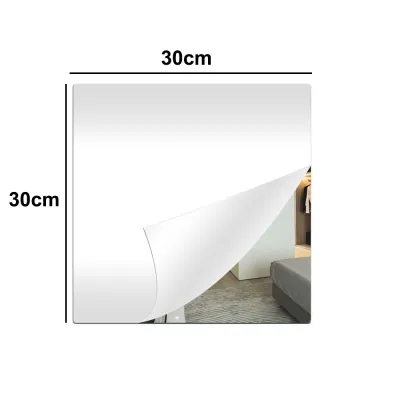
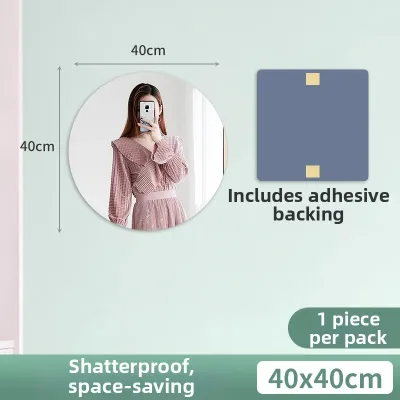
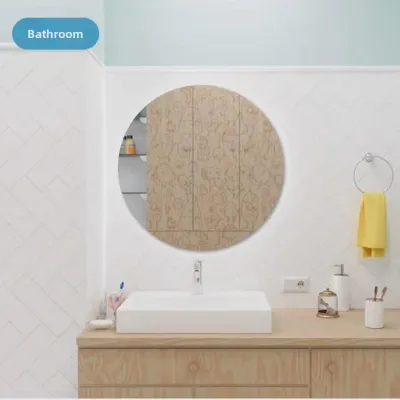
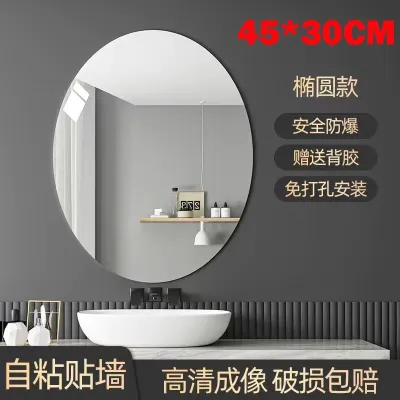
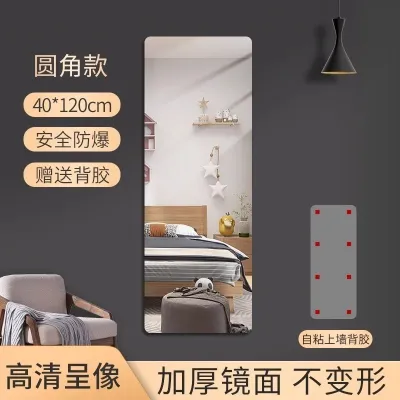
Prices are valid at publication and may change. Please refer to the product page for the latest price.
While traditional glass mirrors provide the gold standard of reflective clarity, mirror stickers have become increasingly popular due to their distinct practical advantages. Mirror stickers are typically made from lightweight plastics such as acrylic (PMMA) or polyethylene terephthalate (PET). They are highly shatter-resistant, making them exceptionally safe for homes with young children or pets. Furthermore, because they are incredibly thin and light, they can be mounted directly onto walls, wardrobe doors, or cabinet surfaces using simple adhesives, eliminating the need for heavy-duty wall anchors or professional drilling services.
However, plastic-based mirror stickers behave differently than rigid glass. Because plastics are flexible, they are highly susceptible to the “funhouse effect”—a wavy, distorted reflection that occurs when the sticker bends or conforms to an uneven wall surface. Traditional glass mirrors are thick and rigid enough to bridge minor wall imperfections, but a thin mirror sticker will telegraph every microscopic bump, plaster ripple, or paint texture behind it. To achieve a true-to-life reflection that genuinely enhances your space rather than distorting it, you must focus on material thickness, backing rigidity, and the flatness of the underlying wall.
What to Look for When Buying Mirror Stickers for Compact Rooms
Navigating the market for mirror stickers requires looking past basic product photos and focusing on technical specifications. To ensure your installation looks premium and functions effectively, evaluate products against these four critical criteria:

- Thickness and Rigidity: This is the single most important factor governing reflection quality. Avoid paper-thin PET film stickers (often under 0.5mm) for primary wall displays, as they are highly prone to warping and distortion. Instead, opt for high-quality acrylic mirror sheets with a thickness of at least 2mm to 3mm. Thicker acrylic possesses the structural rigidity needed to resist bending, ensuring a flat, undistorted, glass-like reflection.
- Size and Configuration: Consider the visual impact of your layout. Large, single-panel acrylic sheets (such as 40cm x 40cm or larger) provide a more continuous, realistic reflection but require a perfectly flat wall to avoid warping. On the other hand, smaller geometric tiles—such as hexagons, squares, or diamonds—are easier to align, handle minor wall unevenness better, and allow for creative, mosaic-style layouts. However, keep in mind that numerous seams or grout lines will break up the reflection, which can slightly diminish the illusion of continuous space.
- Adhesive Type and Renter-Friendliness: Singapore's high relative humidity can severely test adhesive bonds over time. While permanent, heavy-duty double-sided foam tapes offer maximum stability, they will easily tear off standard HDB water-based emulsion paint and plaster upon removal. If you are renting, look for high-quality, moisture-resistant removable mounting tapes, or use a clever DIY workaround: apply low-tack painter's tape to the wall first, and then mount the stronger mirror adhesive directly onto the painter's tape.
- Edge Finishing: When lining up multiple mirror stickers to create a continuous wall, the quality of the edges is paramount. Look for panels featuring precision laser-cut or slightly beveled edges. Beveled edges catch and refract light beautifully, hiding minor alignment errors and creating a seamless, high-end architectural finish that elevates the entire room.
Best Mirror Sticker Types and Brands for Singapore Homes
Finding the right mirror stickers in Singapore involves matching your design goals and budget with the appropriate retail category. Rather than relying on unverified brand rankings, it is best to understand what different sourcing channels offer in terms of quality, customization, and cost.
Established Home Furnishing Retailers
For homeowners seeking reliable quality control, safety-tested adhesives, and straightforward return policies, established home furnishing brands are an excellent starting point. Major Scandinavian and Japanese home decor retailers operating in Singapore offer curated selections of adhesive mirror tiles and lightweight safety mirrors.
These products are manufactured under strict quality standards, ensuring consistent thickness, excellent reflective backing, and minimal optical distortion. They typically come in pre-designed sets, such as classic square panels or stylish hexagonal tiles, complete with specialized adhesive pads designed to perform reliably in indoor environments.
- Best use case: Accent walls in living rooms, master bedroom vanity setups, or children's play areas where aesthetic finish, safety, and reliable material quality are top priorities.
- Pros: High reflective clarity, reliable adhesive performance, and immediate local availability for physical inspection before buying.
- Cons: Limited size customization and higher price points per square meter compared to online alternatives.
Specialized Acrylic Manufacturers on E-commerce Platforms
If you want to cover a large surface area—such as an entire wall, a home gym corner, or a large wardrobe door—sourcing from specialized acrylic and plastic manufacturers via online marketplaces is highly effective. Many of these sellers operate as direct-from-factory suppliers, offering custom-cut acrylic mirror sheets tailored to your exact dimensions.
When shopping on e-commerce platforms, avoid generic “budget” listings and search specifically for terms like “custom PMMA acrylic mirror” or “3mm heavy-duty mirror sheets.” Take time to read customer reviews, paying close attention to feedback regarding packaging quality (to ensure panels do not arrive scratched) and whether buyers report any waviness in the reflection.
- Best use case: Full-wall installations, home yoga or dance spaces, or covering specific architectural features like structural pillars or recessed nooks.
- Pros: Highly customizable sizes, cost-effective bulk pricing, and access to thicker, more rigid acrylic panels (up to 3mm or more).
- Cons: Requires careful self-measurement, longer shipping times, and a higher risk of receiving damaged goods if the seller's packaging is inadequate.
Budget Lifestyle and Variety Stores
For quick, highly affordable, or temporary decorative projects, local budget lifestyle and variety stores (such as popular Japanese dollar-concept stores or neighborhood home goods shops) offer a wide range of small, decorative mirror stickers.
These products are incredibly budget-friendly, often costing only a few Singapore dollars per pack. They are typically thin, lightweight, and come in a variety of playful geometric shapes, making them highly accessible for spontaneous DIY crafting.
- Best use case: Rental rooms, student dormitories, inside wardrobe doors for quick grooming checks, or creative geometric mosaic patterns where minor optical distortion is acceptable.
- Pros: Extremely low cost, highly accessible across Singapore, and easy to handle and cut for custom DIY shapes.
- Cons: Higher susceptibility to the "funhouse" distortion effect, lower scratch resistance, and adhesives that may peel prematurely due to Singapore’s humid climate.
How to Install and Remove Mirror Stickers Safely on HDB Walls
Proper installation is the difference between a premium, space-enhancing mirror wall and a warped, peeling eyesore. Follow this systematic guide to ensure a clean, long-lasting installation and a damage-free removal process.
Step 1: Surface Preparation
Singapore’s tropical climate means that dust, microscopic grease, and moisture constantly accumulate on walls, which can severely compromise adhesive bonds.
- Clean the wall: Wipe down the target area thoroughly using a microfiber cloth dampened with isopropyl alcohol (rubbing alcohol). Avoid using generic household surface cleaners, as they often leave behind a thin, slick residue that prevents adhesives from sticking.
- Let it dry completely: Allow the wall to air-dry for at least 15 to 20 minutes.
- Assess the wall flatness: Place a long metal ruler or a spirit level flat against the wall to check for bowing or plaster bumps. If the wall is heavily textured or freshly painted (less than 4 weeks old), do not apply mirror stickers directly, as they will either distort or fail to adhere.
Step 2: Alignment and Installation
Precision is vital when installing multiple panels. A minor alignment error at the start will compound quickly, resulting in crooked lines and wide, unsightly gaps.
- Map out a grid: Use a spirit level, a measuring tape, and painter's tape to map out the exact boundaries of your mirror installation on the wall. This provides a physical visual guide to keep your alignment perfectly straight.
- Leave expansion gaps: When tiling multiple acrylic sheets next to each other, leave a tiny gap of approximately 0.5mm to 1mm between the panels. This micro-gap accommodates natural wall settling and thermal expansion caused by temperature fluctuations, preventing the acrylic sheets from pressing against each other and buckling.
- Apply even pressure: Peel the adhesive backing and carefully align the first panel with your painter's tape guide. Press the panel firmly against the wall, starting from the center and working your way outward to push out any trapped air bubbles. Use a soft, clean cloth or a felt-tipped squeegee to avoid scratching the surface.
Step 3: Safe Removal
When it is time to move out or change your decor, removing strong adhesives from HDB walls requires patience to avoid peeling away the underlying paint and plaster.
- Soften the adhesive: Use a handheld hairdryer on a low-to-medium heat setting to gently warm the surface of the mirror sticker. Direct the heat around the edges for 30 to 60 seconds to soften the adhesive backing.
- Slide and cut: Take a long piece of dental floss or a thin, flexible plastic scraper. Slide it behind the top edge of the warmed mirror sticker and gently use a sawing motion downward to slice through the softened adhesive tape. Never pull or pry the mirror sticker straight off the wall, as this concentrated force will tear the paint.
- Clean up residue: Once the panel is removed, roll away any remaining adhesive residue with your fingers, or apply a small amount of eucalyptus oil or a specialized adhesive remover to a cloth and gently wipe the area clean. Always test a small, hidden spot first to ensure the cleaner does not discolor your wall paint.
Frequently Asked Questions (FAQ)
Do acrylic mirror stickers cause a distorted reflection?
Yes, acrylic is a flexible plastic that naturally conforms to the shape of the surface it is mounted on. If your wall has microscopic bumps, waves, or texture, a thin acrylic sticker will bend, resulting in a distorted, wavy reflection. To achieve a clear, glass-like reflection, always choose thicker panels (at least 2mm to 3mm) and install them on a flat, smooth, and clean surface.
How do I clean mirror stickers without scratching them?
Acrylic is much softer than glass and scratches very easily. Never use paper towels, abrasive scrubbing sponges, or harsh ammonia-based window cleaners, as these will permanently cloud and scratch the surface. Instead, gently wipe the mirror stickers using a clean, dry microfiber cloth and a mild, alcohol-free cleaner, or warm water mixed with a single drop of dish soap. Wipe in straight, gentle strokes rather than circular motions.
Will mirror stickers damage my HDB wall paint upon removal?
Strong, permanent adhesives can easily pull off weak, old, or poorly primed paint layers. To minimize the risk of damage, renters should use high-quality removable mounting tapes or apply low-tack painter’s tape to the wall first as a protective barrier. When removing the stickers, always use a hairdryer to soften the glue with heat and slice through the adhesive with dental floss rather than pulling the panels directly off the wall.
Community discussion
Share your experience or ask a question. Comments are reviewed before publication.