
Selecting the ideal picture light for a home corridor requires balancing fine-art preservation with the strict physical constraints of a transitional walkway. In narrow hallways, where space is at a premium and foot traffic is constant, the best option is a low-profile LED picture light that provides high color rendering without protruding far enough to cause accidental bumps. The ideal choice hinges on your wall’s electrical access, ranging from sleek hardwired fixtures for seamless renovations to wireless rechargeable LED bars that mount directly to frames without invasive drilling.
To create an inviting, gallery-like experience in your home, you must evaluate how a fixture interacts with your corridor’s layout, your artwork’s dimensions, and the existing electrical infrastructure. Understanding these variables ensures that your corridor remains both highly functional and visually striking, transforming a simple thoroughfare into a curated home gallery.
Quick Selection Criteria for Hallway Picture Lights
When selecting a picture light for a narrow corridor, spatial efficiency and ease of installation are your primary concerns. Standard Singaporean residential corridors, particularly in HDB flats and modern condominiums, typically measure between 1.0 and 1.2 meters in width. This narrow footprint leaves little room for bulky, projecting light fixtures that can easily be knocked out of alignment by passing residents or moving furniture.
Products mentioned in this guide
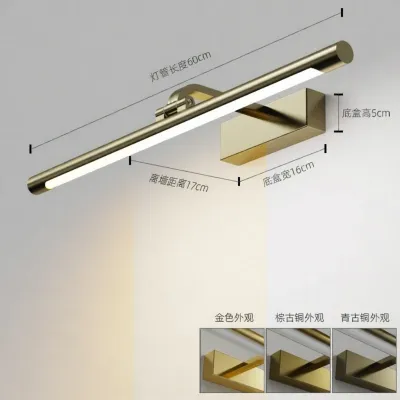
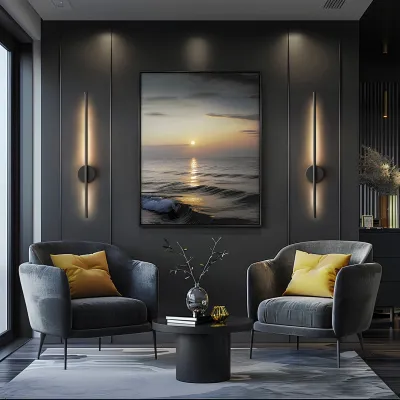
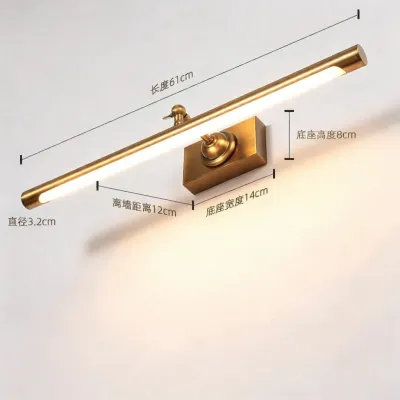
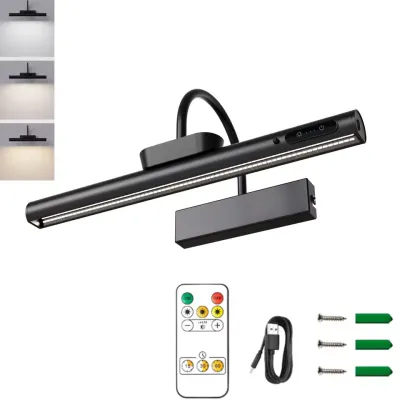
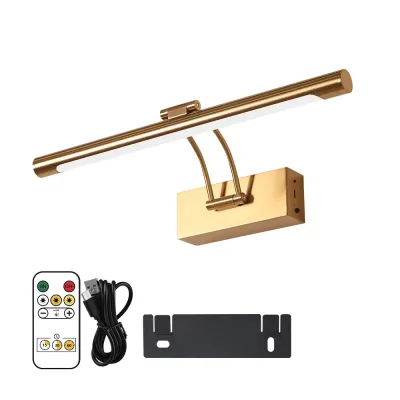
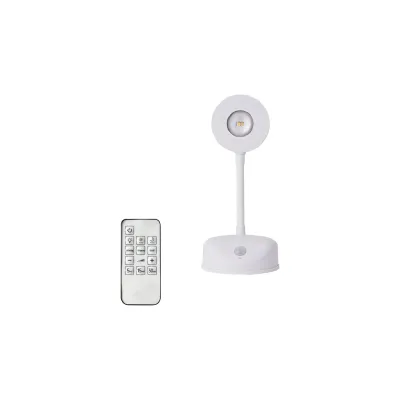
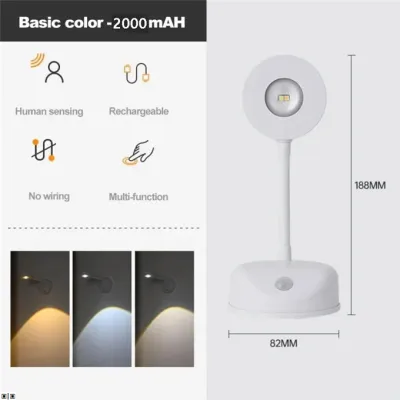
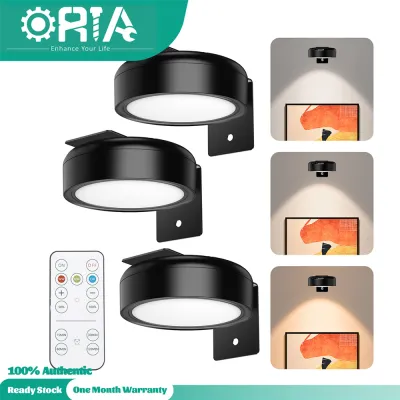
Prices are valid at publication and may change. Please refer to the product page for the latest price.
To simplify your decision-making process, evaluate your space against these three essential criteria:
- Power Source Availability: Determine if you have existing wall wiring, a nearby electrical outlet, or if you must rely entirely on wireless, battery-operated fixtures.
- Fixture Projection: Opt for low-profile designs that protrude no more than 10 to 15 centimeters from the wall to maintain a clear, safe path for foot traffic.
- Light Quality and Spectrum: Prioritize fixtures with a Colour Rendering Index (CRI) of 90 or higher, with a strong R9 value, to ensure the colors of your artwork appear vibrant and true to life.
By matching your specific corridor layout to these foundational parameters, you can narrow down the vast array of lighting options to the few that will perform safely and beautifully in your home.
Why Corridors Require Specialized Picture Lighting
Corridors present unique environmental challenges that differentiate them from spacious living rooms or dedicated study areas. Because hallways are transitional zones, they experience high traffic and are viewed from dynamic, moving perspectives rather than a single, stationary vantage point. This constant movement requires specialized lighting solutions that prioritize safety, accessibility, and visual comfort.

Managing Strict Spatial Constraints
In a narrow hallway, every centimeter of physical space matters. Standard decorative wall sconces or heavy, extended picture lights often project too far into the walkway, creating physical hazards. A protruding fixture is highly susceptible to being bumped by shoulders, bags, or household items during daily transit. Choosing a streamlined, low-profile fixture ensures that the walkway remains entirely unobstructed while still providing dedicated illumination to your art collection.
Navigating Wiring and Infrastructure Limits
Unlike main living areas, home corridors are rarely pre-wired with dedicated wall-switched outlets or junction boxes positioned at eye level. Retrofitting permanent wiring into solid masonry or concrete walls—which are common in local residential construction—is a disruptive process that requires extensive hacking, plastering, and repainting. For homeowners who want to avoid major structural work, finding a fixture that accommodates alternative power methods, such as rechargeable batteries or discreet plug-in cords, is essential.
Mitigating Glare and Optimizing Viewing Angles
Because people view corridor artwork while walking past it, they encounter the display from acute, varying angles. This movement increases the likelihood of encountering distracting glare, especially if the artwork is framed behind standard reflective glass. Specialized picture lights address this issue by utilizing adjustable shades, linear lenses, or asymmetric reflectors that direct light precisely downward onto the canvas rather than scattering it outward into the eyes of passersby.
Recommended Picture Light Types for Corridor Spaces
To find the best fit for your home, it is helpful to categorize picture lights by their power source and physical design. Each category offers distinct advantages depending on your budget, aesthetic preferences, and whether you own or rent your home.
Battery-Operated and Rechargeable LED Options
Wireless, battery-powered LED picture lights are highly convenient solutions for finished walls, rental properties, or concrete partitions where drilling and wiring are restricted. Modern wireless fixtures utilize advanced lithium-ion battery packs that can be easily recharged via USB-C cables, eliminating the need to run physical wires down your walls.
- Mounting and Weight Considerations: Because battery packs add physical weight to the fixture, you must ensure the mounting system is secure. For drywall partitions, use high-quality toggle bolts or wall anchors; for solid concrete walls, use appropriate masonry plugs. Alternatively, some lightweight models are designed to mount directly to the back of the artwork's wooden frame, distributing the weight safely.
- Accessibility for Recharging: Since corridor artwork is often hung at eye level, the picture light will sit relatively high on the wall. To make recharging hassle-free, look for fixtures featuring magnetic mounting brackets. These allow you to detach the light bar easily without unscrewing the entire assembly from the wall.
- Light Quality and Color Rendering: Be cautious when purchasing budget wireless lights, as many utilize low-grade LED chips that emit a harsh, cool-white light (6000K or higher) with poor color rendering. To preserve the integrity of your art, verify that the product specification explicitly states a warm color temperature (between 2700K and 3000K) and a CRI of 90+.
Hardwired and Plug-in Fixture Options
For a permanent, seamless look that matches a high-end gallery aesthetic, hardwired or plug-in fixtures are the preferred choice. These options provide continuous, reliable power without the maintenance of recharging batteries.
- Hardwired Fixtures: These connect directly to your home's electrical grid, leaving no visible wires or cords. They are ideal during renovation phases when false ceilings or dry construction walls are being installed, allowing cables to be routed cleanly behind the scenes.
- Plug-in Fixtures with Cord Covers: If you want continuous power but cannot perform invasive electrical work, a plug-in picture light is an excellent compromise. You can run the thin power cord straight down the wall to the nearest skirting-board outlet, concealing it inside a paintable, self-adhesive PVC cord cover matched to your wall paint.
- Smart Home Integration: Hardwired and plug-in fixtures can be easily integrated with wall dimmers or smart home systems (such as Zigbee or Wi-Fi smart plugs). This allows you to program automated schedules, dimming the corridor lights to a soft, low-energy ambient glow during the late-night hours.
Low-Profile and Flush-Mount Designs
When browsing physical designs, look specifically for slim, linear LED picture lights that hug the wall closely. These minimalist fixtures feature ultra-thin light bars and compact mounting plates that blend into the background, ensuring the focus remains entirely on the artwork.
- Minimizing Projection: Look for fixtures with an adjustable arm that can be compressed or angled close to the frame, keeping the total projection under 12 centimeters.
- Visual Harmony: Minimalist designs in neutral finishes—such as matte black, brushed brass, or satin nickel—complement modern corridor interiors without adding visual clutter to a confined space.
Sizing and Placement Rules for Hallway Artwork
To achieve a balanced, professional look, your picture light must be proportioned correctly to the artwork it illuminates. Incorrect sizing or placement can result in uneven lighting, harsh shadows, or distracting glare.
Determining the Right Fixture Width
As a general rule, the width of your picture light should be approximately 1/2 to 2/3 the width of the artwork’s frame. For example, if you have a framed painting that is 60 centimeters wide, a picture light measuring 30 to 40 centimeters wide is ideal.
For very tall, vertical portraits, you may need a slightly wider light or a fixture with a deeper projection arm to ensure the light reaches the bottom of the canvas. For wide, horizontal landscape pieces, choosing a linear light that covers at least 2/3 of the width prevents the outer edges of the painting from falling into shadow.
Mounting Height and Extension Arm Length
Mount the picture light approximately 5 to 15 centimeters above the top of the artwork frame. The extension arm should project far enough forward so that the light source can be angled back toward the center of the piece.
If the arm is too short, the light will wash down too steeply, creating an intense, overexposed “hotspot” at the top of the artwork while leaving the bottom half in complete darkness. A slightly longer, adjustable arm allows you to fine-tune the angle, achieving a smooth, even wash of light across the entire vertical surface.
Beam Angle and Viewing Distance
Because the viewing distance in a narrow corridor is short, you must pay close attention to the beam angle and shielding.
- Narrow Beams (15 to 30 degrees): Excellent for highlighting small, specific details or vertical portraits, but they require precise positioning to avoid harsh glare.
- Wide Washes (60 to 120 degrees): Ideal for general hallway displays, providing a soft, diffused light that covers the entire frame evenly.
- Shielding the Source: Adjust the fixture's rotating shade so that the bare LED chips or bulb is hidden from the direct line of sight of anyone walking down the corridor. The goal is to see the illuminated artwork, not the glowing light source itself.
Installation Guidelines and Electrical Safety
Proper installation ensures your lighting operates safely and remains securely mounted over time. Always prioritize safety by understanding the boundaries of DIY work and the requirements of your local electrical infrastructure.
Defining DIY vs. Professional Boundaries
Before starting your project, clearly distinguish between tasks you can safely perform yourself and those that require professional expertise:
- DIY-Friendly Tasks: Mounting wireless, battery-operated picture lights, securing frame-mounted fixtures, and installing plug-in models with adhesive cord covers are safe DIY projects that require only basic tools.
- Professional Tasks: Any task that involves hardwiring a fixture, cutting into walls to run new electrical conduits, installing new junction boxes, or modifying your home's main distribution board must be handled by a professional. In Singapore, always hire a Licensed Electrical Worker (LEW) to perform this work. This ensures compliance with local electrical safety standards, such as SS 638, and prevents potential fire or shock hazards.
Essential Power Isolation Steps
If you are replacing an existing wall fixture or performing any basic electrical maintenance, always isolate the power first. Turn off the corresponding circuit breaker at your home’s main consumer unit (DB box). Do not rely solely on the wall switch to cut the power. Use a reliable non-contact voltage tester to verify that the wires are completely dead before touching any electrical connections.
Managing Environmental Factors and Humidity
Singapore’s tropical climate features consistently high relative humidity, which can impact electrical fixtures. If your corridor is located near a main entrance, an open balcony, a kitchen, or a ground-floor semi-outdoor area, moisture can accumulate on metal and electrical components.
- Material Selection: Choose high-quality fixtures made from corrosion-resistant materials, such as anodized aluminum, stainless steel, or solid brass with a protective lacquer finish. Avoid cheap, unplated iron or low-grade steel fixtures, which can rust quickly in humid conditions.
- Manufacturer Instructions: Always review the manufacturer's care and installation instructions before mounting a fixture. If the instructions conflict with your intended placement, or if you are unsure of a fixture's suitability for a damp or high-humidity zone, consult a qualified professional or the manufacturer directly before proceeding.
Frequently Asked Questions (FAQ)
Can I use standard wall sconces instead of dedicated picture lights?
While standard wall sconces are excellent for providing general ambient illumination in a hallway, they are not designed to showcase artwork. Sconces typically cast light in a wide, upward, or outward pattern, which can create harsh, distracting shadows across the texture of a canvas. Furthermore, they often lack the adjustable shades, linear lenses, and precise directional control found in dedicated picture lights. A dedicated picture light is engineered specifically to throw a controlled, even wash of light downward, ensuring the artwork remains the focal point without causing glare or visual discomfort for passersby.
How do I prevent picture lights from damaging my artwork?
To protect valuable or sensitive artwork from long-term damage, you should exclusively use high-quality LED picture lights. Traditional halogen or incandescent bulbs emit significant heat and ultraviolet (UV) radiation, which can cause paint pigments to fade, paper to yellow, and delicate mediums like watercolors or acrylics to crack over time. Modern LEDs emit negligible heat and zero UV radiation, making them the safest option for continuous display. For added protection, ensure the picture light is mounted at least 5 to 10 centimeters away from the frame to allow for natural air circulation and prevent any localized heat buildup.
Community discussion
Share your experience or ask a question. Comments are reviewed before publication.