
Creating a festive atmosphere at home during the year-end holidays in Singapore has evolved beyond static string bulbs. Selecting the right smart LED light strips for Christmas decorations requires balancing vibrant color capabilities, smart home integration, and structural adaptability to suit local residential layouts like HDB flats and condominiums. The ideal smart light strip for holiday decorating is one that offers individually addressable LEDs (RGBIC) for dynamic multi-color patterns, robust app control for scheduling, and a flexible form factor that can transition seamlessly into year-round ambient home lighting.
Essential Features for Festive Smart Light Strips
Color Modes and Effects To capture the true essence of Christmas, understanding the difference between standard RGB and RGBIC (individually addressable IC) technology is crucial. Standard RGB strips can only display a single solid color across the entire length at any given moment. While suitable for basic background lighting, they cannot produce complex holiday effects. In contrast, RGBIC strips feature independent control chips embedded along the strip, allowing multiple colors to illuminate simultaneously. This technology enables dynamic, moving patterns such as chasing green and red lights, candy cane stripes, or shimmering snow effects that bring holiday displays to life.
App Control and Scheduling A companion mobile application is the nerve center of any smart lighting setup. For festive decorations, look for apps that offer dedicated holiday scene presets, customizable color palettes, and robust scheduling features. Setting a timer ensures your Christmas display illuminates automatically at sunset and shuts off at bedtime, conserving energy without manual intervention. Furthermore, many smart systems feature built-in microphones or app-based audio synchronization, allowing the light patterns to pulse and shift in harmony with classic Christmas carols.
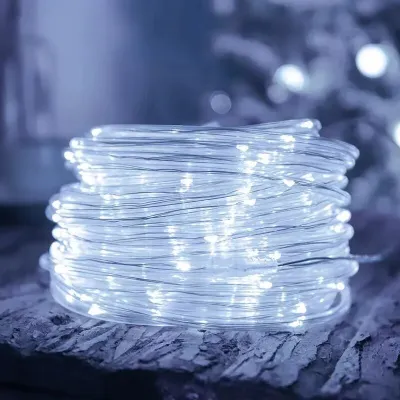
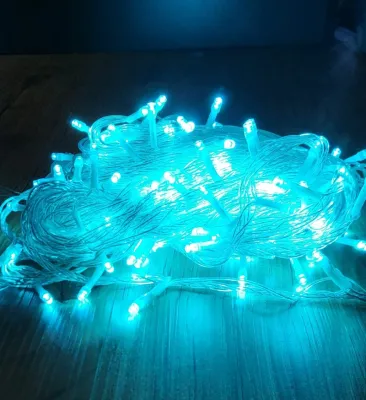
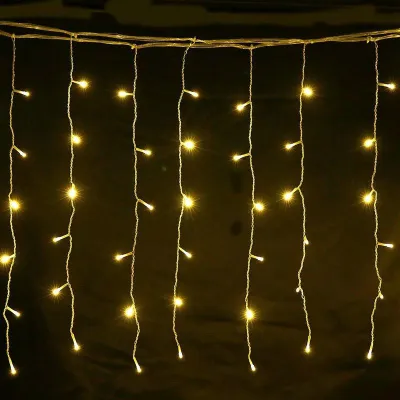
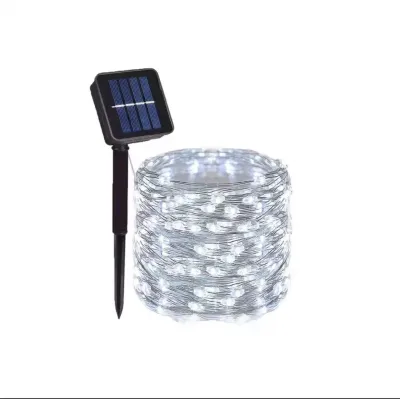
Products mentioned in this guide
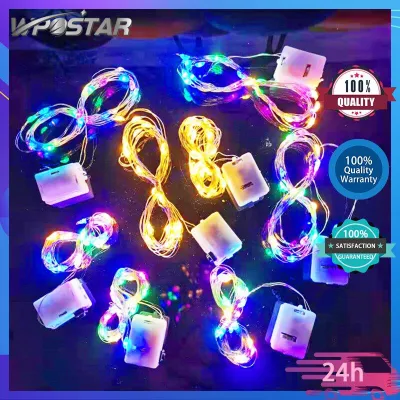
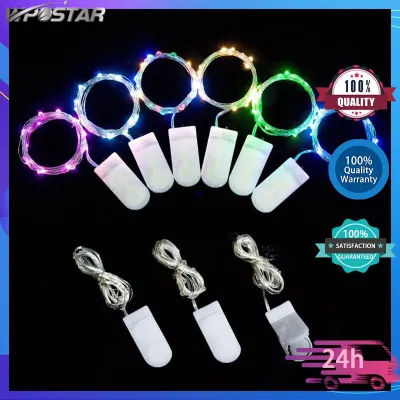
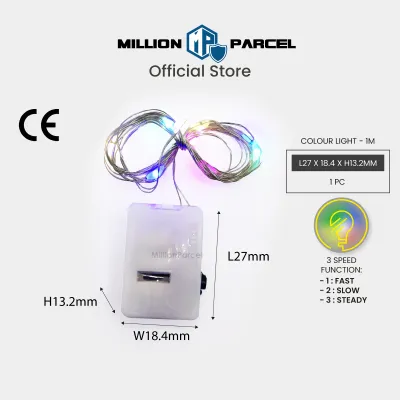
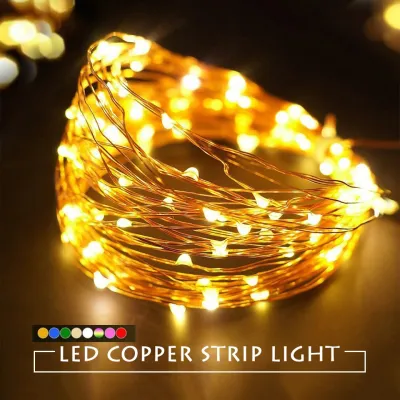
Prices are valid at publication and may change. Please refer to the product page for the latest price.
Length Options and Customization Before purchasing, measure the designated decorating areas carefully to determine the required length. Smart LED strips generally fall into two categories: cuttable and extendable. Cuttable strips are ideal for precise, self-contained areas like TV consoles or shelving units, allowing you to trim excess length at designated points. Extendable designs allow you to connect multiple strips together to cover larger areas, such as ceiling perimeters or long hallway cornices. Always verify the maximum supported length for a single power controller to prevent voltage drop, which causes the lights to dim or lose color accuracy toward the end of the run.
Power Supply Compatibility Smart light strips are typically powered by either a standard USB connection or a dedicated wall adapter. USB-powered options (often 5V) offer convenience for smaller setups behind television screens or near computers, and can even run off portable power banks for temporary table centerpieces. However, longer and brighter installations require wall adapters (usually 12V or 24V). For homes in Singapore, ensure the power adapter is compatible with the local 230V, 50Hz electrical supply and is equipped with a standard Type G three-pin plug, or verify if a safe, certified adapter is required. Look for recognized electrical safety marks to ensure the power supply is safe for continuous indoor use.
Cross-Scenario Versatility While the immediate goal is holiday decorating, the most practical smart light strips are those that serve a purpose long after the Christmas tree is packed away. Opt for high-quality strips that can easily transition from festive red-and-green patterns to functional warm white lighting or subtle pastel tones for everyday living. Strips that offer adjustable color temperatures (from warm yellow to cool white) can be repurposed as under-cabinet kitchen lighting, bedroom headboard backlighting, or bias lighting behind a media center, maximizing your investment throughout the year.
Matching Light Strip Features to Christmas Decor Scenarios
The Christmas Tree: Flexibility and Dynamic Color Modes
Wrapping a Christmas tree presents unique physical and visual challenges that demand specific light strip characteristics. Traditional adhesive backings are completely unsuited for pine needles, as the glue will ruin the branches and lose its stickiness instantly. Instead, look for highly flexible, lightweight strips that can be loosely draped or woven through the branches. Securing the strip with reusable zip ties, twist ties, or specialized plastic clips allows you to position the LEDs precisely without damaging the tree or the strip itself.

To make the tree the focal point of your living room, prioritize strips with advanced music synchronization and complex dynamic modes. An integrated microphone within the controller box can detect ambient sound, translating festive music into synchronized pulses of light. When routing the power supply, run the power cable down the center of the tree trunk to keep it hidden from view. Ensure the cable is secured flat against the floor using gaffer tape or a cord cover to eliminate tripping hazards in high-traffic living areas.
Shelves, Consoles, and Cornices: Ambient Scene Presets
Highlighting architectural elements like shelving units, TV consoles, and ceiling cornices requires a softer, indirect lighting approach. Raw LED strips can produce harsh, glaring dots of light that reflect uncomfortably off polished surfaces or television screens. To achieve a smooth, neon-like glow, consider using strips with built-in silicone diffusion sleeves, or mount standard strips inside aluminum channels equipped with frosted diffusers. This setup scatters the light evenly, creating an elegant halo effect around your furniture.
Using the companion app, you can create custom presets that transition seamlessly from Christmas themes to daily home environments. For instance, you can program a holiday preset featuring soft amber and deep red tones, and easily switch back to a neutral warm white or a dim movie night profile once the season ends. When navigating sharp corners on consoles or cornices, avoid bending the strip at a sharp 90-degree angle, as this can damage the internal circuitry. Instead, use flexible corner connectors or L-shaped solderless clips to maintain a continuous, undamaged connection around edges.
Window Frames and Balconies: Length and Moisture Resistance
Decorating semi-outdoor spaces like window frames, balconies, or patios requires careful attention to environmental durability. Singapore’s tropical climate is characterized by high relative humidity and sudden, heavy downpours, especially during the year-end monsoon season. For any light strip positioned near open windows, on balconies, or outdoors, verify that the product has an Ingress Protection (IP) rating of at least IP65. This rating ensures the strip is protected against dust and low-pressure water jets from any direction.
Extended outdoor runs also require a clear understanding of your equipment’s physical limits. Before connecting multiple extension strips, consult the manufacturer’s technical specifications to determine the maximum length supported by a single power controller. Exceeding this limit can overload the controller or cause severe voltage drop, resulting in visibly dimmer lights at the far end of the installation. For safety, keep all non-waterproof components—such as power adapters, control boxes, and wall outlets—strictly indoors or housed inside certified, weatherproof electrical enclosures.
Installation, Power Supply, and Wall-Safe Removal Tips
A successful, long-lasting installation begins with meticulous surface preparation. Dust, grease, and moisture on walls or furniture will prevent the adhesive backing from bonding correctly, leading to sagging strips within days. Before peeling off the adhesive protector, wipe the target surface thoroughly with isopropyl alcohol and a lint-free cloth. Allow the area to dry completely. For painted walls common in Singapore homes, avoid using harsh chemical cleaners that could degrade the paint layer before installation.
Safe electrical practices are paramount when running multiple decorative lights. Always check the total wattage of your smart light strips and ensure it does not exceed the rated capacity of your power outlet or extension trailing socket. Avoid daisy-chaining multiple high-power extension cords together, as this can lead to overheating. Keep all electrical cables, controllers, and adapters away from direct heat sources, such as kitchen appliances, and ensure they are positioned far from areas prone to water spills, such as potted indoor plants or balcony edges.
Removing adhesive light strips after the festive season can easily tear or peel the underlying wall paint if done incorrectly, especially on typical painted plasterboard or drywall. To remove a strip safely, use a handheld hairdryer on a low-to-medium heat setting to gently warm the adhesive. Apply the warm air to a small section of the strip for 10 to 15 seconds to soften the glue. Slowly peel the strip away from the wall at a shallow 45-degree angle, pulling parallel to the surface rather than pulling it straight off. If any sticky residue remains on the wall, apply a small amount of gentle, oil-based adhesive remover to a cloth and wipe it away carefully.
While installing smart light strips is generally a straightforward DIY project, certain scenarios require professional assistance. If your decorating plan involves routing power cables behind concrete bomb shelter walls, drilling into ceiling slabs, or installing permanent, heavy aluminum channels at height, stop and consult a qualified electrician or professional installer. Attempting complex structural modifications or high-voltage electrical work without proper training can compromise your home’s safety, violate local building regulations, or void your product warranties.
Frequently Asked Questions (FAQ)
Can I cut and reconnect smart LED light strips for custom lengths?
Yes, most smart LED light strips can be cut, but you must only cut them along the designated cut lines, which are typically marked with a scissor icon or gold-colored copper pads. Cutting anywhere else will permanently damage that section of the strip. To reconnect cut pieces, you will need specialized solderless clip-on connectors designed for your specific strip width and pin configuration (such as 3-pin for RGBIC or 4-pin for RGB). Note that some manufacturers state that cutting or modifying their light strips will void the product warranty, so always check the official terms before making any alterations.
Do smart light strips require a separate smart hub to work?
Whether a smart light strip requires a separate hub depends entirely on its wireless protocol. Most consumer-grade smart strips utilize direct Wi-Fi connectivity, allowing them to connect directly to your home router without any additional hardware. These typically require a stable 2.4GHz Wi-Fi network band to function properly. Other systems use protocols like Zigbee or Bluetooth; while Bluetooth strips can be controlled directly via a smartphone within close range, Zigbee-based strips require a dedicated smart hub or bridge connected to your router to enable remote access and advanced automation features.
How can I remove light strip adhesive without peeling wall paint?
The safest way to remove light strip adhesive without damaging your wall paint is to apply gentle heat using a hairdryer on a low setting. The heat temporarily softens the adhesive backing, making it pliable. Once warmed, slowly peel the strip back at a 45-degree angle, keeping your hand close to the wall to minimize outward pulling force. Never yank or pull the strip straight out, as this concentrated force will tear the paint layer. For older or fragile paint, always test a small, inconspicuous area first before applying adhesive strips to the main wall.
Community discussion
Share your experience or ask a question. Comments are reviewed before publication.