
Selecting the right smart lighting for a standard Housing & Development Board (HDB) flat requires balancing modern functionality with physical space constraints. With a typical ceiling height of 2.6 meters, choosing a fixture that protrudes too far downward can make living areas feel cramped and visually restrictive. To maintain an open, airy atmosphere, homeowners should prioritize low-profile, flush-mount smart ceiling lights that distribute light evenly across the ceiling and walls.
Evaluating the physical dimensions, mounting mechanisms, and illumination patterns of smart fixtures ensures they integrate seamlessly into low-clearance spaces. By focusing on slim profiles and wide beam angles, you can enjoy the benefits of smart automation without sacrificing headroom or visual comfort. Taking the time to measure your space and understand how light interacts with your ceiling height will prevent the common mistake of installing an overbearing fixture.
Understanding Clearance Constraints in HDB Flats
Standard HDB flats in Singapore are built with a structural floor-to-ceiling height of approximately 2.6 meters. However, the actual usable headroom is often lower once you account for interior renovations. Installing floor screed, thick ceramic tiles, engineered wood, or vinyl planks can reduce the vertical clearance by several centimeters, leaving less space for overhead fixtures. Additionally, any plastering or false ceiling work done to conceal wiring will further lower the available height.
Products mentioned in this guide
![[2 Years Warranty] Aqara Smart Ceiling Light H1 Nebula Works with Apple home - Official Store](https://img.lazcdn.com/g/p/2a3ff6331f3288d02c0b48b75d8316cc.png_400x400q80.png_.webp)
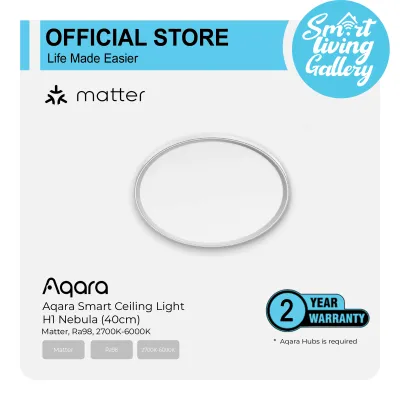
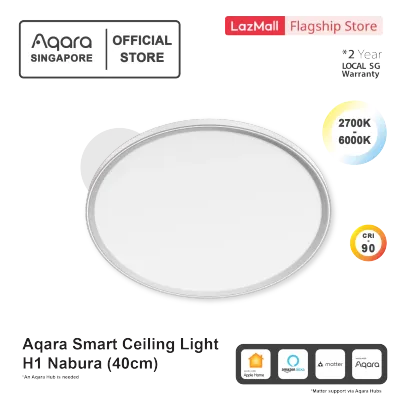
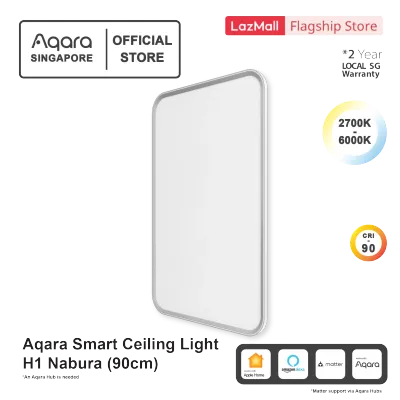
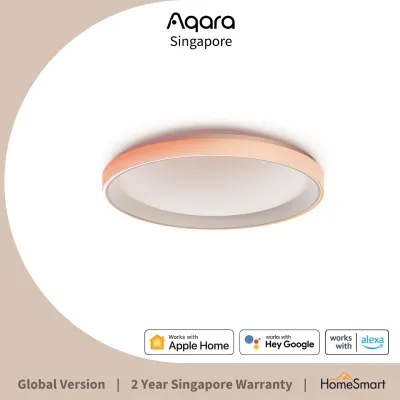
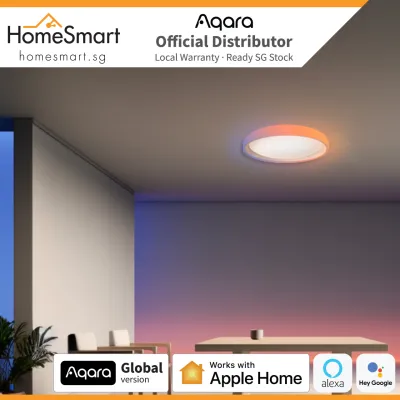
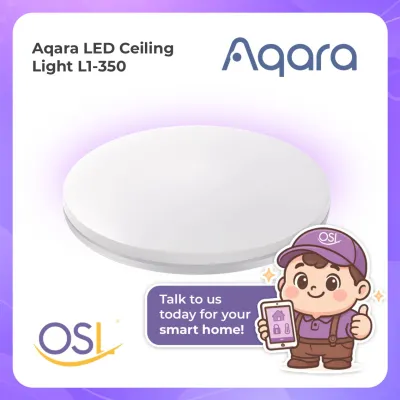
Prices are valid at publication and may change. Please refer to the product page for the latest price.
For safety and comfort, a minimum clearance of 2.1 to 2.3 meters is generally recommended beneath any ceiling fixture. This ensures that tall occupants and guests can walk freely, raise their arms, or change clothes without risking contact with the light. In high-traffic areas like the living room or hallways, maintaining this clearance is vital to prevent accidental damage to the fixture and ensure a comfortable living environment.
Beyond physical safety, the visual weight of a light fixture heavily influences how spacious a room feels. Bulky, deep-set fixtures or low-hanging pendant lights draw the eye downward, creating a heavy visual anchor that makes the ceiling feel lower than it actually is. In contrast, a slim, flush-mounted fixture blends into the ceiling plane, allowing the eye to travel uninterrupted across the room. This visual continuity is essential for making compact HDB rooms feel larger and more inviting.
Evaluating the Physical Profile of Aqara Ceiling Lights
When browsing smart lighting options, understanding the distinction between flush-mount and semi-flush-mount designs is crucial. Flush-mount fixtures sit directly against the ceiling surface, leaving no gap between the light housing and the concrete. Semi-flush-mount models hang down slightly on a short stem or bracket, which can trap dust and reduce precious vertical clearance in a 2.6m HDB room. For low ceilings, a true flush-mount design is almost always the preferred choice.

To ensure a smart ceiling light fits your space, always locate and interpret the fixture’s total height in the official manufacturer specification sheets. Do not rely solely on product photos, which can be taken from angles that minimize the appearance of depth. Look for the exact millimeter measurements of the fixture’s thickness, focusing on models that keep their profile under 50 to 80 millimeters. This slim profile ensures the light remains unobtrusive while still housing the necessary smart technology.
A smart ceiling light often contains more internal components than a traditional fixture, including wireless receivers, LED drivers, and smart hub integration modules. When evaluating these products, check how the manufacturer has integrated these components. High-quality low-profile designs distribute these electronics horizontally across a wider chassis rather than stacking them vertically, which keeps the overall bezel and diffuser depth as shallow as possible. Additionally, examine the mounting bracket design, as some quick-install brackets can add unnecessary millimeters to the final installed height.
Optimizing Light Distribution to Enhance Visual Space
The way a light fixture distributes illumination plays a significant role in how we perceive room height. Fixtures that cast light only downward can leave the ceiling in shadow, creating a “cave effect” that visually lowers the room. To counteract this, look for smart ceiling lights that offer edge-to-edge illumination or include an auxiliary backlight that casts a soft glow upward and outward across the ceiling surface. This upward light bounce reflects off the ceiling, making the entire room feel taller and brighter.
Adjusting color temperature and brightness is another effective way to manage spatial perception. Harsh, overly bright cool white light can create sharp, dark shadows in corners, which visually constricts the room. Utilizing the smart control features to set a warm-to-cool white spectrum allows you to soften these transitions, making the boundaries of the room appear more expansive and less rigid. During the day, a brighter, cooler light can mimic natural daylight, while a softer, warmer glow in the evening keeps the low ceiling from feeling oppressive.
Before purchasing, verify the lumen output and wattage limits of the fixture to ensure it provides adequate coverage for your specific room size. A single, well-positioned low-profile light with high lumen efficiency can illuminate an entire bedroom or living area. This eliminates the need to install multiple bulky fixtures or track lights, keeping the ceiling clean, uncluttered, and visually elevated. Ensure the smart light’s dimming capabilities are smooth, allowing you to customize the light levels to suit different times of day without causing visual fatigue.
Verifying Installation Clearances and Electrical Safety
Before mounting any smart ceiling light, a thorough inspection of the installation environment is essential for safety and performance. Start by checking the depth of the existing ceiling junction box. In many HDB flats, concrete ceilings limit the depth of these boxes, meaning excess wiring, wire connectors, and smart modules must be carefully managed so they do not prevent the fixture from sitting completely flush against the ceiling. If the wiring is too bulky, it can push the fixture downward, creating an uneven and unsafe gap.
Because HDB ceilings are typically solid concrete, you must verify that the mounting hardware and anchors supplied with the fixture are compatible with masonry. Ensure the ceiling can support the weight of the new fixture, especially if it features a larger diameter. Using incorrect plugs or screws can lead to an unstable installation, posing a serious safety risk over time. Always check the product manual for the recommended drill bit size and anchor type to ensure a secure hold in concrete.
Always prioritize electrical safety by isolating the power supply at the main distribution board before attempting any installation or maintenance. If you encounter complex fixed wiring, lack a proper concrete drill, or feel unsure about handling electrical connections, stop immediately and consult a qualified licensed electrician. Professional installation ensures compliance with local electrical standards and guarantees the fixture is securely anchored. Additionally, verify that the smart ceiling light carries the appropriate electrical safety certifications required for your region before proceeding with the installation.
Frequently Asked Questions (FAQ)
Can I install an Aqara ceiling light if my HDB ceiling has exposed beams?
If your HDB ceiling features structural or decorative exposed beams, careful placement is necessary to maintain uniform light spread. Avoid installing the fixture directly adjacent to a beam, as this will block the lateral light distribution and cast deep shadows across the room. Measure the flat ceiling surface between the beams to ensure the fixture’s diameter fits comfortably without overlapping the beam edges. Placing the light centrally between beams helps balance the illumination and minimizes the visual impact of the lowered structural elements.
Do low-profile smart ceiling lights overheat in enclosed flush-mount spaces?
Low-profile smart ceiling lights are engineered with integrated LEDs, which generate less heat than traditional incandescent bulbs, but their internal smart drivers still require proper thermal management. Always check the manufacturer’s guidelines regarding thermal dissipation and enclosed space ratings before installation. Ensure that you follow the manual’s instructions regarding any required ventilation gaps or mounting clearances to prevent heat buildup and prolong the lifespan of the smart components. If installing in a particularly warm or poorly ventilated room, verifying the fixture’s operating temperature limits is a crucial step.
Community discussion
Share your experience or ask a question. Comments are reviewed before publication.