
Achieving a bright, airy feel in a standard 2.6-meter HDB flat ceiling requires a deliberate approach to lighting design. At this height, bulky light fixtures or poorly planned layouts can easily make rooms feel smaller and more enclosed. The key to maintaining an open, spacious atmosphere lies in selecting low-profile downlights, optimizing beam angles to spread light evenly, and placing fixtures strategically to highlight walls rather than leaving corners in shadow. By understanding the physical limits of your ceiling cavity and choosing fixtures that minimize glare, you can create a comfortable, visually expansive home.
Assessing False Ceiling Depth and Fixture Profiles
Before purchasing any recessed downlights, you must determine the exact physical space available above your false ceiling. In Singapore, HDB flats often have limited vertical clearance, meaning the gap between the concrete structural slab and the gypsum board of the false ceiling can be highly restricted. To find your maximum allowable fixture depth, measure this cavity carefully at multiple points, as structural variations or existing utility pipes can cause the clearance to vary across a single room.
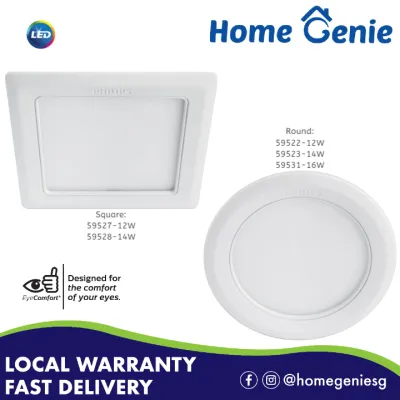
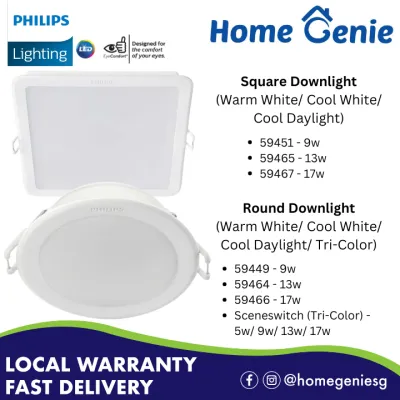
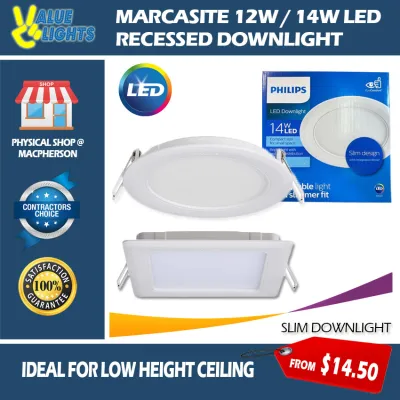
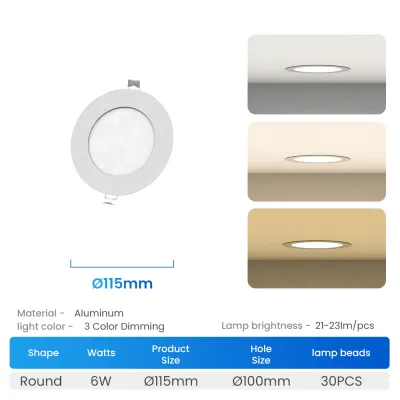
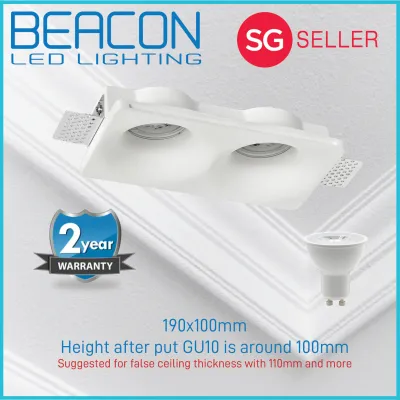
Standard recessed downlight housings, often referred to as deep cans, typically require a clearance of 100mm or more, which is rarely feasible in low-ceiling HDB renovations without significantly lowering the ceiling plane. Instead, look for ultra-thin or slim-profile LED downlights, which often require as little as 30mm to 50mm of vertical clearance. These shallow fixtures house their components horizontally or use integrated driver designs to minimize their vertical footprint, allowing you to preserve as much floor-to-ceiling height as possible.
Products mentioned in this guide
![[SG Seller] LED Ceiling light Slim Downlight 9W 12W | Goldberg Home](https://img.lazcdn.com/g/p/e9beacab3b7fb5e2568a629e9c3afac0.png_400x400q80.png_.webp)
![[2x Efficiency] Megaman Classic Downlight (V3) 7/9/12W Ultra Bright · Visual Comfort CRI92](https://img.lazcdn.com/g/p/4f152f765f55b5ad35e8c27e5cbfb5d5.jpg_400x400q80.jpg_.webp)
![[SG seller] Racer Round Adjustable LED Downlight 5W Spotlight | Goldberg Home](https://img.lazcdn.com/g/p/eb812a151ef225ec8ca7d7c642b37e1b.png_400x400q80.png_.webp)
Prices are valid at publication and may change. Please refer to the product page for the latest price.
While slim downlights solve the space issue, you must verify the manufacturer’s specifications regarding thermal management and heat dissipation. Even energy-efficient LEDs generate heat, and trapping this heat within a tight, unventilated ceiling cavity can drastically shorten the lifespan of the fixture or create a safety hazard. Ensure the product specifications outline the required minimum clearance around the fixture for airflow, and check for appropriate electrical safety certifications before installation.
When selecting downlights, always verify the voltage compatibility, base or interface type, wattage limits, physical dimensions, and dimming methods to ensure they match your home’s electrical setup. Additionally, confirm that the fixtures carry the appropriate electrical safety certifications for your installation environment. For any installation involving fixed wiring, work at height, or placement in damp areas like bathrooms, always isolate the power supply at the main distribution board, strictly follow the manufacturer’s installation instructions, and hire a qualified professional to complete the work safely.
During your assessment, you may encounter structural concrete beams, electrical conduits, or air conditioning drain pipes running through the ceiling cavity. Never attempt to cut, notch, or drill into structural concrete beams to accommodate a downlight housing, as this compromises the building’s structural integrity. If you encounter unexpected obstructions or are unsure how to route the wiring safely around existing infrastructure, stop immediately and consult a qualified, licensed electrician to assess the site.
Choosing Beam Angles to Expand Spatial Perception
The angle at which light leaves your downlight plays a critical role in how large or small your room feels. For a standard 2.6m ceiling, narrow beam angles (typically under 30 degrees) create highly concentrated pools of light on the floor, leaving the upper walls and corners in darkness. This high-contrast effect, often called the “cave effect,” visually shrinks the room by drawing the eyes downward and emphasizing the boundaries of the dark zones.

To make your HDB flat feel more spacious, prioritize downlights with wide beam angles, generally between 60 and 110 degrees, for your general ambient lighting. These wider spreads allow the light to overlap smoothly before reaching the floor, creating a soft, even wash of illumination across the entire living space. This uniform distribution eliminates harsh shadows and bright spots, making the boundaries of the room feel less defined and therefore more open.
Another highly effective technique for low ceilings is wall washing, which involves positioning downlights closer to the walls and angling them to illuminate vertical surfaces. Lighting your walls draws the eye upward and outward, creating a powerful illusion of height and lateral space. When vertical surfaces are bright, the entire room feels significantly larger and more inviting than a room where light is directed solely at the floor.
Always verify the beam angle specifications on the product packaging or the manufacturer’s technical datasheet before making a purchase. Do not rely solely on visual representations on retail websites, as these can be misleading. Selecting the correct beam angle ensures that your light distribution matches your spatial goals, preventing the need for costly post-installation adjustments.
Evaluating Surface-Mounted Alternatives for Limited Clearance
In some HDB renovations, installing a false ceiling is either structurally impractical or undesirable due to budget and height constraints. If you are working with a bare concrete ceiling, standard recessed downlights are not an option because you cannot cut cavities into the solid concrete slab. In these scenarios, surface-mounted downlights offer an excellent alternative that provides the same clean, modern aesthetic without sacrificing ceiling height.
When selecting surface-mounted fixtures for a 2.6m ceiling, look for low-profile cylindrical or disc-shaped designs that protrude as little as possible. Fixtures with a depth of 50mm or less are ideal, as they minimize visual clutter on the ceiling plane. Choosing fixtures with a finish that matches your ceiling color—typically matte white—helps them blend seamlessly into the background, reducing their perceived visual weight.
While surface-mounted fixtures do sit below the ceiling line, their impact on a 2.6m height is minimal if you select slim, compact models. Avoid heavy, industrial-style track lights or deep, dangling cylinders that break up the visual plane of the ceiling and make the room feel lower. Instead, opt for clean, minimalist profiles that keep the focus on the light output rather than the fixture itself.
Before installing surface-mounted downlights, ensure that your existing ceiling junction boxes and wiring are in good condition and can safely support the weight of the new fixtures. Because these units are mounted directly to the concrete slab, proper anchoring is essential. Always isolate the power supply at the main distribution board before attempting any electrical work, and hire a licensed professional to handle the installation to ensure compliance with local electrical safety standards.
Managing Color Temperature and Glare for Visual Comfort
The quality of light is just as important as its distribution when designing for a low-ceiling environment. Color temperature, measured in Kelvins (K), significantly influences spatial perception and mood. Cool white light (4000K to 5000K) can make a space feel bright, clean, and visually open, making it highly suitable for kitchens, bathrooms, and study areas. Warm white light (2700K to 3000K) creates a cozy, intimate atmosphere, which is ideal for living rooms and bedrooms but should be balanced carefully to avoid making the space feel closed-in.
Because a 2.6m ceiling places the light sources closer to your eye level, glare control is critical to maintaining visual comfort. Looking directly at exposed LED chips can cause eye strain and discomfort, which visually disrupts the harmony of the room. To prevent this, look for downlights designed with deep-recessed optics, where the light source is set back within the housing, or fixtures equipped with anti-glare baffles or honeycomb louvers.
These glare-reduction features work by restricting the light to a specific downward cone, hiding the bright light source from your direct line of sight when you are standing or sitting in the room. This ensures that you only see the illuminated surfaces rather than the harsh glare of the bulb itself. A glare-free ceiling plane looks cleaner and feels less intrusive, contributing to a more relaxed and spacious atmosphere.
When shopping for downlights, check the product labels and technical specifications for visual comfort indicators, such as the Unified Glare Rating (UGR). A lower UGR indicates better glare control and higher visual comfort. Investing in fixtures with superior optical design ensures that your low-ceiling lighting is both functional and comfortable for daily living.
Common Placement and Sizing Mistakes to Avoid
One of the most common mistakes in HDB lighting design is arranging downlights in a rigid, symmetrical grid across the entire ceiling. While a grid layout might seem logical on a floor plan, it often ignores how the room is actually used, resulting in wasted light over empty spaces and inadequate light over functional zones like dining tables or reading chairs. Instead, plan your lighting layout around specific functional zones and furniture arrangements.
Overcrowding the ceiling with too many fixtures is another error that can make a low ceiling feel cluttered and heavy. To prevent this, calculate your fixture spacing based on the ceiling height and the beam spread of your chosen downlights. Ensure that the light cones overlap slightly at counter or table height to provide even illumination, but avoid placing fixtures so close together that the ceiling plane becomes a busy grid of hot spots.
The physical size of the downlight trim also affects the visual weight of your ceiling. For a 2.6m ceiling, large downlights with wide bezels can look disproportionate and draw unnecessary attention upward, making the ceiling feel lower. Opt for smaller trim sizes, such as 2-inch to 3-inch apertures, with slim, minimalist bezels that blend into the ceiling surface.
Finally, pay close attention to the distance between your downlights and the walls. Placing fixtures too close to a wall can create harsh, distracting light scallops that highlight minor wall imperfections and make the room feel smaller. Unless you are intentionally executing a wall-wash design with specialized fixtures, maintain a consistent distance from the walls to ensure a smooth, soft transition of light.
Frequently Asked Questions (FAQ)
Can I install recessed downlights in an HDB flat without a false ceiling?
No, you cannot install recessed downlights directly into a bare concrete ceiling because recessed fixtures require a physical cavity to house the light body and wiring. Hacking into the structural concrete slab of an HDB flat to create these cavities is strictly prohibited for safety and structural reasons. If you do not want to install a false ceiling, you should opt for surface-mounted downlights, track lighting, or low-profile ceiling panels that mount directly onto the concrete surface. Always consult a licensed electrician to plan safe wiring routes, which are typically run through neat surface-mounted conduits when a false ceiling is absent.
How do I determine the right number of downlights for an HDB bedroom?
To determine the right number of downlights, focus on the functional zones of your bedroom rather than trying to light the entire room uniformly. Identify key areas such as the sleeping zone, the wardrobe area, and any study desks or vanity tables. Use downlights with appropriate beam angles to target these specific zones, ensuring that the light spreads overlap slightly where task lighting is needed. Reviewing your layout with a qualified lighting specialist or electrician can help you balance ambient and task lighting, ensuring the room is sufficiently bright without cluttering the ceiling with unnecessary fixtures.

Community discussion
Share your experience or ask a question. Comments are reviewed before publication.