
Choosing the right candle mold is a foundational decision when crafting homemade scented candles. The material you select directly influences how easily the wax releases, how evenly the candle cools, and how effectively the fragrance oil is preserved. While there is no single universal option, matching your mold material to your specific wax type and design goals is the key to achieving professional-grade results.
Silicone, metal, and plastic each offer distinct advantages depending on your experience level and the complexity of your candle shapes. Silicone excels at releasing intricate, three-dimensional designs without damage. Metal provides the rapid heat transfer needed for flawless, smooth pillar candles. Plastic serves as an affordable, transparent starting point for beginners working with basic geometric shapes.
How Mold Materials Impact Scented Candle Quality
The physical properties of your candle mold dictate the structural integrity and aesthetic appeal of the finished product. Demolding is the first critical phase where material choice matters. Flexible molds allow you to peel the material away from the wax, which minimizes tension on delicate details. Rigid molds, on the other hand, rely entirely on the natural shrinkage of the wax as it cools or the assistance of a release agent to slide the candle out cleanly.
Products mentioned in this guide
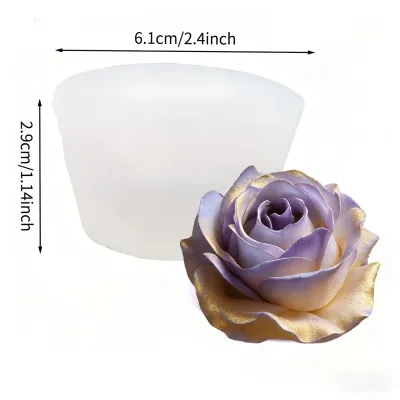
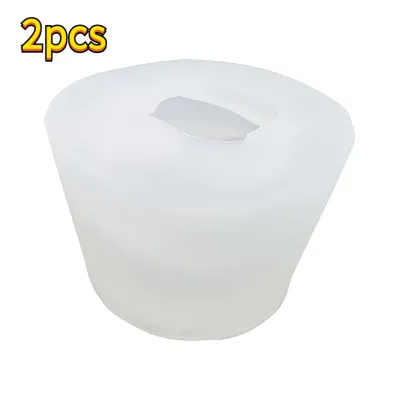
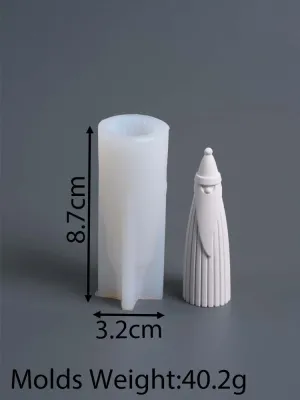

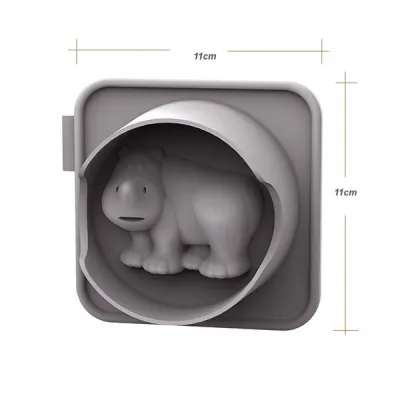
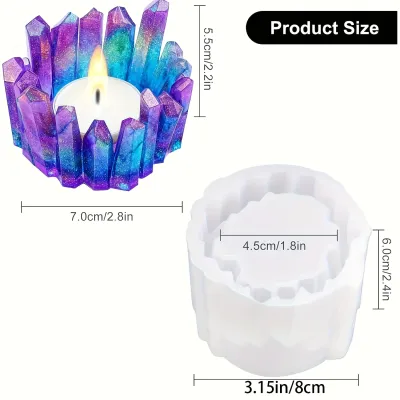
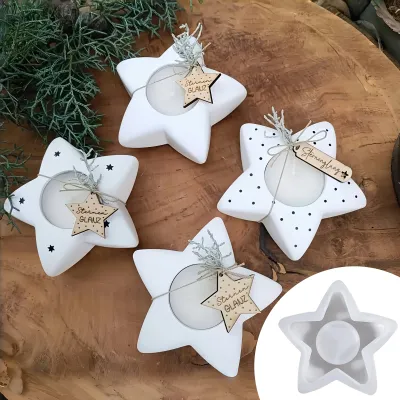
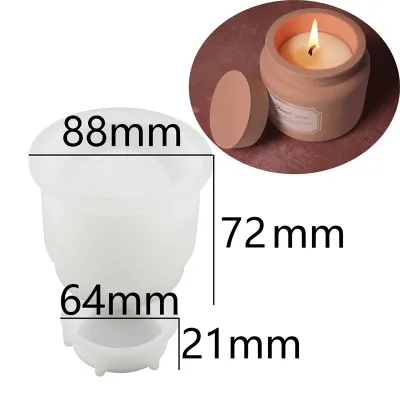
Prices are valid at publication and may change. Please refer to the product page for the latest price.
Heat conductivity is another major factor that shapes the final candle. Materials with high thermal conductivity, such as aluminum, draw heat away from the wax quickly and evenly. This rapid cooling helps prevent surface defects like sinkholes and promotes a uniform crystalline structure in the wax. Conversely, insulating materials like thick silicone retain heat longer, which slows down the cooling process and can sometimes lead to frosting or uneven surfaces, particularly when working with natural soy wax.
Pouring temperature tolerance is also vital for preserving the quality of your scented candles. Fragrance oils must be added and poured at specific temperatures to ensure they bind correctly with the wax without evaporating. If a mold material has a low heat tolerance, you may be forced to pour the wax at a lower temperature than recommended, which can lead to poor fragrance binding, weak scent throw, or surface imperfections.
Comparing Silicone, Metal, and Plastic Candle Molds
Understanding the unique characteristics of silicone, metal, and plastic allows you to select the best tool for your project. Each material demands a slightly different approach to temperature control, preparation, and demolding to ensure your scented candles look and smell exactly as intended.

Silicone Molds for Complex Shapes and Easy Release
Silicone molds are highly favored for their exceptional flexibility, making them the go-to choice for intricate 3D shapes, detailed figurines, and complex floral designs. Because the material can stretch and bend, you can easily peel it away from the hardened wax without snapping delicate features or undercuts. This flexibility eliminates the need for aggressive pulling or tapping during the demolding process.
Despite their flexibility, silicone molds require careful handling during the pouring phase. Because they lack rigid walls, larger or taller silicone molds can bulge or distort under the weight of liquid wax. To maintain the intended shape, you must often support them externally using rubber bands, custom cardboard collars, or dedicated plastic support jackets. Additionally, while silicone has excellent heat resistance, always verify the manufacturer’s maximum temperature limit to avoid degrading the material over time.
The interior surface of a silicone mold typically produces a soft matte or semi-gloss finish on the candle. While wax generally releases easily from silicone, highly detailed designs or stickier wax blends can still catch on the fine crevices. In these cases, applying a light mist of a specialized mold release agent can ensure a clean separation without tearing the mold or the candle.
Metal Molds for Smooth Finishes and Even Cooling
Metal molds, usually constructed from seamless aluminum or stainless steel, are the industry standard for producing classic pillar candles with a highly polished, professional finish. The high thermal conductivity of metal allows heat to dissipate rapidly from the wax. This fast, even cooling minimizes the formation of internal air pockets, sinkholes, and structural weaknesses, resulting in a dense and durable candle.
The rigid nature of metal makes it ideal for sharp geometric shapes, tall cylinders, and clean-edged pillars. There is no risk of the mold walls bowing or warping, ensuring perfectly straight lines every time. However, because metal does not stretch, successful demolding depends entirely on the wax’s ability to shrink as it cools. This makes metal molds highly compatible with paraffin or specialized pillar-blend soy waxes, which naturally contract as they solidify.
If you experience demolding difficulties with a metal mold, you cannot peel it away like silicone. Instead, you must rely on preventive measures, such as applying a silicone-based mold release spray before pouring. If a candle does become stuck, brief temperature manipulation—such as placing the mold in a refrigerator for a few minutes—can encourage the wax to shrink just enough to slide out cleanly.
Plastic Molds for Simple Designs and Beginners
Plastic molds, typically made from polycarbonate or acrylic, offer a budget-friendly and highly accessible option for those new to candle making. They are best suited for basic geometric shapes, flat-backed designs, or shallow wax melts. Their low cost allows beginners to experiment with different shapes and techniques without a significant initial investment.
The primary limitation of plastic molds is their temperature sensitivity. Pouring wax that is too hot can cause the plastic to warp, crack, or even melt, which can create safety hazards and ruin the mold. It is crucial to verify the manufacturer’s maximum temperature rating and allow your wax to cool to a safe pouring range before filling the mold.
On the positive side, the transparency of plastic molds provides an excellent visual advantage. You can easily monitor the wax level, observe how colors mix, check for trapped air bubbles along the sides, and ensure that the wick remains perfectly centered throughout the entire cooling process.
Step-by-Step Guide to Using Your Chosen Candle Mold
Achieving a flawless finish and a strong scent throw requires a systematic approach to preparing, pouring, and cooling your candle. First, ensure your mold is completely clean and dry. Any dust, lint, or fingerprints inside a metal or plastic mold will transfer directly onto the surface of your finished candle. If you are using a rigid mold or a stickier wax blend, apply a thin, even layer of mold release agent to the interior surfaces. Secure your wick tightly at the bottom of the mold using a wick pin or mold sealer, and use a centering tool at the top to keep the wick perfectly straight.
Next, monitor your temperatures closely. When melting your wax, always use a double boiler setup on a stable, heat-resistant surface to prevent overheating and potential fire hazards; never leave melting wax unattended. Add your fragrance oil at the temperature recommended by the wax manufacturer—typically around 80°C to 85°C for soy wax—to ensure the oil binds properly with the wax molecules. Allow the mixture to cool to the appropriate pouring temperature for your specific mold material. For plastic molds, ensure the temperature is well below the warping limit. For metal molds, pre-warming the exterior slightly with a heat gun can prevent the wax from cooling too quickly upon contact, which helps eliminate unsightly jump lines.
Once poured, establish an ideal cooling environment. Place your molds on a level, heat-resistant surface in a room with stable temperatures. In warm, humid climates like Singapore, drafts from air conditioners or open windows can cause uneven cooling, leading to cracking or frosting. Let the candles cool slowly and completely; moving or disturbing the molds while the wax is semi-solid can create internal voids and surface ripples.
Finally, demold your candle with care. For silicone, gently roll the edges of the mold downward, applying light pressure to the base of the candle to slide it out. For metal and plastic, gently tap the sides of the mold on a flat surface to break the vacuum seal. If the candle remains stubborn, place the mold in a refrigerator for 5 to 10 minutes to encourage slight contraction, then try again. Avoid using sharp metal tools to pry the candle out, as this can permanently scratch the mold’s interior.
Troubleshooting Common Candle Mold and Scent Issues
Even with careful preparation, candle making can present challenges. If your candles consistently stick, tear, or break during demolding, the issue often stems from using the wrong type of wax. Container waxes are formulated to adhere to glass and do not shrink, making them highly prone to sticking in rigid molds. Ensure you are using a dedicated pillar or mold wax blend. If sticking persists, increase the amount of mold release agent used or extend the cooling time before attempting to demold.
Surface imperfections like air bubbles, sinkholes, and frosting can also occur. To minimize air bubbles, pour your wax slowly in a steady stream and gently tap the sides of the mold immediately after pouring to encourage trapped air to rise to the surface. Sinkholes are a natural result of wax contraction; you can fix these by leaving a small amount of wax in your melting pitcher to perform a “second pour” once the initial cavity forms. Frosting, which appears as a white, crystalline texture on natural waxes, can be managed by pouring at slightly lower temperatures and insulating your molds with towels to slow down the cooling rate.
A weak scent throw is often linked to temperature errors during the fragrance mixing phase. If you add fragrance oil to wax that is too hot, the delicate scent compounds can burn off before the candle sets. Conversely, if the wax is too cool, the oil will not bind properly, leading to pooling at the bottom of the mold. Additionally, because thick silicone molds retain heat for a long time, they can keep the wax hot for longer than metal molds, which may slightly degrade heat-sensitive fragrance notes. To counter this, ensure your workspace has stable air circulation to help the molds cool at a steady, moderate pace.
Frequently Asked Questions (FAQ)
Can I use the same candle mold for different types of wax?
Yes, you can use the same mold for different waxes, but you must adjust your pouring technique and wick selection. Different waxes, such as paraffin, soy, and beeswax, have unique melting points and shrinkage rates. Paraffin and pillar-blend soy waxes shrink significantly as they cool, making them highly compatible with rigid metal or plastic molds. Beeswax shrinks less and is quite sticky, meaning it requires a generous application of mold release spray when used in rigid molds. Additionally, because different waxes burn at different rates, you must adjust your wick size and material to ensure a clean, even burn when switching wax types in the same mold.
How do I clean and store silicone and metal candle molds?
Proper maintenance is essential for extending the lifespan of your molds. To clean silicone molds, wash them gently with warm, soapy water and a soft sponge; avoid abrasive scrubbers or sharp tools that can scratch the delicate interior. For metal molds, heat them slightly with a heat gun to melt any residual wax, wipe the liquid wax away with a paper towel, and wash with warm water. Store silicone molds flat or upright in their natural shape without placing heavy objects on top, as they can warp permanently under pressure. Store metal molds in a dry, dust-free environment to prevent oxidation and protect the interior surfaces from scratches.
Community discussion
Share your experience or ask a question. Comments are reviewed before publication.