
Selecting the right downlight brand for a whole-house lighting project in Singapore is not about finding a single, universally superior product. Instead, it requires matching a brand’s specific technical strengths with your home’s structural design, your smart home preferences, and your overall renovation budget.
For homeowners prioritizing seamless automation and voice control, brands specializing in smart lighting ecosystems offer the most integrated experience. Conversely, if your priority is long-term electrical stability and straightforward operation, established industrial lighting brands that focus on high-efficiency, non-smart fixtures are often the more reliable choice.
Regardless of the brand category you choose, the most critical factor is verifying local warranty support and the long-term availability of replacement parts. Because downlight drivers are prone to wear over time, choosing a brand with a strong local distributor network ensures you can easily source matching replacements without replacing the entire ceiling fixture.
Products mentioned in this guide
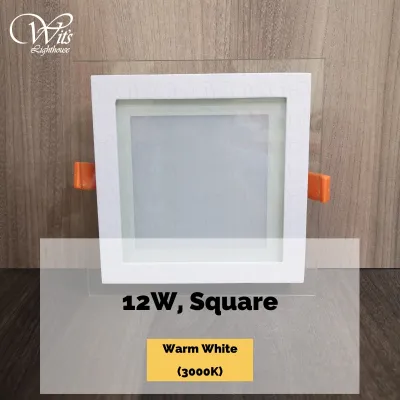
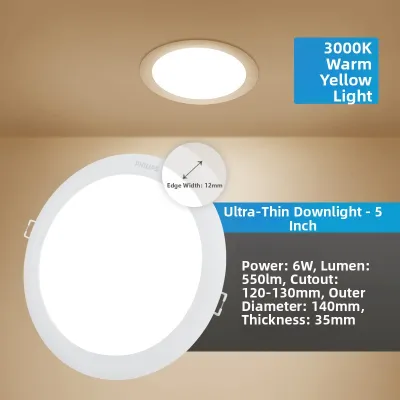
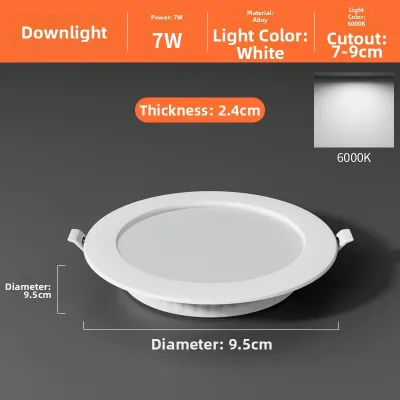
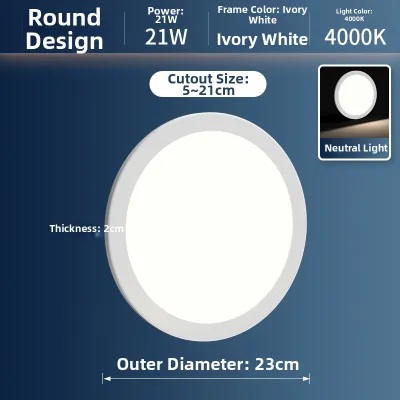
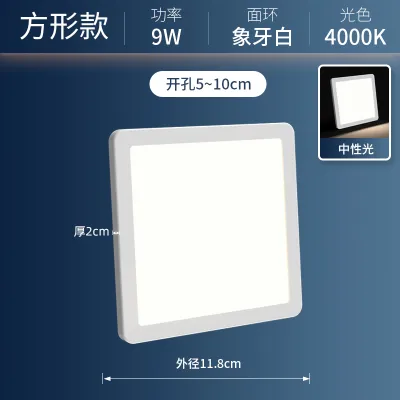
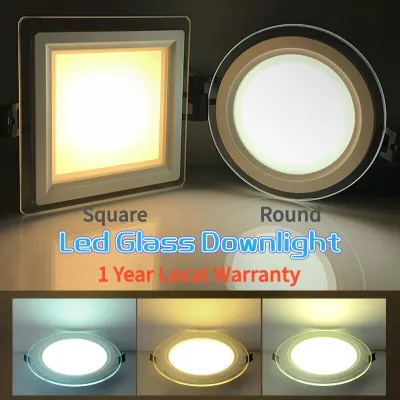
![[Buy 3 Free 1] LED PRO LED LIGHT Recessed Light/LED Downlight Light LED Downlight Square/ Round Downlight Tri-Tone/3000k/4000k/6000k 6W/8W/15W/20W](https://img.lazcdn.com/g/p/7c53b390a776d5c966b89af519a4ccae.jpg_400x400q80.jpg_.webp)
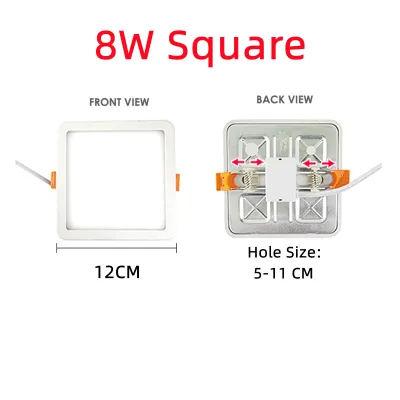
Prices are valid at publication and may change. Please refer to the product page for the latest price.
Essential Specifications to Check on Product Labels
When comparing downlight brands for a residential project in Singapore, you must look past marketing claims and analyze the technical specifications printed on the product labels. The first parameter to verify is voltage and electrical compatibility. Singapore’s domestic power grid operates at a nominal voltage of 230V AC at a frequency of 50Hz. Ensure that any downlight driver you purchase is rated for this input and carries recognized local safety certifications, such as the Safety Mark, to guarantee it has been tested for electrical safety and electromagnetic compatibility.
Next, you must evaluate the physical dimensions of the downlights against your ceiling structure. False ceilings in local HDB flats and condominiums often have highly restricted vertical clearance, sometimes measuring as shallow as 50mm to 75mm. You must measure both the cut-out diameter—typically standard sizes like 75mm, 90mm, or 120mm—and the total height of the fixture, including its integrated heat sink. If your ceiling cavity is exceptionally tight, look for brands that offer ultra-slim downlight profiles or models with remote drivers that can be positioned adjacent to the fixture rather than directly above it.
The installation environment also dictates the required Ingress Protection (IP) rating of the downlights. For dry areas such as living rooms, bedrooms, and hallways, a standard IP20-rated fixture is perfectly adequate. However, for humid or wet zones like bathrooms, kitchens, and service yards, you should select downlights with a minimum rating of IP44. This ensures the internal electronics are protected against steam, moisture, and accidental water splashes, preventing premature circuit failure.
Finally, pay close attention to the Color Rendering Index (CRI) and lumen output rather than relying solely on wattage. CRI measures how accurately a light source reveals the true colors of objects, rated on a scale up to 100. For living spaces, dining areas, and kitchens where visual accuracy is important, select downlights with a CRI of 90 or higher (Ra > 90). For general ambient illumination, calculate your required lumen output based on room size, aiming for fixtures that deliver efficient lumens-per-watt performance to keep your monthly utility bills manageable.
Evaluating Brand Reliability and After-Sales Support
A whole-house lighting installation is a significant investment, making long-term brand reliability and local after-sales support essential considerations. When reviewing warranties, look closely at what is actually covered and for how long. Many manufacturers offer warranties ranging from one to five years, but these terms often distinguish between the LED chip itself and the external driver. Because the driver is the component most sensitive to voltage fluctuations and heat buildup, a warranty that covers both the driver and the LED module is far more valuable than one that only covers the chip.

Another critical indicator of brand quality is color consistency across different manufacturing batches, technically measured as the Standard Deviation of Color Matching (SDCM). Premium brands strictly control their LED binning process to achieve an SDCM rating of less than 3 (often referred to as a 3-step MacAdam ellipse). This level of precision ensures that if you purchase multiple downlights of the same color temperature, such as 3000K warm white, they will all emit an identical hue. Lower-tier brands with poor binning controls may exhibit visible color variations, resulting in a mismatched appearance across your ceiling.
To safeguard your investment, prioritize brands that maintain a physical presence, authorized showrooms, or established local distributors in Singapore. Having a local point of contact allows you to inspect the physical build quality and light output of the fixtures before making a bulk purchase. Furthermore, if a component fails during the warranty period, a local distributor can provide immediate over-the-counter replacements, saving you from the lengthy delays associated with shipping parts from overseas online marketplaces.
Planning a Whole-House Downlight Layout
A successful whole-house lighting plan relies on mixing and matching downlight specifications to suit the functional needs of different zones while maintaining visual harmony. Begin by zoning your spaces and selecting appropriate beam angles. For general ambient lighting in living rooms and corridors, downlights with wide beam angles of 60 degrees or more are ideal, as they distribute light even and minimize harsh shadows. For task lighting over kitchen countertops, study desks, or to highlight architectural features, opt for narrow beam angles between 24 and 36 degrees to create focused pools of light.
To prevent visual clutter and maintain a cohesive atmosphere, ensure that all downlights within a single visual sightline share a consistent color temperature. For example, if your living room, dining area, and open kitchen flow into one another, using a warm 3000K light in one zone and a cool 4000K light in another will create an unsettling visual contrast. Keep the color temperature uniform across open-plan areas, and reserve transitions to different temperatures for enclosed spaces like bathrooms or utility rooms.
Additionally, you must decide where dimmable fixtures are necessary and verify their compatibility with your control systems. Dimmable downlights are highly beneficial in bedrooms and living areas to adjust the ambiance from bright task lighting to soft evening illumination. However, dimming requires precise compatibility between the downlight driver and the wall dimmer switch. Before purchasing, consult the brand’s technical sheets to ensure their dimmable drivers are compatible with your chosen switch protocol, whether it is traditional phase-cut dimming or a modern digital control system.
Installation Rules and Safety Boundaries
Installing downlights involves working with fixed electrical wiring and modifying structural elements, which introduces strict safety and regulatory boundaries. In Singapore, all fixed electrical works—including running new cables, installing lighting points, and connecting fixtures to the main distribution board—must be performed by a Licensed Electrical Worker (LEW). Hiring an LEW is not only a legal requirement under local utility regulations but also guarantees that your home’s electrical system is properly grounded, balanced, and protected against short circuits.
Proper physical installation is equally vital to prevent fire hazards associated with heat buildup. Although LED downlights are highly efficient, their drivers and heat sinks still generate localized heat during operation. You must maintain a safe clearance distance—typically a minimum of 50mm—between the top of the downlight fixture and any ceiling insulation, concrete slabs, or wooden structural beams. Unless a downlight is explicitly rated as Insulation Contact (IC) compliant, it must never be covered with thermal or acoustic insulation materials, as trapping the heat can lead to rapid component degradation or ignition.
Knowing when to stop a DIY installation and call in a professional is crucial for your safety. If you encounter outdated or damaged wiring, notice unusual humming sounds from your electrical board, or find that your ceiling cavity contains unexpected structural obstructions, do not attempt to force the installation. Always isolate the electrical supply at the main distribution board before touching any wiring, and consult your building management or a qualified electrical contractor to resolve any structural or electrical anomalies safely.
Frequently Asked Questions (FAQ)
Can I mix different downlight brands in the same house?
While it is technically possible to mix different downlight brands, doing so carries a high risk of visible inconsistencies. Even if two brands label their products as 4000K cool white, differences in their LED chips, diffuser materials, and color binning processes can result in noticeably different light hues and brightness levels. To maintain a polished and uniform look, it is highly recommended to use the same brand and manufacturing batch for all fixtures within a single open-plan area. Mixing brands is generally acceptable only in separate, closed rooms—such as using one brand for your bedrooms and a different, moisture-resistant brand for your bathrooms.
Do I need smart downlights for every room?
Installing smart downlights throughout your entire home is rarely necessary and can significantly increase both your initial hardware costs and long-term maintenance complexity. Smart downlights offer the greatest value in multi-use spaces like living rooms, dining areas, and master bedrooms, where the ability to dim the lights, change color temperatures, or set automated schedules directly enhances your daily lifestyle. For utility spaces, storerooms, service yards, and guest bathrooms, standard non-smart downlights paired with traditional wall switches are far more practical, cost-effective, and easier to maintain over time.
How do I ensure the downlights fit my existing ceiling cut-outs?
To ensure a perfect fit when replacing existing downlights, you must measure the actual cut-out diameter of the ceiling hole rather than the outer trim of your old fixture. Remove one of your current downlights and use a caliper or measuring tape to find the exact diameter of the circular opening. Additionally, measure the available vertical depth inside the ceiling cavity to ensure the new fixture’s heat sink and driver have sufficient clearance. Before placing a bulk order for your entire home, it is highly advisable to purchase a single test unit from your chosen brand to physically verify its fitment, spring clip tension, and aesthetic appearance in your ceiling.
Community discussion
Share your experience or ask a question. Comments are reviewed before publication.