
For a standard 2.6m HDB ceiling, the ideal dining ceiling light size typically ranges from 1/2 to 2/3 of the width of your dining table, while the optimal drop height places the bottom of the fixture approximately 75cm to 85cm above the tabletop. This specific height range balances functional illumination with clear sightlines, ensuring the light does not obstruct views across the table or cause glare for seated diners.
Selecting the right fixture for an HDB flat requires a careful balance of proportions. Because HDB layouts often combine the living and dining areas into a single open-plan space, the dining light serves as a visual anchor. Getting the dimensions right ensures the zone feels distinct and cozy without making the entire room feel cramped or visually cluttered.
By understanding how to calculate these measurements and evaluating the physical constraints of your space, you can confidently choose a fixture that enhances both the functionality and aesthetic of your home. The following guidelines will help you navigate the spatial calculations, visual weight considerations, and safety requirements for your dining lighting setup.
Products mentioned in this guide
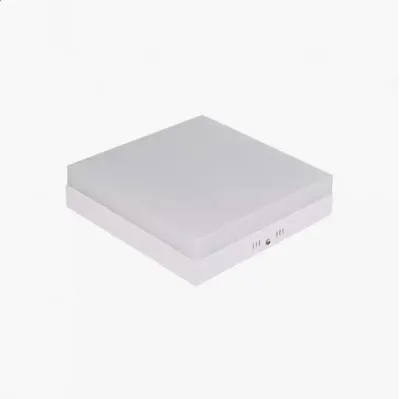
![ONS 18W/24W/36W/48W LED Magnetic Ceiling Light 6500K Round/Square/Tri-Tone LED Ceiling Light [Singapore Home Grown Brand]](https://img.lazcdn.com/g/p/4ee96a0041eca859bcf3b72390759725.png_400x400q80.png_.webp)
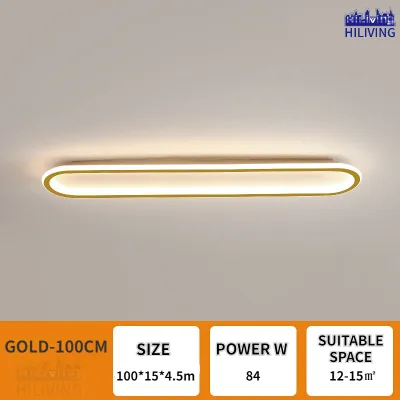
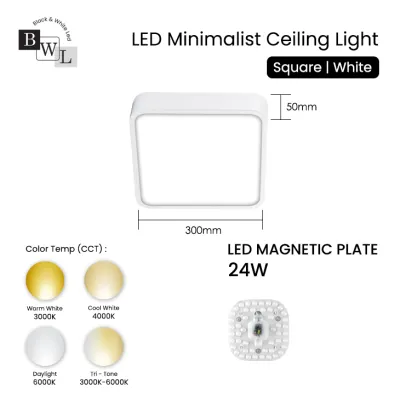
Prices are valid at publication and may change. Please refer to the product page for the latest price.
Understanding the 2.6m HDB Ceiling Constraint
A ceiling height of 2.6 meters is standard for most modern HDB flats, presenting unique design challenges. In such spaces, heavy or overly elaborate light fixtures can quickly overwhelm the room, making the ceiling feel lower than it actually is. Understanding how different fixture types occupy this vertical space is the first step in making an informed purchase.
The visual weight of a fixture plays a significant role in how spacious your dining area feels. Flush mount lights sit directly against the ceiling, offering maximum headroom but often failing to create the intimate atmosphere desired for dining. Semi-flush mounts drop slightly lower, allowing some light to bounce off the ceiling, which can visually expand the space. Pendant lights, while excellent for focusing light on the table, must be chosen carefully; bulky, opaque designs can block sightlines and create a heavy visual barrier in a 2.6m room.
Light dispersion also affects the perception of height. Fixtures that offer some upward illumination, or uplighting, help eliminate dark shadows on the ceiling, making the room feel taller and airier. Conversely, fixtures that only cast light downward can create a dark ceiling effect if the rest of the room is poorly lit, emphasizing the lower ceiling height.
Before purchasing any lighting fixture, it is crucial to measure your exact floor-to-ceiling height. Do not rely solely on the standard HDB blueprint specifications. The installation of floor screed, vinyl planks, tiles, or parquet flooring can reduce the actual ceiling height by 1cm to 3cm. Establishing a precise post-renovation baseline ensures your drop height calculations remain accurate.
Calculating the Ideal Light Diameter for Your Dining Table
To ensure your dining ceiling light looks proportional, its size should be directly scaled to the width of your dining table. A light that is too small will look lost and fail to illuminate the table adequately, while a light that is too large can make the dining set look cramped and increase the risk of accidental bumps.

A reliable baseline for determining the ideal fixture diameter is to choose a light that is between 1/2 and 2/3 of the width of your dining table. For example, if you have a standard 90cm-wide dining table, your ceiling light should ideally have a diameter of 45cm to 60cm. This proportion ensures the light remains centered over the food and seating area without extending too close to the edges where diners sit and stand.
The shape of your dining table also influences the type and arrangement of the lighting. For round or square tables, a single centered round pendant or a compact cluster of lights works beautifully to mirror the table’s geometry. For long rectangular or oval tables, a single round light might leave the ends of the table in darkness; instead, consider a linear suspension light or a series of two to three smaller pendants spaced evenly along the centerline of the table.
When selecting a fixture, always check the manufacturer’s specified illumination spread and beam angle. A narrow beam angle concentrates light in a tight circle, which can create harsh shadows and leave parts of your table unlit. A wider beam angle ensures even, soft coverage across the entire dining surface, enhancing the dining experience and making food look more appealing.
Determining the Correct Drop Height for Clearance and Illumination
Finding the correct drop height is a delicate balance between providing functional task lighting for dining and maintaining clear sightlines across the table. If the light hangs too high, the illumination becomes scattered and loses its cozy, focused effect; if it hangs too low, it can block your view of guests and cause uncomfortable glare.
The standard clearance range for hanging a dining light is 75cm to 85cm from the tabletop to the bottom of the fixture. For a standard HDB dining table height of 75cm and a ceiling height of 2.6m, this leaves a remaining suspension length of approximately 100cm to 110cm from the ceiling. This range serves as an excellent starting point, but you should adjust it based on your household’s specific needs.
To fine-tune the height, consider the eye level of the tallest frequent users in your home when seated. Sit at your dining table and have someone hold a mock-up or the fixture itself at various heights. Ensure that the bottom rim of the light does not sit directly in anyone’s line of sight, which would obstruct conversation across the table. Additionally, check the fixture’s glare control; if the light source is exposed, hanging it slightly higher or choosing a fixture with a frosted diffuser can prevent direct, blinding light from hitting diners’ eyes.
Opting for fixtures with adjustable cords, cables, or chains is highly recommended for HDB installations. These designs allow you to adjust the hanging height during the physical installation process, making it easy to adapt the light to your specific furniture and seating arrangements.
Installation, Wiring, and Safety Checks
Installing a new dining ceiling light involves working with electrical wiring and suspended loads, making safety the absolute priority. Before beginning any installation work, you must turn off the main power supply at your home’s distribution board and verify that the circuit is completely dead using a reliable voltage tester.
Next, inspect the existing ceiling junction box. HDB ceilings are typically made of reinforced concrete, which provides excellent structural support, but you must ensure that the mounting bracket and rawl plugs used are rated for the weight of your new fixture. Never hang a heavy light fixture directly from the electrical wires or an unrated plastic junction box.
Perform thorough pre-installation checks on the fixture itself. Verify that the voltage rating matches Singapore’s standard 230V supply, check for local electrical safety certification marks, and ensure the bulb base interface matches your chosen bulbs. Confirm that the bulb wattage does not exceed the fixture’s maximum limit. If you plan to use a dimmable light, confirm that both the LED driver in the fixture and your wall switch are compatible to avoid flickering or premature driver failure.
While replacing a simple, lightweight light fixture on an existing point can sometimes be a DIY task for those with proper tools and experience, you should know when to stop. For heavy fixtures, complex multi-light installations, running new electrical points, or if you feel unsure about the wiring condition, always consult a licensed electrician. Hiring a qualified professional ensures the installation complies with local electrical safety standards and prevents hazardous wiring mistakes.
Frequently Asked Questions (FAQ)
Can I use a flush mount light instead of a pendant for my dining table?
Yes, you can use a flush mount or semi-flush mount light, though the visual and functional effects will differ from a pendant. Flush mount lights distribute light broadly across the entire room, which helps make a compact HDB space feel larger and more open, but they lack the intimate, focused task lighting that defines a dedicated dining zone. A flush mount is highly practical if your dining table is multi-functional—such as for homework, crafts, or board games—or if you frequently move the table to clear space for walkways or gatherings.
How do I clean and maintain a hanging dining light safely?
To clean your dining light safely, always turn off the wall switch and allow the bulbs to cool completely to prevent burns or thermal damage to the glass. Use a dry, clean microfiber cloth to gently wipe away dust from the fixture’s exterior and the bulbs. For stubborn dirt, use a slightly damp cloth with water only, avoiding harsh chemical cleaners or abrasive pads that can strip the protective finish or damage acrylic diffusers. Never pull, twist, or apply heavy physical pressure to the suspension cables or electrical cords during cleaning, as this can loosen the ceiling connections or damage the internal wiring.
Community discussion
Share your experience or ask a question. Comments are reviewed before publication.