
Decorating a Christmas tree often results in a chaotic, cluttered look when ornaments are hung without a clear plan, leaving gaps and an unbalanced distribution of visual weight. Achieving a cohesive, polished look requires a systematic layering approach—preparing a full, well-lit base, establishing a tight color palette, and strategically distributing ornaments by size from the inside out. By treating the tree as a three-dimensional canvas rather than a flat surface, you can transform a simple collection of holiday decorations into a balanced, designer-style centerpiece.
What foundational steps should you take before hanging any ornaments?
Before any decorative items are hung, you must fully fluff the branches to eliminate gaps and distribute the lighting evenly from the trunk to the tips. This preparation phase establishes the structural and luminous foundation of the entire display, ensuring that subsequent layers sit securely and are illuminated beautifully. Skipping these initial steps often results in a sparse-looking tree with dark pockets that no amount of ornaments can fully conceal.
Fluffing, or shaping, is particularly critical for artificial trees that have been compressed in storage boxes. Start at the bottom section of the tree and work your way upward, branch by branch, before assembling the next tier. Pull individual tips outward and upward in a fan pattern, mimicking the natural growth of a real evergreen. Ensure you spread the inner tips to block the view of the central metal pole, creating a dense, lush background that provides depth.
Products mentioned in this guide
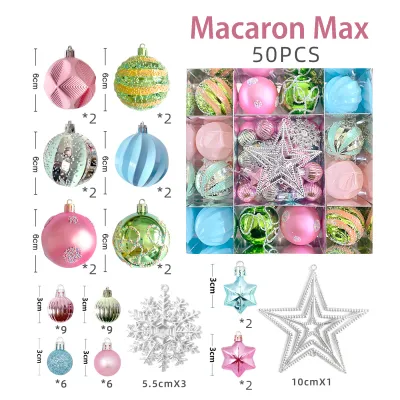
224 Lazada user ratings
Everything good, quality good , delivered quickly. Recommend to buy. Thank you 😊 👌🏻
Fast delivery. Received in good condition. Quality looks good.
Love this product and this is repeated third order already .
Love this product and this is repeated third order already.

53 Lazada user ratings
Perfect size for a Christmas tree, Vibrant colors for a lively Christmas tree,
🎨Design: as shown. It’s nice
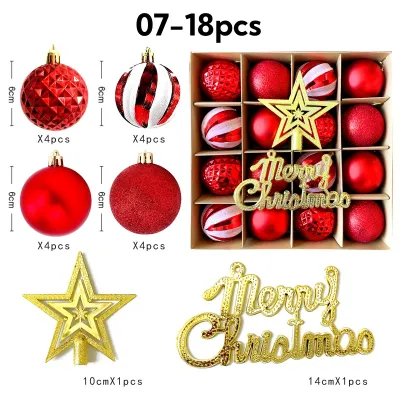
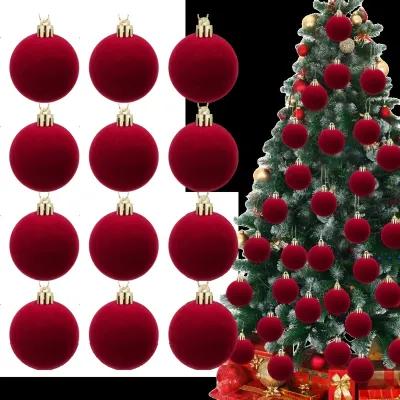
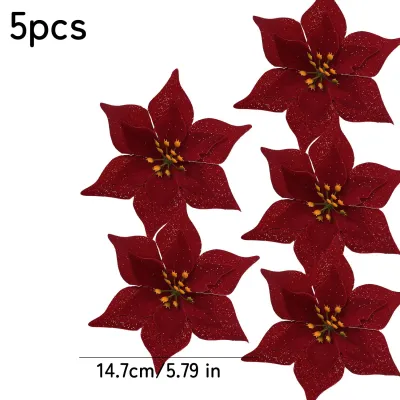
Prices are valid at publication and may change. Please refer to the product page for the latest price.
Once the tree is fully shaped, install the lights systematically to ensure an even glow throughout the interior and exterior. If you are using an unlit tree, wrap the lights from the trunk outward along each main branch to the tip, then back toward the center before moving to the next branch. This technique creates a multi-dimensional glow that highlights the ornaments from within.
When handling electrical components, always verify the voltage, wattage limits, and electrical certifications of your light strings. For homes in Singapore, ensure all lighting products and adapters carry the appropriate safety certifications, such as the SAFETY Mark, to prevent electrical hazards. Avoid daisy-chaining more light strings than the manufacturer recommends, and always isolate the power by unplugging the lights before adjusting cords or replacing bulbs.
Finally, add any foundational garlands, wide ribbons, or decorative mesh before hanging individual ornaments. Weaving ribbon deep into the branches at this stage allows you to create elegant billows and secure them to the inner branches. Trying to tuck wide ribbon around already-hung delicate glass ornaments later is difficult and frequently leads to accidental breakage.
How do you establish a color palette and theme for visual flow?
Establishing visual flow relies on selecting a restricted color scheme and grouping ornaments by finish to create structured texture. A cohesive theme does not mean every ornament must look identical; rather, it means they should share a common visual language that complements your room’s existing interior decor.

A reliable design rule is to choose a primary color to occupy about 60% of the tree, a secondary color for 30%, and a single accent color for the remaining 10%. For a warm, traditional aesthetic, you might pair deep red as the primary color with champagne gold as the secondary, accented by pops of forest green. If your living space features cool tones, a palette of silver and white accented with navy blue or blush pink can create a sophisticated, modern atmosphere.
Varying the finishes of your ornaments within your chosen color palette is an excellent way to add depth without introducing visual clutter. Group your ornaments into categories such as matte, glossy, glittered, and frosted. Matte finishes absorb light and provide a soft, solid background, while glossy and glittered surfaces reflect the tree lights, creating a dynamic shimmer that draws the eye.
To maintain a polished look, set aside highly sentimental, mismatched, or handmade ornaments that do not fit your chosen theme. Instead of forcing them onto a styled tree where they might clash, consider displaying them on a separate, dedicated family tree, a festive mantel garland, or a decorative bowl. This separation allows you to enjoy your cherished memories without compromising the design integrity of your main display.
What is the best strategy for distributing visual weight and large ornaments?
To balance the tree’s visual weight, place your largest, heaviest ornaments deeper inside the branches near the trunk rather than hanging them on the outer tips. This strategic placement anchors the design, provides structural support, and prevents the tree from looking top-heavy or cluttered.
Hanging large, heavy ornaments deep within the tree utilizes the thicker, stronger parts of the branches close to the central pole. This minimizes the risk of branches sagging under the weight, which can cause delicate glass pieces to slip off and break. It also creates a sense of internal depth, making the tree look fuller by drawing the viewer’s eye into the branches rather than just across the outer surface.
Distribute these large focal pieces evenly across the tree using a zigzag or triangular pattern. Start from the bottom third of the tree, where the branches are widest, and place the largest ornaments there. As you move upward, gradually transition to slightly smaller focal pieces, ensuring they are spaced out evenly on all visible sides of the tree.
Avoid clustering large ornaments together, as this creates heavy visual spots that disrupt the balance of the design. Leaving ample space between these anchor pieces allows the eye to travel smoothly across the tree. This spacing also leaves room for medium and small ornaments to frame the larger focal points, ensuring they do not compete with each other for attention.
How should you layer medium and small ornaments to fill gaps and add depth?
Layering medium and small ornaments involves placing medium pieces on the mid-to-outer branches and using small ornaments or decorative picks to fill remaining gaps. This step bridges the space between your large focal points and the outer silhouette of the tree, creating a rich, layered appearance.
Medium-sized ornaments are the workhorses of your tree styling and should be hung on the outer third of the branches. Position them to frame the larger, deep-set ornaments, creating a natural transition in scale. Vary the depth slightly—tuck some medium ornaments slightly into the branches and hang others closer to the tips to maintain a three-dimensional effect.
Small, lightweight ornaments are ideal for the very tips of the branches, where the wood is thinnest and cannot support heavier items. Use these delicate pieces to add intricate details and catch the light at the outer edges of the tree. You can also use decorative floral picks, berry sprays, or pinecone stems tucked into sparse areas to add organic texture and fill minor gaps.
To elevate the design, try clustering two or three coordinating ornaments together using floral wire. Combining a matte sphere, a shiny teardrop, and a textured finial into a single cluster creates a rich, custom focal point that looks professionally styled. These clusters can be tucked into larger gaps to add instant dimension and visual interest.
Which finishing touches ensure your tree looks polished from every angle?
The final polish comes from securing a proportionate tree topper, concealing the base with a coordinated skirt or collar, and conducting a final visual check from multiple angles. These finishing touches tie the entire design together, ensuring a clean presentation from the star at the top to the floor below.
Select a tree topper that matches the scale and weight capacity of your tree’s central branch. A topper that is too heavy can bend the delicate lead branch, while one that is too small will look disproportionate. Secure the topper firmly to the central vertical branch, reinforcing it with floral wire or zip ties if necessary to keep it perfectly upright.
Conceal the metal or plastic tree stand using a tree skirt, a woven collar, or a decorative fabric wrap. Ensure the style, material, and color of the base cover align with your overall ornament theme. For example, a rustic woven rattan collar pairs beautifully with a woodland theme, while a plush velvet skirt complements a classic, elegant design.
Once everything is in place, step back at least three meters from the tree and squint your eyes to conduct a final visual inspection. Squinting blurs the individual details, making it much easier to spot dark patches, uneven light distribution, or clusters of identical ornaments. Walk around the tree to inspect it from every angle, adjusting any sagging branches or misplaced items until the overall display feels perfectly balanced and complete.
Community discussion
Share your experience or ask a question. Comments are reviewed before publication.