
Applying gold leaf to a home Buddhist altar, Buddha statue, or religious artifact is a deeply rewarding practice that combines artistic precision with spiritual devotion. This traditional art, known as gilding, involves applying micro-thin sheets of gold to a prepared surface using a specialized adhesive. When undertaken at home, the process requires patience, a clean environment, and a respectful mindset to ensure the finished sacred object retains its brilliant luster. By understanding the unique characteristics of gilding materials and following a structured, step-by-step method, you can successfully restore or beautify your family’s sacred items with professional-grade durability.
Selecting Gold Leaf and Adhesives for Religious Artifacts
Choosing the right materials is the foundation of a successful gilding project, especially when working on sacred objects that hold deep personal and spiritual value. The first decision involves selecting between genuine gold leaf and imitation gold leaf. Genuine gold leaf, typically ranging from 22-karat to 24-karat purity, is highly recommended for religious artifacts due to its natural resistance to oxidation, corrosion, and environmental moisture. It retains its warm, rich glow indefinitely without tarnishing. In contrast, imitation gold leaf—often made of a copper and zinc alloy—is a cost-effective alternative but is highly susceptible to tarnishing and discoloration over time when exposed to air and humidity, meaning it must always be sealed with a protective topcoat.
The adhesive used to bond the gold leaf to the surface is known as “size,” and it comes in two primary formulations: water-based and oil-based. Water-based acrylic size is highly favored for indoor home projects because it dries quickly, typically reaching a tacky state within 15 to 30 minutes, and remains open for gilding for several hours. It is also low-odor and cleans up easily with water, making it convenient for a home environment. Oil-based size, which is traditional, offers an exceptionally smooth finish and superior moisture resistance, but it requires a much longer drying window (ranging from 3 to 12 hours) and demands excellent ventilation due to solvent fumes.
Products mentioned in this guide
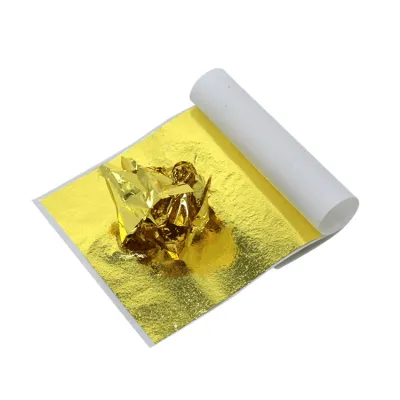
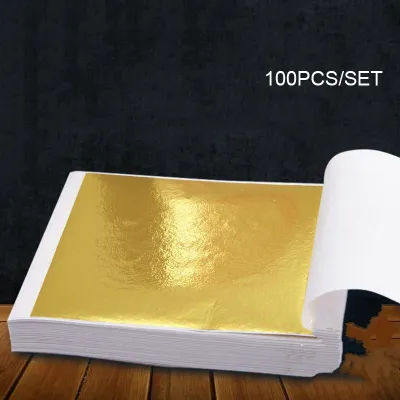
![[SG 🚚] 100pcs 24K Gold Leaf Sheets for Art Crafts Design Gilding Framing Scrap](https://img.lazcdn.com/g/p/7b42175a1077dff5bb98d73560829ca9.jpg_400x400q80.jpg_.webp)
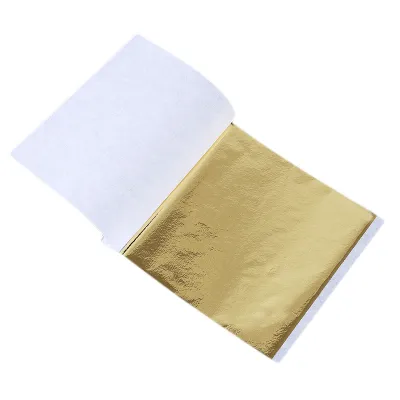
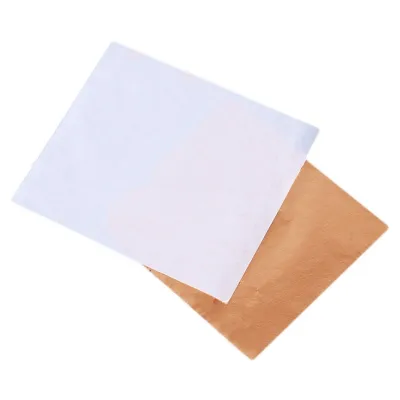
![[SG 🚚] 100pcs Art Design Paper Sheets Pure Shiny Gold Silver Rose gold Leaf for Gilding](https://img.lazcdn.com/g/p/a75472950f9a051ef9667c47cecaba72.jpg_400x400q80.jpg_.webp)
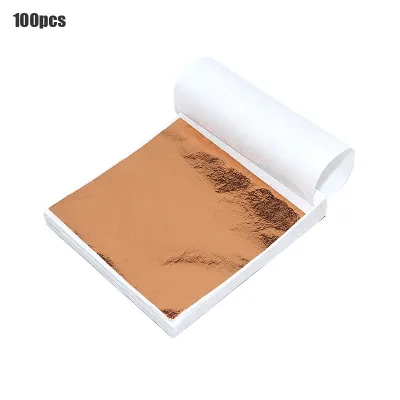
Prices are valid at publication and may change. Please refer to the product page for the latest price.
Before purchasing your materials, always check the product labels to ensure compatibility with the specific substrate of your religious artifact. Home altars and statues are commonly crafted from wood, cast resin, plaster, ceramic, or various metals. Some adhesives require a dedicated primer or sealer to prevent the porous base material from absorbing the size too quickly. For instance, unglazed ceramic or raw wood will drink up the adhesive, leaving the surface dry and unable to hold the gold leaf, whereas a properly primed surface ensures the adhesive sits evenly on top to create a perfect bond.
Preparing the Altar and Artifacts with Respect
Gilding a religious artifact is more than a simple home improvement task; it is an act of reverence that requires mindful preparation of both the physical space and the object itself. Begin by preparing the physical environment. If the altar or statue features integrated electrical lighting, decorative bulbs, or wiring, disconnect the power supply completely from the wall outlet to ensure absolute safety. Remove all offerings, incense burners, flower vases, and decorative cloths from the altar area, placing them in a clean, respectful temporary location. This minimizes the risk of accidental spills and provides you with an unobstructed, stable workspace.

Next, clean the artifact thoroughly to remove accumulated dust, soot from incense, oil residue, and fingerprints. Use a soft, lint-free microfiber cloth slightly dampened with warm water and a tiny drop of mild, non-abrasive dish soap. Avoid harsh chemical solvents, abrasive scrubbing pads, or heavy household cleaners, as these can permanently damage the underlying wood lacquer, resin, or ceramic glaze. For intricate carvings and hard-to-reach crevices common in Buddhist iconography, use a soft-bristled toothbrush or a cotton swab to gently lift away debris. Allow the object to dry completely before proceeding, as any trapped moisture will interfere with the adhesive’s performance.
In many cultural and religious traditions, the physical preparation is accompanied by spiritual mindfulness. Before beginning the actual gilding work, take a moment to quiet your mind, set a respectful intention, or perform a short prayer or chant according to your personal practice. Working with clean hands, a calm demeanor, and focused attention honors the sacred nature of the object. This mindful approach not only aligns with traditional practices of merit-making but also fosters the steady hand and patience required for the delicate steps ahead.
Applying the Adhesive and Testing for the Right Tack
The key to a flawless gold leaf application lies in the precise application of the adhesive and identifying the exact moment it is ready to receive the leaf. Using a high-quality, soft-bristled brush—such as a synthetic sable or a soft nylon brush—apply a very thin, uniform coat of size to the areas you wish to gild. It is crucial to avoid overloading the brush, as excess adhesive will pool in the deep recesses, fine lines, and intricate carvings of the statue or altar frame. Pooling results in an uneven, mushy texture that prevents the gold leaf from laying flat and can cause the finish to look dull or wrinkled.
Once the adhesive is applied, you must wait for it to reach the optimal state of tackiness, a step that requires careful monitoring. Perform the “knuckle test” to verify readiness: gently touch the adhesive-coated surface with the back of a clean, dry knuckle. The adhesive should feel sticky and offer a slight resistance as you pull your knuckle away, similar to the feel of pressure-sensitive tape, but it must not leave any wet residue on your skin. If the adhesive feels wet or transfers to your knuckle, it is too wet; applying gold leaf now will drown the leaf and ruin the shine. If it feels completely dry and non-sticky, the window has passed, and you will need to apply another thin coat of size.
The environment in which you apply the adhesive plays a significant role in your success. Choose a room that is free from strong drafts, open windows, air conditioning vents, or running fans. Gold leaf is incredibly light and thin; even the slightest breeze can blow the sheets away, cause them to fold over on themselves, or introduce airborne dust particles that will get trapped under the gold, creating unsightly bumps on your finished artifact. Working in a calm, draft-free space ensures the adhesive dries at a predictable rate and the delicate leaf remains manageable.
Transferring and Burnishing the Gold Leaf
Handling gold leaf requires a gentle touch and specialized tools, as the material is so thin that touching it directly with your bare fingers will cause it to stick to your skin and tear instantly. To transfer the leaf from its protective paper booklet to the artifact, use a gilder’s tip brush or specialized bamboo tweezers. A gilder’s tip brush, made of soft natural hair, can be lightly charged with static electricity by brushing it gently against your hair or sleeve, allowing it to lift a single sheet of gold leaf effortlessly. Alternatively, you can use “patent gold leaf,” which is lightly adhered to a backing sheet of tissue paper, allowing you to pick up the paper and press the gold directly onto the tacky surface.
Gently lower the gold leaf onto the tacky adhesive, letting it settle naturally. Once the leaf makes contact with the surface, use a very soft, dry brush—such as a gilder’s mop or a clean, fluffy makeup brush—or a sterile, dry cotton ball to gently press the leaf into place. This process, known as burnishing, secures the bond between the gold and the adhesive. Use light, circular, tapping motions rather than a dragging motion to push the delicate leaf into the intricate textures, folds of robes, and carved details of the artifact.
When covering a large or highly detailed object, you will inevitably need to use multiple sheets of gold leaf. Manage these transitions by overlapping each sheet slightly, by about two to three millimeters, to ensure there are no gaps showing the underlying base. As you burnish, the excess gold leaf at the seams will naturally break away into tiny flakes, known as skewings. Use your soft brush to sweep these skewings gently into a small, clean container; they are highly valuable for patching tiny missed spots or pinholes later in the process, ensuring a seamless, continuous golden finish.
Sealing, Curing, and Maintaining the Gilded Surface
After completing the gold leaf application, the final steps involve protecting your hard work and establishing a safe, long-term care routine. Whether you need to apply a protective sealant depends largely on the purity of the gold leaf you used and the environment of your home. Genuine 22k to 24k gold leaf does not require a sealant for indoor use, as pure gold does not tarnish or oxidize. Leaving genuine gold unsealed preserves its unmatched, brilliant metallic luster. However, if you used imitation gold leaf, you must apply a thin coat of high-quality, non-yellowing clear acrylic sealer or shellac to protect the copper-alloy base from oxidizing due to humidity and air exposure.
Before applying any sealer or handling the artifact extensively, the gilded surface must be allowed to cure completely. Place the completed object in a clean, dust-free room with stable temperature and humidity. Avoid touching, moving, or placing any objects back onto the gilded surface during this curing period, which typically lasts between 24 and 48 hours, depending on the adhesive manufacturer’s specifications. Allowing the adhesive to cure fully ensures the gold leaf is permanently anchored to the substrate.
Once cured, maintaining your gilded religious artifact requires a gentle, dry cleaning routine. Establish a habit of dusting the surface using only an ultra-soft, dry makeup brush, a gilder’s mop, or a clean feather duster. Strictly avoid using wet cloths, damp sponges, household chemical cleaners, or furniture polishes on the gilded areas. Moisture and friction are the primary enemies of gold leaf; abrasive cleaning can slowly wear away the micro-thin gold layer, while moisture can seep underneath and compromise the adhesive bond, leading to peeling or dullness.
Troubleshooting Common Gilding Mistakes
Even with meticulous care, mistakes can happen during the home gilding process, but most errors are easily corrected with the right techniques. If you notice wrinkles, tears, or small gaps in the gold leaf after application, do not panic. You can easily patch these areas by applying a tiny drop of adhesive to the exposed spot using a fine-tipped detail brush. Wait for the adhesive to reach the correct tacky state, then place a small piece of gold leaf or a few saved skewings over the gap. Burnish the patch gently with your soft brush, feathering the edges outward to blend the new piece seamlessly with the surrounding gilded surface.
Another common issue is the appearance of dull, cloudy, or matte spots on the finished surface. This usually occurs when the gold leaf was applied too early, while the adhesive was still wet and trapped moisture beneath the leaf. To resolve this, allow the area to dry completely for several days. Once dry, you can lightly sand the dull spot with ultra-fine sandpaper (such as 400-grit or higher) to create a smooth base, wipe away any dust, reapply a very thin layer of size, wait for the correct tack, and apply a fresh piece of gold leaf over the area.
If you find that the gold leaf is not adhering at all in certain spots, it means the adhesive was applied too thinly and dried out completely before the leaf was laid down, or the porous substrate absorbed the adhesive. To fix this, ensure the area is clean and free of loose gold flakes. Reapply a slightly more generous, yet still controlled, layer of size to the bare spots, monitor it closely until it passes the knuckle test, and carefully apply a new sheet of gold leaf, blending the edges gently with a soft brush to maintain a uniform, radiant appearance across the entire artifact.
Frequently Asked Questions (FAQ)
Can I apply gold leaf over existing paint or old gold leaf?
Yes, you can apply new gold leaf over existing paint or old, worn gold leaf, provided the underlying surface is stable, clean, and free of flaking material. Begin by inspecting the artifact closely; if the old paint or gilding is peeling, cracking, or bubbling, you must gently sand those loose areas down to a stable, solid layer using fine-grit sandpaper. Once the surface is smooth, wipe away all dust with a slightly damp cloth and let it dry completely. It is highly recommended to apply a high-quality acrylic primer or a dedicated base coat—often in a traditional red or yellow tone—before applying the new adhesive. This base coat seals the old finish, prevents chemical reactions between old and new materials, and provides a warm, rich undertone that enhances the brilliance of the new gold leaf.
Is it necessary to use real gold leaf for Buddhist statues?
While it is not strictly mandatory to use real gold leaf, choosing genuine gold holds significant cultural, spiritual, and practical value in many Buddhist traditions. Culturally and spiritually, offering pure gold (such as 22k or 24k gold leaf) to a Buddha statue is viewed as an act of deep devotion, respect, and merit-making, representing the ultimate purity and timelessness of the Buddha’s teachings. Practically, genuine gold leaf is highly durable and completely resistant to tarnishing, meaning your statue will maintain its radiant, golden glow for decades without requiring a protective sealer, which can sometimes dull the natural metallic luster. However, if budget constraints make genuine gold impractical, high-quality imitation gold leaf is a widely accepted and beautiful alternative for home altars, especially in humid climates like Singapore’s, provided it is carefully sealed to protect it from humidity and oxidation over time.
Community discussion
Share your experience or ask a question. Comments are reviewed before publication.