
A professional wall display of credentials, degrees, and licenses does more than fill empty space; it establishes credibility and reflects attention to detail. Arranging multiple certificate frames requires a systematic approach to layout, spacing, and mounting. By planning your design before making any marks on the wall, you can create a balanced, visually appealing gallery that looks polished and intentional.
Plan Your Certificate Frame Layout Before Making Holes
Before picking up a hammer or drill, you must decide on the overall arrangement style. A structured grid layout is highly effective when you have multiple certificate frames of the identical size, shape, and color. This symmetrical approach projects a formal, traditional, and highly organized corporate image. If your credentials come in various sizes and orientations, an organic salon style or a modified block layout is more appropriate. This style groups different frames together within a defined outer boundary, creating a dynamic yet balanced display.
To visualize these layouts without damaging your walls, create paper templates of each certificate frame. Trace the outline of each frame onto kraft paper, wrapping paper, or newspaper, and cut them out. Label each paper template with the corresponding certificate name and mark the exact position of the hanging bracket or wire on the paper. Use low-tack painter’s tape to stick these templates to the wall. This allows you to experiment with different configurations, swap positions, and adjust spacing easily until you find the perfect balance.
Products mentioned in this guide
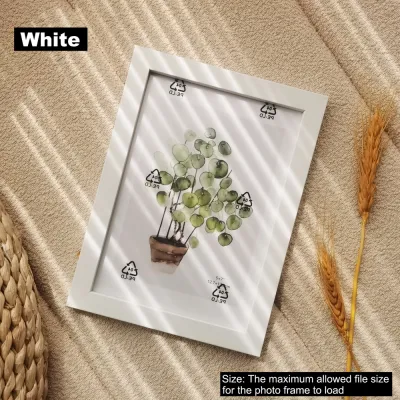
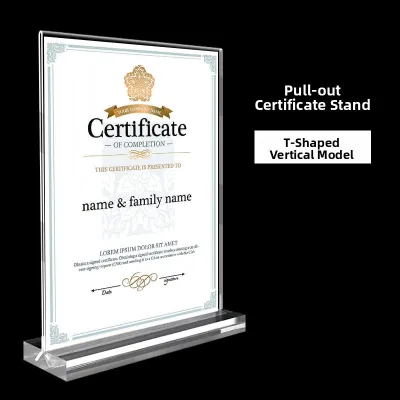
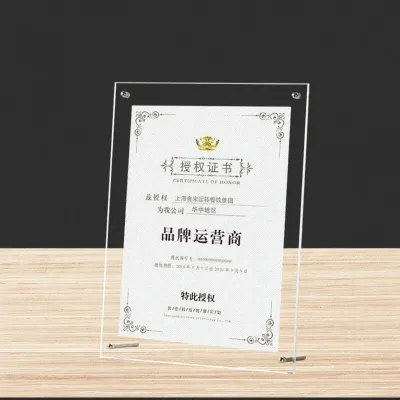

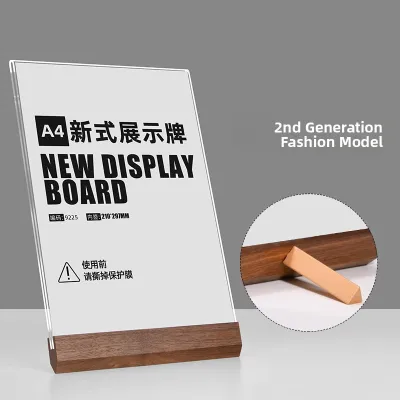
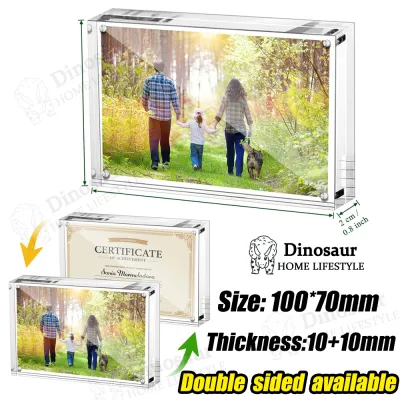
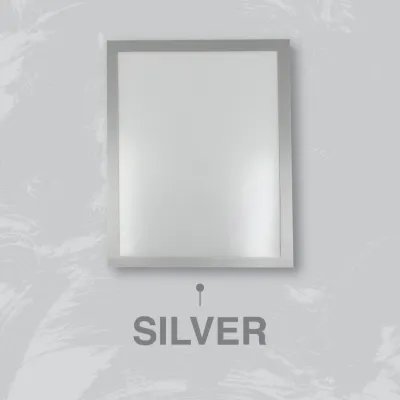
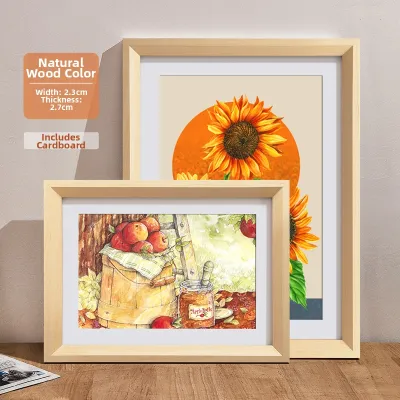
Prices are valid at publication and may change. Please refer to the product page for the latest price.
Measuring the available wall space is a critical step in this planning phase. A display that is too large will overwhelm the room, while one that is too small will look lost. Measure the width and height of the wall section, keeping in mind any nearby architectural features like door frames, windows, or light switches. Ensure there is a comfortable margin of empty wall space around the entire arrangement to act as a visual frame, allowing each certificate frame to stand out clearly.
Select Safe Hanging Hardware for Your Wall Type
The safety and longevity of your display depend heavily on matching your hanging hardware to the specific wall material. In many residential and commercial spaces, walls are constructed from drywall, which requires specialized hollow-wall anchors, toggle bolts, or self-drilling threaded anchors to support weight securely. Conversely, concrete, brick, or masonry walls—which are standard in many local apartments and office buildings—require a different approach. For these solid surfaces, you must use a rotary hammer drill with a masonry bit, plastic wall plugs, and matching screws to ensure the frames remain firmly anchored.

Before purchasing hardware, determine the total weight of each certificate frame. This weight includes the frame itself, the glass or acrylic glazing, the matting, the backing board, and the certificate. Check the manufacturer’s weight rating printed on the hardware packaging. Never exceed this limit; instead, choose hooks or anchors rated for at least double the weight of your frame to provide a safe margin of security. Using under-rated hardware can lead to sagging, wall damage, or falling frames that could break or cause injury.
While many standard frame installations are straightforward DIY projects, certain scenarios require professional assistance. If you are hanging exceptionally heavy solid wood or metal frames, mounting displays at a significant height, or installing frames on delicate wall coverings like silk wallpaper, it is best to consult a qualified professional installer. Additionally, if you suspect that electrical wiring or water pipes run behind your chosen wall section, use a reliable stud finder with live-wire detection or hire a professional to avoid hazardous drilling accidents.
Step-by-Step Process for Hanging Your Frames
Once your paper templates are taped in place and you are satisfied with the layout, you can begin the physical installation. Start by establishing a clear baseline or a central anchor point for the entire arrangement. If you are hanging a grid, this might be the center point of the middle frame or the bottom edge of the lowest row. Having a single, reliable reference point ensures that any minor measurement adjustments made during the process do not throw off the alignment of the entire gallery.
Next, translate the hanging points from your paper templates directly onto the wall. Use a high-quality spirit level or a laser level to ensure your horizontal lines are perfectly straight. Measure the distance from the top of each certificate frame to its hanging hardware (such as a D-ring, sawtooth hanger, or wire under tension). Mark this exact distance down from the top edge of your paper template on the wall using a pencil. Double-check these marks with your measuring tape to confirm that the spacing between frames remains consistent.
With the hanging points marked, you can now install the anchors or hooks. For concrete walls, drill a hole to the depth specified by the wall plug manufacturer, insert the plastic plug until it is flush with the wall surface, and drive the screw in, leaving a small portion protruding to catch the frame’s hanger. For drywall, screw the threaded anchor directly into the wall or tap in a specialized picture hook. Before hanging your certificate frame, gently pull downward on the installed hook or screw to verify its stability and ensure it is firmly seated in the wall.
Apply Spacing and Alignment Rules for a Clean Look
Achieving a professional look relies on strict adherence to spacing and alignment rules. Maintain a consistent gap between all frames in your arrangement. A standard distance of 5 cm to 10 cm (approximately 2 to 4 inches) works exceptionally well for most displays. Keeping this gap uniform across the entire gallery prevents the arrangement from looking cluttered or disjointed, creating a cohesive visual unit rather than a random collection of individual frames.
When dealing with frames of varying sizes, you must decide on an alignment strategy. You can choose to align the top edges of the frames for a clean, modern look, or align the bottom edges if the display sits above a piece of furniture. Alternatively, aligning the center lines of the frames along a shared horizontal axis creates a balanced, classic feel that accommodates different heights easily. Whichever method you choose, consistency is key; do not mix different alignment strategies within the same wall display.
The vertical positioning of the overall arrangement should always prioritize comfortable viewing. Aim to place the center of the entire display at standard eye level, which is generally between 140 cm and 150 cm from the floor. If the certificate frames are positioned in an office where people are primarily seated, such as behind a desk or in a meeting room, you may want to lower the center point slightly so the credentials can be easily read from a seated position without causing neck strain.
Protect and Maintain Your Certificate Display
Preserving the physical integrity of your certificates is just as important as hanging them straight. Avoid positioning your display on walls that receive direct, intense sunlight, as ultraviolet (UV) rays will quickly fade the ink and yellow the paper of your hard-earned credentials. High humidity can also cause significant damage, leading to paper warping, mold growth, or deterioration of the frame backing. In tropical or humid environments, ensure the room is well-ventilated or air-conditioned, and consider using moisture-resistant backing boards.
Regular maintenance will keep your display looking pristine and professional. When cleaning, use a dry, clean microfiber cloth to gently dust the frames and glass. If the glass or acrylic requires a deeper clean, apply a small amount of specialized glass cleaner directly to the cloth first—never spray liquid cleaners directly onto the frame, as the liquid can run down, seep behind the glass, and permanently stain or water-damage the certificate inside.
Finally, perform a quick safety check of your display at least once a year. Gently wiggle each certificate frame to ensure the hanging hardware remains secure and has not loosened over time. Inspect the wall surrounding the hooks for any signs of cracking, crumbling plaster, or moisture ingress. Taking a few minutes to verify the structural integrity of your display prevents accidental falls and ensures your professional achievements remain safely and beautifully showcased for years to come.
Frequently Asked Questions (FAQ)
Should all certificate frames be the same size and color?
Using identical certificate frames in both size and color is the most reliable way to achieve a highly formal, traditional, and corporate aesthetic. This uniformity works best for displaying degrees, professional licenses, or board certifications in medical offices, law firms, or corporate boardrooms. However, if your certificates are of different sizes, you can still achieve a cohesive look by mixing frame styles, provided you use a unifying element. For example, you can use different frame designs but keep the matting color, frame material, or frame color identical across the entire collection to tie the display together beautifully.
How high should I hang certificate frames on the wall?
As a general rule of thumb, the center of your certificate frame arrangement should sit at a standard eye level of approximately 140 cm to 150 cm from the floor. If you are hanging the frames directly above a piece of furniture, such as a desk, credenza, or console table, adjust the height so that the bottom edge of the lowest frame sits about 15 cm to 20 cm above the top surface of the furniture. This spacing prevents the display from looking disconnected from the room’s layout while ensuring that desk accessories or computer monitors do not block the view of your credentials.
Community discussion
Share your experience or ask a question. Comments are reviewed before publication.