
Bringing the serene, dappled light of a forest canopy into an indoor space is a highly effective way to create a calming sanctuary. By carefully planning and arranging a leaves room light setup, you can mimic the organic patterns of climbing vines, tree branches, and filtered sunlight. Achieving a cohesive, natural look requires more than simply hanging string lights; it involves strategic planning, selecting the right materials, and understanding how to drape and layer light to replicate natural foliage. This guide provides a step-by-step roadmap to transform your room into a leaf-inspired retreat safely and damage-free.
Planning Your Leaves Room Light Design
Before buying any decorations, evaluate your room’s physical layout and architectural features. Note the height of your ceiling, the locations of your electrical outlets, and the texture of your walls. Smooth plaster or painted drywall works well with standard adhesive hooks, whereas textured walls or concrete surfaces common in Singapore apartments may require specialized mounting solutions. Knowing where your power sources are helps you decide whether you need extra-long light strings, extension cords, or battery-operated models to avoid unsightly wires stretching across open spaces.
Choosing the correct type of fairy light is essential for achieving a convincing leaves room light aesthetic. Delicate copper wire lights are highly flexible and mimic thin, winding vines beautifully. Cotton string lights offer a softer, diffused glow reminiscent of glowing blossoms, while pre-decorated leaf-shaped LED lights provide immediate botanical structure. Opt for a warm white color temperature (around 2700K) to replicate the cozy, golden hue of dawning sunlight or fireflies filtering through a forest canopy. Always check that the operating voltage of your chosen lights matches your local power supply—typically 230V at 50Hz in Singapore—and look for products that feature a certified safety mark on the power adapter to ensure stable operation.
Products mentioned in this guide
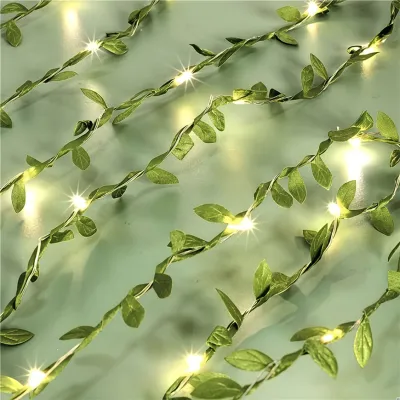
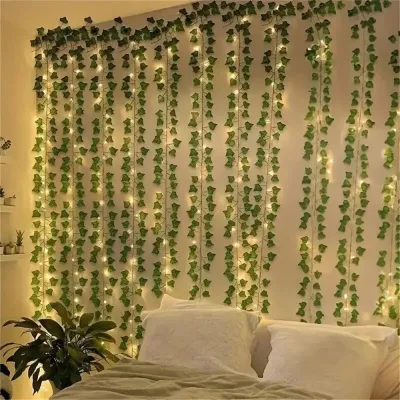
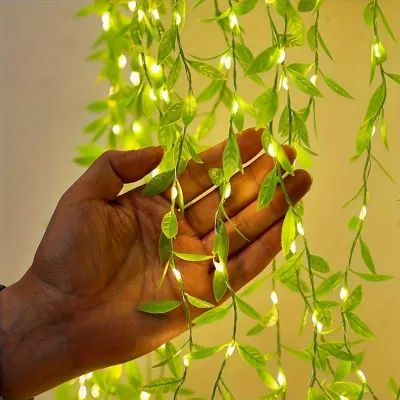
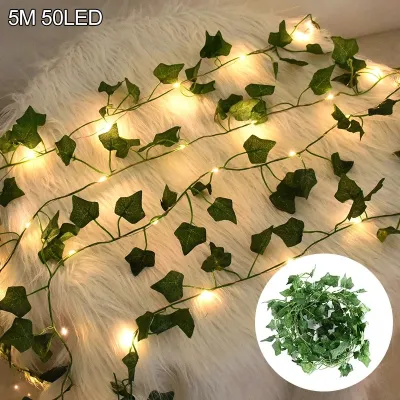
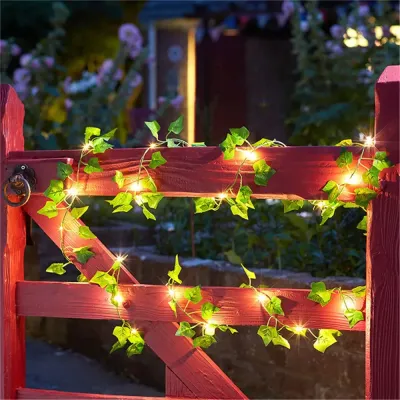
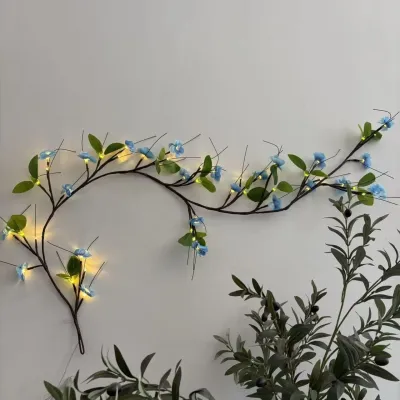
Prices are valid at publication and may change. Please refer to the product page for the latest price.
To avoid running out of lights mid-project, draw a simple sketch of your room’s layout. Measure the paths where you plan to drape the lights, including any vertical drops down the walls. Add an extra 10% to 15% to your total length calculation to account for natural draping, wrapping, and organic curves. This simple step prevents the lights from looking too taut or geometric, which would break the organic illusion.
Essential Tools and Materials for the Setup
Executing a clean, damage-free installation requires a specific set of tools and materials. Having these items ready before you begin ensures a smooth workflow and protects your room’s surfaces from permanent damage.

- Primary Lighting Materials: Select indoor-rated LED fairy lights of your chosen style. If your layout features hard-to-reach outlets, prepare high-quality extension cords and smart plugs or timers to automate your setup.
- Damage-Free Mounting Hardware: Use transparent adhesive hooks and specialized light clips designed for clean removal. Reusable mounting putty can help secure light wires along delicate surfaces or furniture borders without leaving marks.
- Installation Tools: A sturdy step ladder is essential for any ceiling or high-wall work. Keep a pair of scissors, discreet green or clear cable ties, and thin floral wire handy to bind light strands to artificial greenery or curtain rods.
- Safety and Compliance Items: Ensure all electrical components carry recognized safety certifications (such as the Enterprise Singapore Safety Mark). Verify that every light strand is explicitly rated for indoor use to prevent overheating in enclosed spaces.
Step-by-Step Guide to Creating a Leaf Canopy Effect
Transforming your ceiling and walls into a lush, glowing canopy requires a methodical approach. By separating the installation into distinct zones—the ceiling canopy and the wall vines—you can build a layered depth that feels incredibly natural.
Draping a Ceiling Canopy
An overhead canopy mimics the feeling of sitting beneath a protective tree crown. Begin by mapping out your anchor points on the ceiling. Use a pencil and a level to mark where each drape will start and end. For a natural look, avoid rigid, perfectly straight grids; instead, plan a radiating pattern that starts from a central point (like an overhead light fixture or a corner) and spreads outward, or create parallel drapes that sag gently at slightly different depths.
Once your points are marked, apply your damage-free adhesive hooks. Clean each spot on the ceiling with rubbing alcohol first to remove dust and oils, ensuring a strong bond. Press the hooks firmly into place and allow the adhesive to cure according to the manufacturer’s instructions—usually at least one hour—before hanging any weight on them. Skipping this curing step is the most common cause of falling hooks.
When the hooks are secure, begin weaving your fairy lights across the anchor points. Do not pull the strands tight. Instead, leave intentional slack so the lights dip naturally, creating a relaxed, organic drooping vine silhouette. If you are using copper wire lights, you can gently bend the wire to create subtle waves that mimic wild growth.
To elevate the leaf-inspired theme, integrate lightweight artificial eucalyptus, ivy, or willow garlands with your light strands. Weave the faux greenery around the light wire, securing it at intervals with green floral wire or clear cable ties. Ensure the total weight of the combined garland and lights does not exceed the weight limit specified on your adhesive hooks. This combination of soft light filtering through green leaves creates beautiful, dappled shadows across your room.
Designing Wall Vines and Branches
Vertical light installations can make your walls look like they are alive with climbing ivy. Start by planning a growing vine pattern that originates from a natural source, such as behind a bedhead, next to a bookshelf, or from a corner. Meander the lights upward and outward in gentle S-curves and zigzags rather than strict vertical or horizontal lines, mimicking how real climbing plants seek sunlight.
To create a realistic branch structure, bundle three or four strands of fairy lights together near the base using floral wire to form a thick trunk. As you move higher up the wall, separate the strands one by one, directing them outward to represent thinner twigs or offshoots. This tapering effect gives the installation an authentic, botanical growth pattern.
You can also use this technique to frame existing architectural features. Outline a window frame, wrap a mirror, or trace the top of your headboard to integrate the lights seamlessly into your room’s layout. This makes the nature theme feel built-in rather than temporarily tacked on.
Before committing to your final hook placement, temporarily tape the light strands to the wall using low-tack painter’s tape. Step back to view the entire arrangement from different angles of the room. This allows you to adjust the curves, correct any unbalanced areas, and ensure the overall pattern flows naturally before securing the permanent adhesive clips.
Electrical and Installation Safety Rules
While creating a beautiful room aesthetic is exciting, electrical and physical safety must remain your top priority. Following strict installation boundaries prevents fire hazards, electrical overloads, and personal injury.
First, never overload your electrical outlets or extension cords. Check the maximum wattage limit printed on your power strip or wall outlet adapter, and calculate the total wattage of all connected light strands. LED fairy lights draw very little power compared to traditional incandescent bulbs, making them much safer to chain together, but you must still adhere to the manufacturer’s maximum limit for connected sets (usually specified as a maximum number of strands that can be safely end-to-ended).
Always choose LED fairy lights over incandescent options. LEDs generate virtually no heat, even after hours of continuous use. This low heat output is crucial when wrapping lights around artificial silk leaves, paper decorations, or hanging them near curtains, as it eliminates the risk of scorching or ignition.
When installing lights at a height, prioritize your physical safety. Ensure your step ladder is placed on a flat, stable surface, and never stand on the top step. Keep all power cables, extension cords, and controller boxes tucked away from high-traffic walkways to prevent tripping hazards that could pull the entire light installation down.
Be clear about your installation boundaries. If your design requires drilling holes into concrete ceilings, routing power cables behind drywall, or modifying any fixed electrical wiring, stop immediately and consult a qualified professional electrician. Never attempt to splice wires or hardwire decorative lights into your home’s mains system yourself.
Finally, perform regular safety checks on your setup. Inspect the cords for any signs of wear, pinching, or exposed copper wire, especially around tight bends or where they pass through clips. If you notice any damage, flickering, or unusual warmth from the adapter, unplug the lights immediately and replace the damaged set.
Styling Tips to Enhance the Nature Ambiance
To make your new lighting setup feel like a cohesive, intentional part of your room’s design rather than an isolated feature, pair it with complementary decor elements.
Integrate natural textures throughout the room to reinforce the organic theme. Linen curtains, rattan storage baskets, woven jute rugs, and raw wooden furniture pieces complement the soft, warm glow of the fairy lights beautifully. These materials diffuse light naturally and add tactile warmth to the space.
Use smart home technology to automate your nature retreat. Plug your fairy lights into a smart plug or use a light set with a built-in timer. Program them to turn on gradually at sunset and turn off at bedtime. This automation mimics the natural transition from daylight to twilight, helping to regulate your circadian rhythm and creating a relaxing evening routine.
If your fairy lights support a dimming function, take advantage of it. Keep the lights bright during the late afternoon or when reading, and dim them down to a low, warm whisper of light as you wind down for sleep. This flexibility allows the installation to serve both practical and ambient purposes.
Lastly, place real potted plants—such as trailing devil’s ivy (pothos), monstera, or snake plants—near your light sources. The warm glow of the fairy lights will cast dramatic, shifting shadows of real leaves onto your walls and ceiling. This interplay of light and shadow adds movement and a deep sense of realism to your indoor canopy.
Frequently Asked Questions (FAQ)
Can I use outdoor fairy lights indoors for a brighter effect?
While outdoor-rated fairy lights are built to withstand rain and dust, using them indoors is generally unnecessary and can be impractical. Outdoor lights often feature thicker, heavier rubber cables and bulky waterproof power adapters that are difficult to hide along delicate indoor walls or ceilings. Additionally, their brightness level is designed to compete with outdoor darkness, which can feel harsh and overwhelming in a cozy bedroom setting. Indoor-rated LED fairy lights, with their thin copper wires and softer, warmer glow, are far better suited for creating a delicate, leaf-inspired indoor canopy.
How do I prevent fairy lights from damaging my walls or ceiling?
To protect your paint and plaster, avoid using nails, staples, or heavy-duty mounting tapes. Instead, rely on high-quality, damage-free adhesive hooks designed specifically for clean removal. Always clean the wall surface with rubbing alcohol and let it dry completely before applying the adhesive to ensure a secure bond. When it is time to take the lights down or adjust your design, do not pull the hooks straight off the wall. Use a hairdryer on a low-heat setting to gently warm the adhesive backing for a few seconds, then slowly pull the release tab parallel to the wall surface to prevent the paint from peeling or chipping.
Community discussion
Share your experience or ask a question. Comments are reviewed before publication.