
Creating a custom holiday display can feel overwhelming if you lack advanced woodworking or sculpting skills, often leaving you with generic, store-bought options that do not quite fit your home’s aesthetic. Fortunately, you can build a stunning, personalized DIY nativity scene from scratch using basic household items like cardboard, air-dry clay, and safe, low-heat LED lighting. By breaking the project down into manageable steps—from planning a stable layout to shaping simplified figures—anyone can craft a meaningful festive centerpiece. This approach allows you to control the size, style, and budget of your display, ensuring it fits perfectly on a console table, shelf, or sideboard.
What materials and tools do you need to build a DIY nativity scene?
Gathering the right materials and tools before you begin ensures a smooth crafting process and prevents mid-project interruptions. For a beginner-friendly build, you do not need expensive specialized equipment; instead, focus on versatile, lightweight mediums that are easy to shape and bond. Double-walled cardboard sourced from shipping boxes provides an excellent, rigid foundation for the stable and base, while air-dry clay offers a highly forgiving medium for sculpting figures without the need for a kiln or home oven. If you prefer a more rustic look, small wood scraps, fallen twigs, and dried moss can be collected to add natural textures to the stable structure.
To assemble and decorate these materials, a few basic hand tools are essential. A sharp utility craft knife is necessary for clean cuts through thick cardboard, and a self-healing cutting mat will protect your tabletop. For bonding, non-toxic PVA wood glue or a low-temperature hot glue gun works best, as they provide strong adhesion without damaging delicate materials. You will also need a basic acrylic paint set—focusing on a cohesive color palette of warm neutrals, soft creams, terracotta, and deep blues—along with a few soft-bristle brushes of varying sizes. Choosing a unified color scheme and mixing textures, such as rough burlap fabric scraps against smooth painted clay, ensures your finished display looks intentional and visually harmonious.
Products mentioned in this guide
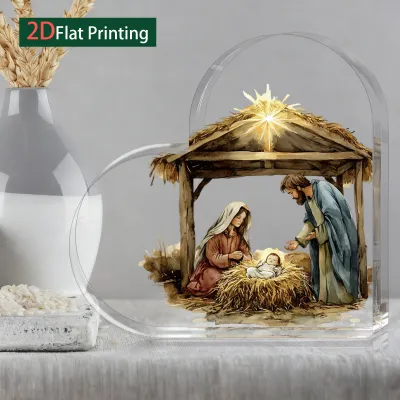
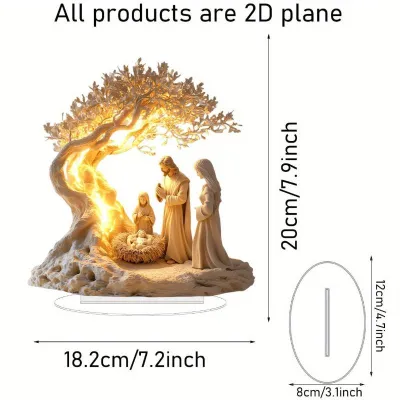
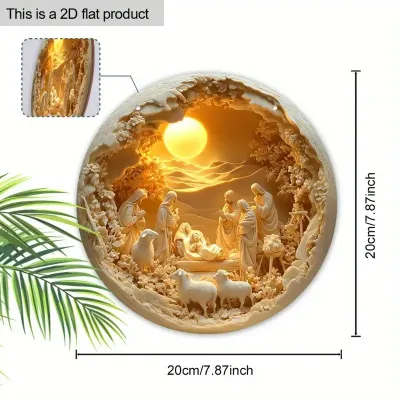
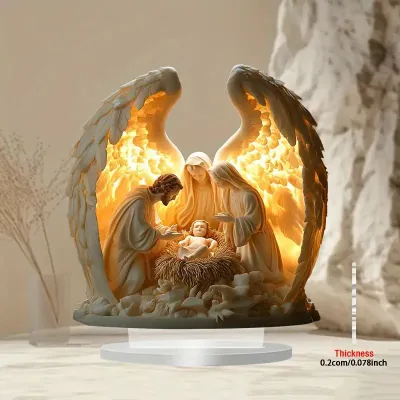
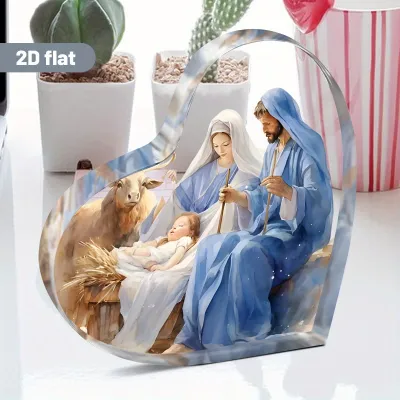
2 Lazada user ratings
Very nice items! Everything is perfect and exactly as described in the photos. Highly recommended seller, thank you.
Everything is perfect and exactly as described in the photos. Highly recommended seller, thank you.
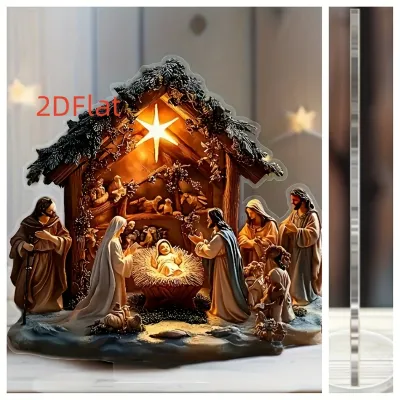
Prices are valid at publication and may change. Please refer to the product page for the latest price.
How do you design the layout and backdrop for your holiday display?
Designing a compelling layout requires planning the spatial arrangement on paper first to ensure all figures are visible and the stable backdrop provides a sense of depth. Before cutting any materials, sketch a basic blueprint of your display area, keeping in mind the dimensions of the shelf or table where it will sit. A flat layout works well for minimalist designs, but a tiered layout—using small cardboard risers hidden under a drape of fabric—allows you to elevate the rear figures so they are not obscured by elements in the foreground.

Once your plan is ready, construct a stable base to support the entire scene. You can create a sturdy platform by gluing together two or three layers of heavy cardboard, or by using a flat piece of reclaimed wood panel. If you use cardboard, apply a thin, even layer of PVA glue between the sheets and clamp them under heavy books while drying to prevent warping. For the backdrop, a simple painted canvas, a draped piece of deep-blue linen, or a cardboard cutout painted with a starry night sky can instantly establish the setting. Keep the backdrop design relatively simple; its primary role is to frame the central figures and draw the viewer’s eye inward rather than distracting from the handmade details.
How can you craft the nativity figures using basic crafting skills?
You can craft beautiful, expressive nativity figures without any prior sculpting experience by focusing on simplified, stylized geometric shapes rather than intricate anatomical details. Air-dry clay is an ideal medium for this approach because it is highly pliable and can be smoothed easily with a drop of water. To create a figure, roll a solid cone or cylinder for the body and a small, smooth sphere for the head. Instead of attempting to sculpt detailed hands or faces, drape thin, flattened sheets of clay over the shoulders of the figure to represent flowing robes and head coverings. This minimalist, rustic aesthetic is highly forgiving of minor imperfections and results in a timeless, elegant appearance.
If clay feels too challenging, alternative materials like wooden peg dolls or folded cardstock offer excellent, beginner-friendly paths. Wooden pegs can be painted directly with fine-tip acrylic markers or dressed in small scraps of fabric secured with a dab of craft glue. For cardstock figures, simple cone templates can be cut, decorated, and taped together to form stable, lightweight characters. Once your figures are fully dry or assembled, apply a solid base coat of acrylic paint. To add depth, you can use a dry-brush technique—dipping a dry brush into a tiny amount of lighter paint and sweeping it gently over the raised edges of the clay robes to highlight the folds. Finish the pieces with a clear, matte non-toxic sealer to protect the paint from chipping.
How do you assemble and safely light your DIY nativity scene?
Assembling your nativity scene systematically from the background to the foreground ensures structural stability, while integrating low-voltage, battery-operated LED lights provides a warm glow without creating heat hazards. Begin by securing your backdrop and the main stable structure to the base using low-temperature hot glue or strong craft adhesive. Once the structural frame is secure, arrange your figures starting with the central manger, followed by the surrounding characters and animals. If some of your handmade figures are lightweight or top-heavy, use small dabs of removable adhesive putty on their bases to keep them securely upright.
When it comes to lighting, safety must be your primary concern, especially when working with flammable materials like cardboard, paper, and fabric. Never use traditional incandescent bulb strands, which generate significant heat and pose a serious fire risk in enclosed craft displays. Instead, opt for battery-operated LED fairy lights or small LED puck lights, which remain cool to the touch even after hours of continuous use. Before installing, verify that your lighting products operate on low voltage (typically 3V to 4.5V) and carry recognized electrical safety certifications.
To achieve a clean, professional look, conceal the thin wires behind the stable walls, under the base fabric, or through small holes pre-cut into the cardboard backdrop. Position the lights to cast a soft glow over the central figures; a warm white color temperature is generally preferred for creating a cozy, inviting atmosphere, though this remains a matter of personal preference. Always ensure the battery pack is positioned in an easily accessible spot at the back or side of the display, allowing you to turn the lights on and off without needing to lift or disturb the delicate arrangement. If you ever decide to upgrade to a mains-powered adapter, ensure the transformer matches the voltage requirements of your light strand and is plugged into a certified, surge-protected outlet.
Where should you place and how do you maintain your finished display?
To preserve your handmade nativity scene for years to come, place it in a dry, stable indoor environment and follow a gentle cleaning and storage routine at the end of the festive season. Choose a prominent location in your home, such as a mantelpiece, sideboard, or entry table, that is safely out of reach of pets and heavy household foot traffic. In humid tropical climates like Singapore, it is crucial to keep the display away from open windows, balconies, or high-moisture areas like kitchens. Excess humidity can soften unsealed air-dry clay, cause cardboard structures to sag, and potentially damage low-voltage battery compartments.
Maintaining the display during the holidays requires minimal effort. Use a soft, dry makeup brush or a small compressed air duster to gently sweep away any dust that accumulates on the figures and stable. Avoid using wet wipes, damp cloths, or liquid cleaners, as moisture can dissolve water-based craft glues and ruin the finish of unsealed clay or painted cardboard.
When the holiday season concludes, take a few minutes to prepare the display for long-term storage. Always remove the batteries from the light packs before packing them away; leaving batteries inside can lead to corrosive leakage that permanently ruins the contacts and wires. Wrap each handmade figure individually in acid-free tissue paper or bubble wrap to prevent them from knocking against one another. Store the entire set in a sturdy, airtight plastic container, and toss in a few silica gel packets to absorb any residual moisture, ensuring your custom creation remains pristine and ready to bring warmth to your home next year.
Community discussion
Share your experience or ask a question. Comments are reviewed before publication.