
Determining the ideal number of LED panel lights for your living room or kitchen is essential to creating a comfortable, functional, and well-lit home. Rather than relying on guesswork, finding the correct quantity involves a systematic approach that balances your room’s physical dimensions with its specific lighting requirements. By calculating the necessary light output and understanding how spatial factors influence brightness, you can design a layout that avoids both harsh glare and dim, under-lit corners. This guide provides a clear, step-by-step calculation framework, layout adaptation strategies, and critical safety checks to help you plan your ceiling lighting configuration with confidence.
Understanding Lumens and Lux to Define Your Brightness Goal
To plan an effective lighting layout, you must first understand the relationship between two fundamental metrics: lumens and lux. Lumens measure the total amount of visible light emitted by a single source, such as an individual LED light panel. In contrast, lux measures illuminance, which is the amount of light that actually reaches a specific surface area. One lux is equal to one lumen per square meter. While lumens tell you how powerful a fixture is, lux tells you how bright a surface will actually appear under that light.
The target lux level for any space depends heavily on its primary function. Task-oriented spaces require higher illuminance to ensure safety and precision, whereas relaxation areas benefit from softer, lower-intensity lighting. For instance, when planning a home in Singapore, you should consult local lighting guidelines, such as those provided by Enterprise Singapore or international standards, to determine appropriate lux ranges. A kitchen counter where sharp knives and hot stoves are used demands a significantly higher lux level than a living room sofa area meant for watching television or resting.
Products mentioned in this guide
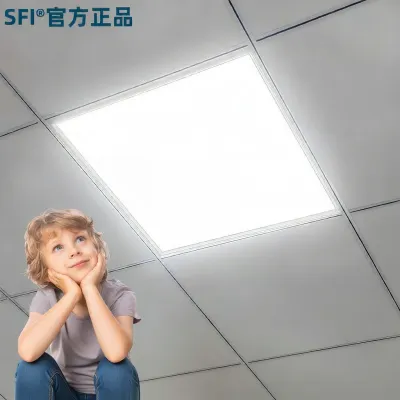
3 Lazada user ratings
The lighting is very soft and not harsh at all, making it comfortable to read or sleep.
The quality feels really good, and it’s quite sturdy.
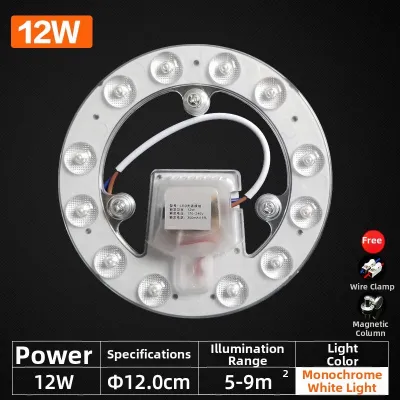
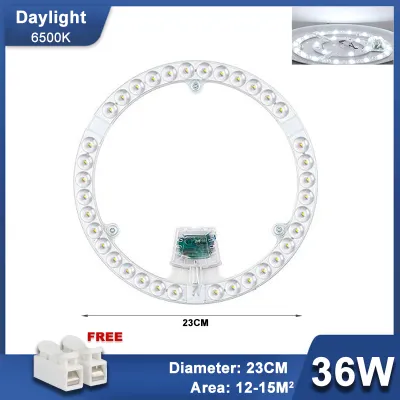
1,495 Lazada user ratings
The order was well protected and delivered by courier service to my house. Exactly as described in the seller listed description. Well made …Read full reviewShow less
The order was well protected and delivered by courier service to my house. Exactly as described in the seller listed description. Well made and good quality. Easy to install and Grey wire to live and white wire to neutral. Bright and nice. Controllable three tone and brightness. Very convenient to have with a remote control. Thanks seller cheers
I'm really impressed with this light! 💡 The magnetic feature made installation incredibly easy and quick. It's super bright and gives off a …Read full reviewShow less
I'm really impressed with this light! 💡 The magnetic feature made installation incredibly easy and quick. It's super bright and gives off a lovely daylight glow. Definitely a great purchase for its value. ✨ Highly recommend it! 👍 💡Brightness:yes 🛠️Durability:yes 🎨Design:nice 🔋Energy Efficiency:yes
This led light looks very bright when first turn on. Easy to ibstall on ceiling base as it is magnetic, just two wires to connect to electri…Read full reviewShow less
This led light looks very bright when first turn on. Easy to ibstall on ceiling base as it is magnetic, just two wires to connect to electrical mains AC, no polarity issue. I hoped the light will lasts.
Received the items on next day after ordering. Very bright. Very strong magnets. easy installation with the Self Locking 2Pin Wire Terminals…Read full reviewShow less
Received the items on next day after ordering. Very bright. Very strong magnets. easy installation with the Self Locking 2Pin Wire Terminals Connectors provided.
🛠️Durability:good 🎨Design:good 💡Brightness:good 🔋Energy Efficiency:good easy to fix magnet 🧲😜
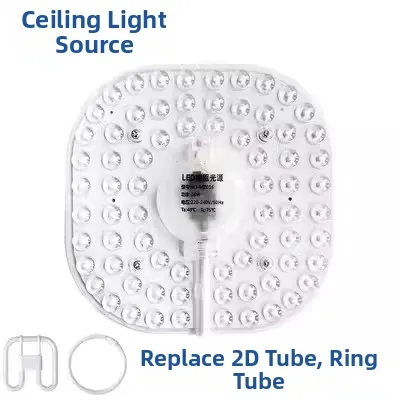
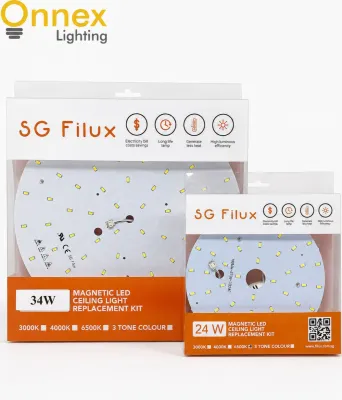
13 Lazada user ratings
Fast delivery and easy to install, works well especially the magnetic clasps
fits my light perfectly. came with a transformer. only needed the lights.
💡Brightness: good 🛠️Ease of Installation: easy
So far everything fits well. Light is bright.
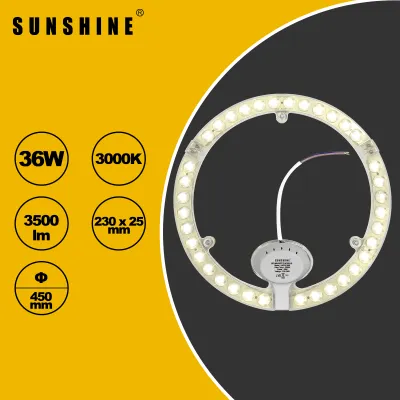
70 Lazada user ratings
Installed working well, bright enough for the kitchen
Durable materials, Sleek and modern design,
Be prepared for super bright lighting
Easy to use and install 👍
works as intended
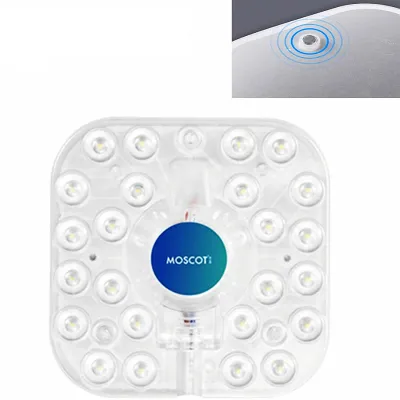
17 Lazada user ratings
Bought this LED to keep as spare - hence yet to use & hope all will be ok. The packaging is intact when it was delivered. Although I ordered…Read full reviewShow less
Bought this LED to keep as spare - hence yet to use & hope all will be ok. The packaging is intact when it was delivered. Although I ordered a 24 W, the square plate is small.
Reasonable shipping time. Cheap and good. Tested all working. Will buy again when need. Recommended.
Reasonable shipping time. Tested all working. Will buy again when need. Recommended.
Reasonable shipping time. Cheap and good. Tested all working.
💡Brightness:gd
Prices are valid at publication and may change. Please refer to the product page for the latest price.
Beyond mathematical standards, environmental factors in your home will influence how light behaves. Natural light from windows can supplement your fixtures during the day, potentially reducing the need for high-output artificial lighting in well-lit rooms. Additionally, the color and finish of your walls, floors, and ceilings play a major role in light reflection. Dark, matte surfaces absorb light, which means a room with dark cabinetry or deep-toned walls may require more lumens to achieve the same perceived brightness as a room with light, reflective surfaces.
Step-by-Step Calculation to Find Your Required Number of Lights
Calculating the theoretical number of LED panel lights for your space is a straightforward process when broken down into logical steps. This calculation provides a baseline that you can later adjust based on your room’s layout and design constraints.

Step 1: Measure the room’s floor area. Use a measuring tape to find the length and width of the room in meters. Multiply these two figures to calculate the total floor area in square meters. For L-shaped or irregular rooms, divide the space into smaller rectangular sections, calculate the area of each section, and add them together to find the total area.
Step 2: Determine the total required lumens. Multiply your calculated floor area by your target lux level. The formula is: Total Lumens = Area (in square meters) x Target Lux. For example, if you have a kitchen area of 15 square meters and determine that a target of 300 lux is appropriate for your tasks, your total required light output is 4,500 lumens.
Step 3: Identify the lumen output of your chosen fixture. Check the product packaging, specification sheet, or manufacturer label of the specific LED light panel you plan to purchase. Look for the rated lumen output, which is typically listed as a number followed by “lm” (for example, 1,200 lm). Do not confuse wattage with lumens; wattage indicates power consumption, while lumens indicate actual light output.
Step 4: Calculate the number of fixtures. Divide the total required lumens by the lumen output of a single LED panel. The formula is: Number of Panels = Total Lumens / Single Panel Lumens. If your calculation results in a decimal, such as 3.75, always round up to the nearest whole number (in this case, 4 panels). Rounding up ensures you meet your minimum brightness goals and allows you to maintain a symmetrical layout on your ceiling.
Adapting the Layout for Living Room and Kitchen Functions
Once you have calculated the theoretical number of LED panel lights, you must adapt this number and the physical placement of the fixtures to match the specific activities performed in each room. A single, uniform grid of lights may work well in some spaces but can feel sterile or impractical in others.
In living rooms, the focus should be on creating a versatile, layered lighting scheme. Because the living room is used for a wide range of activities—from hosting guests and reading to watching movies—relying solely on high-output ceiling panels can lead to an uninviting atmosphere. Instead, you might choose to install fewer ambient LED panels to establish a soft baseline level of light, and then supplement the space with localized task or accent lighting, such as floor lamps, table lamps, or wall sconces. This approach allows you to adjust the lighting levels to suit different moods and times of day.
In contrast, kitchens require highly functional, uniform, and shadow-free illumination. Cooking zones, prep counters, and sinks are high-activity areas where shadows can pose safety risks. To prevent your body from casting shadows over your workspace while standing at the counter, LED panel lights should be positioned directly above the edges of the countertops rather than solely in the center of the room. A denser grid of smaller, lower-lumen panels often provides more even coverage and fewer shadows than a single, high-lumen fixture in the middle of the ceiling.
Ceiling height and the beam angle of your chosen LED panels also dictate how you should arrange your layout. Standard residential ceilings in Singapore typically range from 2.6 to 2.8 meters. Panels with wide beam angles (such as 120 degrees) distribute light broadly, making them excellent for general ambient lighting in low-to-medium ceilings. However, if your ceiling is higher, the light must travel further and will disperse more, which can result in dim spots at floor level. In such cases, you may need to increase the number of fixtures or select panels with narrower beam angles to direct the light downward effectively.
Verifying Electrical and Physical Specifications Before Purchase
Before purchasing your calculated quantity of LED panel lights, you must verify several critical electrical and physical specifications to ensure compatibility with your home’s infrastructure and safety standards.
First, verify the voltage compatibility of the fixtures. In Singapore, the standard residential voltage is 230V at 50Hz. Ensure that any LED panel light you select is rated for this voltage range. Additionally, check the maximum wattage limit of your existing lighting circuit. While LED panels are highly energy-efficient, adding a large number of fixtures to a single circuit must not exceed the safe load capacity of the circuit breaker and wiring.
Next, measure the physical dimensions of the fixtures and your ceiling space. For recessed LED panels, you must verify the required ceiling cutout dimensions and ensure there is sufficient clearance depth behind the plasterboard or false ceiling to accommodate the fixture and its external driver. If you have a concrete ceiling without a false ceiling, you will need to look for surface-mounted LED panels instead of recessed models.
Color temperature is another essential specification that affects the spatial atmosphere. Color temperature is measured in Kelvin (K). Warm white (typically 2,700K to 3,000K) creates a cozy, relaxing environment suitable for living rooms, while cool white (4,000K to 5,000K) or daylight (6,000K to 6,500K) provides crisp, clear light that enhances focus and visibility in kitchens. These color temperatures are subjective preferences, so choose the option that best aligns with your functional needs and aesthetic tastes.
Finally, if you plan to adjust the brightness of your lights, confirm that the LED panels are explicitly labeled as dimmable and are compatible with your existing dimmer switches. Non-dimmable LED panels connected to a dimmer switch can flicker, buzz, or suffer premature driver failure. Always look for recognized electrical safety certification marks, such as the Enterprise Singapore Safety Mark, on the product label to ensure the fixtures have been tested and approved for safe residential use.
Recognizing Installation Safety Limits and When to Call an Electrician
Installing ceiling-mounted electrical fixtures involves inherent risks that require strict adherence to safety protocols. Knowing your limits and recognizing when to transition from a DIY approach to hiring a professional is crucial for your safety and the integrity of your home’s electrical system.
Before inspecting, cleaning, or altering any fixed wiring or ceiling structures, you must isolate the power. Turn off the main power supply at the consumer unit (DB box) rather than relying solely on the wall switch. Use a reliable voltage tester to confirm that the wires are completely dead before touching them.
Certain installation scenarios carry elevated risks and should not be attempted without professional expertise. Working at significant heights on tall ladders, modifying load-bearing ceiling grids, or routing new wiring through concrete slabs require specialized tools and structural knowledge. Furthermore, installing fixtures in damp areas—such as directly above kitchen sinks or near cooking zones where steam and heat accumulate—demands careful attention to the fixture’s Ingress Protection (IP) rating and wiring insulation to prevent moisture-induced short circuits.
You must stop work and consult a licensed electrical worker or qualified professional if you encounter any of the following conditions:
- Outdated, damaged, or brittle wiring behind the ceiling.
- The absence of an earth wire in your existing lighting circuit.
- The need to install a new circuit loop or add a new switch to your distribution board.
- Unclear or conflicting manufacturer installation instructions.
- Any uncertainty regarding the load-bearing capacity of your ceiling structure.
Hiring a professional ensures compliance with local electrical codes and guarantees that your new LED panel lights are installed safely and durably.
Frequently Asked Questions (FAQ)
Can I mix different wattages of LED panel lights in the same room?
Mixing different wattages of LED panel lights in the same room is generally not recommended for general ambient lighting, as it can create uneven light distribution, noticeable bright or dark spots, and visual discomfort. However, mixing wattages can be acceptable if you are intentionally zoning a space. For example, you might use lower-wattage panels for general ambient lighting in a living room and higher-wattage panels over a specific reading nook or work desk. If you choose to mix wattages, ensure that fixtures of the same wattage are grouped together logically to maintain visual balance.
How does ceiling height affect the number of LED panels needed?
Ceiling height directly impacts how light travels and disperses. As the distance between the light fixture and the floor or countertop increases, the intensity of the light reaching those surfaces decreases. If your home has high ceilings, you will likely need to adjust your calculations. To compensate for the light loss over greater distances, you can increase the total number of LED panels, select fixtures with higher lumen outputs, or choose panels with narrower beam angles that focus the light downward rather than scattering it widely.
What should I do if my calculated number of lights doesn't fit the ceiling layout?
If your calculated number of lights does not fit your ceiling layout or conflicts with structural elements like beams or joists, prioritize a symmetrical and balanced layout. It is often better to install fewer ceiling panels to maintain clean lines and compensate for the lost light output by choosing fixtures with higher lumens per panel. Alternatively, you can supplement the ceiling panels with other lighting types, such as under-cabinet LED strips in the kitchen or track lights and floor lamps in the living room, to meet your overall brightness goals without cluttering the ceiling.

Community discussion
Share your experience or ask a question. Comments are reviewed before publication.