
To determine whether your 12V LED driver is compatible with a dimmer switch, you must verify that the driver is explicitly labeled as “dimmable,” match its dimming technology to your dimmer switch, and ensure the total wattage of your LED lights falls within the safe operating limits of both devices. Taking these steps before installation prevents issues like flickering, buzzing, or permanent electrical damage.
Step 1: Verify if the 12V LED Driver Is Dimmable
Before making any electrical connections, you must confirm whether your 12V LED driver is designed to support dimming. This information is typically printed directly on the driver’s physical casing, packaging, or detailed in the manufacturer’s official specification sheet. Look closely for explicit terms such as “Dimmable” or “Non-Dimmable” to determine its capabilities.
Standard constant voltage drivers are engineered to deliver a steady, uninterrupted output voltage. They lack the specialized internal circuitry, such as integrated microcontrollers or specialized transistors, required to interpret and respond to fluctuating input voltage or external control signals.
Products mentioned in this guide
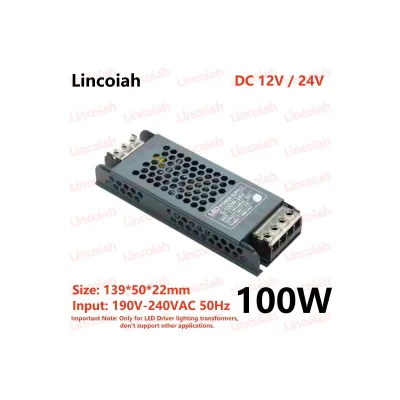
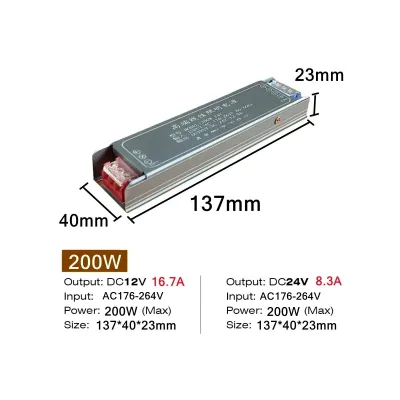
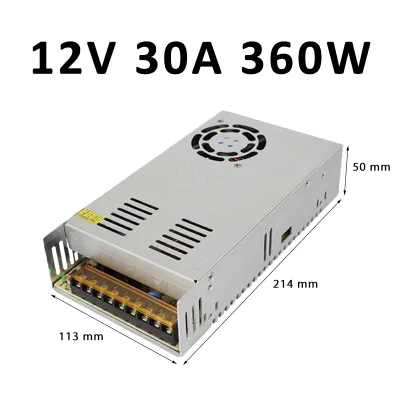
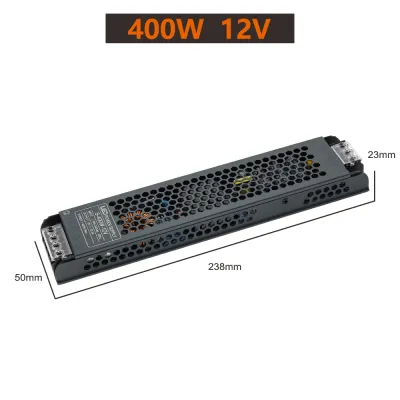
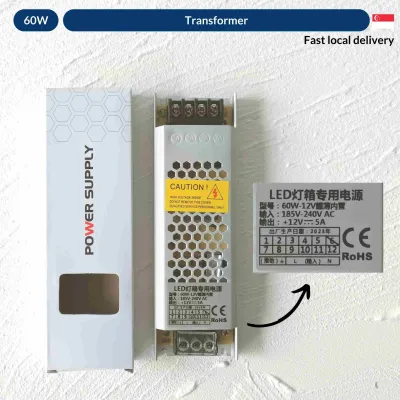
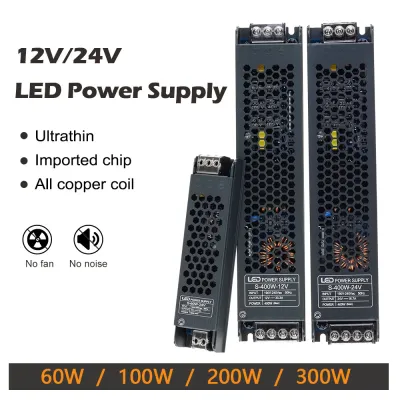
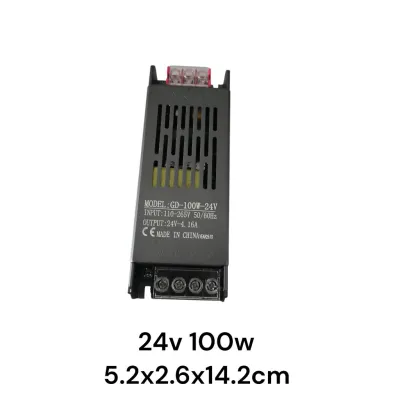
Prices are valid at publication and may change. Please refer to the product page for the latest price.
Attempting to force a non-dimmable driver to operate on a dimmed circuit can cause severe stress to its internal components. This mismatch often leads to overheating, premature component degradation, or immediate failure of both the driver and the connected LED fixtures.
Step 2: Match the Dimmer Switch Type to the Driver
Once you establish that your 12V LED driver is dimmable, you must match its specific dimming technology with a compatible dimmer switch. Dimming generally occurs on either the high-voltage AC input side or the low-voltage DC output side of the driver, and these two methods require entirely different hardware.

AC-side dimming, often referred to as phase-cut dimming, includes leading-edge (TRIAC) and trailing-edge (electronic low voltage, or ELV) technologies. If your driver is designed for phase-cut dimming, it will interpret the chopped AC sine wave from a standard wall dimmer and adjust its 12V output accordingly. You must check the driver’s documentation to see if it requires a leading-edge or trailing-edge dimmer, as mixing these up can cause poor performance.
DC-side dimming, on the other hand, controls the light output after the voltage has been converted to 12V. This method typically uses Pulse Width Modulation (PWM) or analog signals like 0-10V. A driver designed for PWM dimming requires a specialized low-voltage controller or a driver with dedicated control terminals, rather than a standard AC wall dimmer.
To avoid installation errors, always cross-reference the driver’s specification sheet with the dimmer switch’s technical manual. Manufacturers often publish a list of tested, compatible dimmer models. Avoid mixing incompatible technologies, such as connecting a standard AC wall dimmer to a driver that strictly requires a low-voltage PWM signal, as this will prevent the system from functioning correctly.
Step 3: Calculate the Load and Wattage Capacity
Achieving a stable dimming range requires careful calculation of the electrical load across your entire lighting circuit. Start by determining the total wattage of the 12V LED tape or fixtures you plan to connect to the driver. For LED strips, this is usually calculated by multiplying the wattage per meter by the total length of the strip being installed.
Once you have the total wattage, verify that this sum does not exceed the maximum output rating of your 12V LED driver. As a standard safety margin, it is highly recommended to limit the continuous load to 80% of the driver’s maximum rated capacity. For example, a 100-watt driver should ideally power a maximum of 80 watts of LED lighting to prevent overheating and prolong the driver’s lifespan.
Next, you must check the minimum and maximum load requirements of the dimmer switch itself. Many traditional wall dimmers have high minimum load requirements, often designed for incandescent bulbs, which energy-efficient LEDs may fail to meet. If the total wattage of your LED setup is below the dimmer’s minimum threshold, you may experience flickering or a complete failure to dim. Conversely, overloading the dimmer beyond its maximum rated capacity poses a serious safety hazard.
Step 4: Recognize Incompatibility Symptoms and Safety Limits
Even with careful planning, it is important to recognize the physical signs of component incompatibility during the initial testing phase. Common symptoms of a mismatched driver and dimmer include visible flickering or strobing at certain brightness levels, an audible buzzing or humming sound coming from the driver or switch, a severely restricted dimming range, or sudden dropouts where the lights turn off completely before reaching the lowest setting.
If you observe any of these symptoms, or if you need to inspect or modify any wiring connections, you must prioritize safety. Always turn off the main power supply at the circuit breaker before touching any electrical components or adjusting the wiring. Working with live electrical circuits carries a severe risk of electric shock or short circuits.
If the product specifications are unclear, the labels on your devices are missing, or the incompatibility symptoms persist after verifying your connections, do not attempt to force the system to work. Halt the installation immediately and consult a qualified electrician or contact the product manufacturers for technical support. Professional guidance ensures your lighting system complies with local electrical standards and operates safely.
Frequently Asked Questions (FAQ)
Can I use a standard wall dimmer with any 12V power supply?
No, you cannot use a standard wall dimmer with just any 12V power supply. Standard power supplies are designed to output a constant 12V DC voltage and cannot interpret the altered AC signal from a standard wall dimmer. To use a wall switch for dimming, you must select a 12V LED driver that is explicitly labeled as dimmable and designed to accept phase-cut (TRIAC, ELV, or MLV) input signals.
What happens if I connect a non-dimmable 12V LED driver to a dimmer?
Connecting a non-dimmable 12V LED driver to a dimming circuit can cause immediate performance issues and physical damage. You will likely experience severe flickering, flashing, or buzzing as the driver struggles to cope with the chopped voltage. Over time, or even immediately, this electrical stress can overheat the driver’s internal components, leading to permanent failure of the driver, the dimmer switch, or the connected LED lights.

Community discussion
Share your experience or ask a question. Comments are reviewed before publication.