
Finding the right frame for a 1000-piece puzzle in Singapore requires looking beyond the generic “1000-piece” label to verify the exact physical dimensions of your completed project. Because puzzle manufacturers use different die-cut patterns, piece shapes, and board thicknesses, finished dimensions vary significantly across brands. To secure your hard work against Singapore’s high humidity and protect it from warping, you must evaluate frame materials, glazing types, and mounting methods carefully. Whether you choose a budget-friendly ready-made frame or invest in custom framing, understanding these technical details ensures your puzzle remains a beautiful piece of wall decor for years to come.
Understanding Standard 1000-Piece Puzzle Dimensions
Many first-time puzzle framers assume that all 1000-piece puzzles share a universal size, only to find that their completed project is slightly too large or too small for a standard off-the-shelf frame. In reality, “1000-piece” refers strictly to the piece count, and the actual dimensions are determined by the manufacturer’s design. For example, standard European and American puzzles often measure approximately 70 x 50 centimeters or 68 x 49 centimeters. Meanwhile, Japanese puzzle brands frequently use different standards, such as 72 x 49 centimeters or 75 x 50 centimeters, which will not fit into standard European-sized frames without modification.
To avoid sizing mismatches, always measure your completed puzzle on a flat, hard surface rather than relying on the dimensions printed on the box. Puzzles can stretch or compress slightly during assembly depending on how tightly the pieces fit together. Use a metal measuring tape to measure the width and length at three different points—the edges and the center—to account for any minor irregularities. Additionally, measure the thickness of the puzzle, as thicker premium cardboard puzzles require a frame with sufficient depth to accommodate them.
Products mentioned in this guide
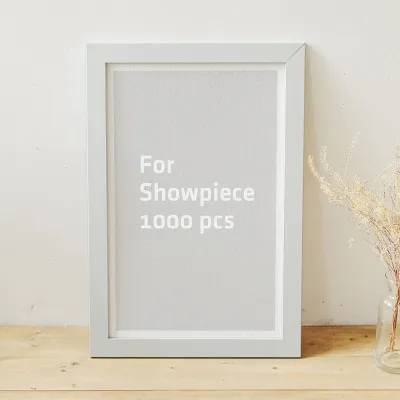

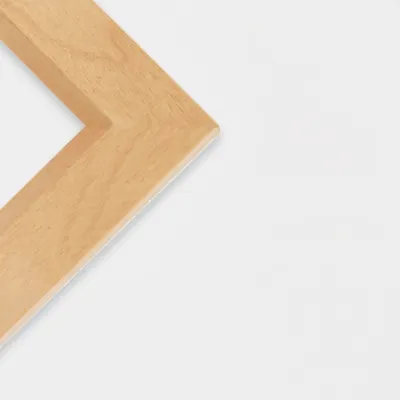
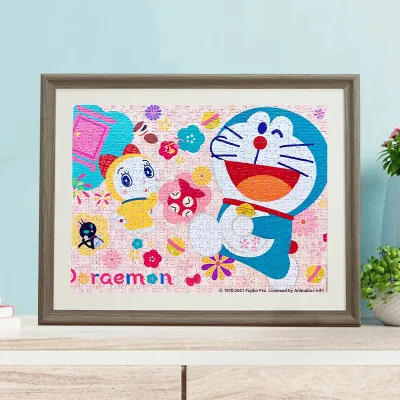
![[in stock] jigsaw frame 1000 pieces mounting jigsaw frame poster hanging wall 50x 70 jigsaw frame hanging wall 8 Open 4K](https://img.lazcdn.com/g/p/b9aa383ea1bf2817686f0b544e2083ca.jpg_400x400q80.jpg_.webp)
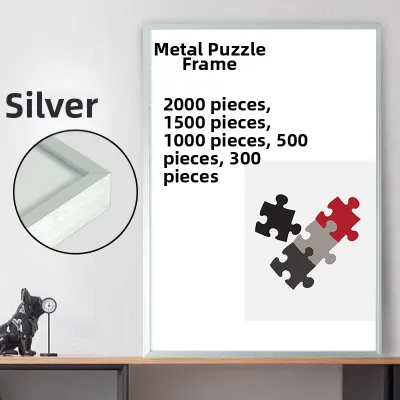
Prices are valid at publication and may change. Please refer to the product page for the latest price.
When selecting a frame, you must also decide whether you want a borderless look or a framed border using a mat board. A borderless frame requires an exact match between the inner dimensions of the frame and the outer dimensions of the puzzle. Keep in mind that the frame’s lip—the inner rebate that holds the glazing and the puzzle in place—typically covers about 5 millimeters of the puzzle’s edge on all sides. If your puzzle has critical details or an artist’s signature right at the edge, you may want to opt for a larger frame with a custom-cut mat board to keep the entire image visible.
Finally, consider the environmental factors of Singapore’s tropical climate. High humidity can cause the paper fibers in the puzzle board to expand slightly over time. Measuring your puzzle after it has been glued and completely dried is highly recommended, as the gluing process can cause the puzzle to expand by a few millimeters or curl slightly at the corners. Measuring the finalized, dried puzzle ensures you purchase a frame that accommodates these minor physical changes.
Key Features to Evaluate in a Puzzle Frame
Evaluating the structural integrity and materials of a frame is essential for supporting the weight and thickness of a completed puzzle. Frame materials generally fall into three categories: solid wood, metal, and medium-density fiberboard (MDF). Solid wood frames offer a classic, premium aesthetic but are relatively heavy and can be susceptible to warping in high-humidity environments if the wood is not properly sealed. Metal frames, particularly aluminum, provide a sleek, modern look, are highly resistant to moisture-induced warping, and offer excellent structural rigidity for larger displays.

MDF frames are highly popular due to their affordability and wide range of finishes. While MDF is stable under normal conditions, it is sensitive to direct moisture, so it should be kept away from damp walls or areas with poor ventilation. When choosing a material, consider the overall weight of the framed puzzle, as a heavy wood frame with glass glazing will require more robust wall anchors than a lightweight aluminum frame with acrylic glazing.
The choice of glazing—the clear protective sheet at the front of the frame—significantly impacts both the appearance and safety of your display. Traditional glass is highly scratch-resistant, easy to clean, and provides excellent clarity. However, glass is heavy and fragile, posing a safety hazard if the frame falls. Acrylic (often referred to as plexiglass) is a lightweight, shatterproof alternative that is highly recommended for large 1000-piece frames. While acrylic scratches more easily than glass and can attract dust due to static electricity, its safety benefits and ease of handling make it an excellent choice for busy households.
Another critical specification to check is the rabbet depth, which is the depth of the inner channel that holds the glazing, puzzle, and backing board. Standard photo frames often have a shallow rabbet depth of 1 to 2 millimeters, which is designed for thin paper prints. A completed puzzle, especially when glued and mounted on a backing sheet, can easily measure 3 to 4 millimeters in thickness. If the rabbet depth is too shallow, the backing board will bulge outward, and the securing tabs on the back of the frame may not close properly, compromising the structural stability of the entire assembly.
Lastly, inspect the backing board and the securing mechanisms. A sturdy backing board, such as dense foam core or thick MDF, is necessary to keep the puzzle flat and prevent it from sagging over time. Look for frames equipped with durable securing mechanisms, such as metal turn buttons or screw-in clips, which provide consistent pressure across the backing board. Flex tabs, which are thin metal points that you bend manually, are common in budget frames but can break if bent repeatedly and may not provide enough pressure to hold a thick puzzle securely.
Framing Methods: DIY Kits vs. Custom Framing
Deciding between a standard DIY puzzle frame and professional custom framing depends on your budget, the sentimental value of the puzzle, and how closely the puzzle’s dimensions match standard frame sizes. DIY framing kits are highly cost-effective, readily available, and allow you to complete the project immediately at home. They are ideal for standard-sized puzzles (such as 70 x 50 centimeters) and for hobbyists who enjoy the hands-on process of mounting and framing their own work. The main limitation of DIY frames is the restricted selection of sizes and styles, which may require you to trim your puzzle or use a mat board if the dimensions do not align perfectly.
Custom framing, on the other hand, offers an exact fit, premium archival materials, and professional craftsmanship. A professional framer can accommodate any non-standard puzzle size, offer a vast selection of high-quality wood or metal mouldings, and provide specialized glazing options such as museum-grade UV-filtering glass. Custom framing is highly recommended for rare, valuable, or highly sentimental puzzles that you wish to preserve for decades. The primary trade-offs are the significantly higher cost—often several times the price of a DIY frame—and the turnaround time required for the shop to build and assemble the frame.
Before framing, you must also consider how you will secure the puzzle pieces. Traditional puzzle glue is a liquid adhesive applied directly to the front or back of the puzzle, sealing the pieces together into a single, rigid sheet. While effective, liquid glue requires careful application to avoid bubbles or warping. Adhesive mounting sheets, which are peel-and-stick backing sheets applied to the rear of the puzzle, offer a clean, dry alternative that eliminates the risk of glue spilling or ruining the puzzle’s surface texture.
To help you decide which path to take, consider this simple decision framework:
| Feature | DIY Framing | Custom Framing |
|---|---|---|
| Average Cost | Budget-friendly (typically under S$50) | Premium investment (typically S$100+) |
| Sizing Fit | Limited to standard retail sizes | Tailored to exact millimeter measurements |
| Material Quality | Standard acrylic/glass, MDF/plastic frames | Archival backing, UV-protective glazing, solid wood/metal |
| Time to Complete | Immediate (same-day assembly at home) | Several days to weeks depending on the workshop |
| Best Suited For | Common puzzle sizes, casual home decor | Sentimental gifts, rare puzzles, unique dimensions |
Where to Source Puzzle Frames in Singapore
When looking to purchase puzzle frames in Singapore, you have several retail channels to choose from, each offering distinct advantages depending on your budget and customization needs. Large home furnishing retailers are excellent sources for standard-sized frames, such as 50 x 70 centimeters. These retailers offer highly affordable, minimalist designs that fit modern home aesthetics. However, because these frames are designed primarily for thin posters, you must carefully verify the rabbet depth and backing board strength before purchasing to ensure they can accommodate a thick puzzle.
For custom sizes and premium materials, specialty art and framing shops are the ideal choice. Areas like Bras Basah Complex host a concentration of experienced framing workshops where you can bring your completed puzzle for professional advice. These local shops can cut frames to your exact specifications, offer a wide range of mat boards to bridge the gap between non-standard puzzles and larger frames, and provide high-quality assembly services that protect your puzzle from dust and moisture.
Online marketplaces and ecommerce platforms offer an extensive selection of puzzle-specific frames, particularly for Japanese standards like 72 x 49 centimeters, which can be difficult to find in physical retail stores. When shopping online, it is crucial to read customer reviews carefully to verify the actual inner dimensions of the frame. Look for listings that explicitly state “puzzle frame” rather than “photo frame,” as these are more likely to have the necessary depth and sturdy backing required for puzzles.
When ordering frames online, pay close attention to the shipping and return policies. Glass glazing carries a high risk of breakage during transit, so opting for acrylic glazing is often safer for online purchases. Upon delivery, immediately inspect the package for any signs of damage, scratches on the acrylic, or loose corners on the frame moulding. Reliable online sellers will offer replacements or refunds for items damaged during shipping, provided you report the issue promptly.
Step-by-Step Guide to Mounting and Hanging
Successfully displaying your completed puzzle requires careful preparation, assembly, and secure mounting to ensure the frame remains safely on the wall. Follow these steps to achieve a professional finish:
- Prepare the Puzzle: If you are using liquid puzzle glue, place a sheet of wax paper or plastic wrap underneath the completed puzzle to protect your work surface. Apply a moderate amount of glue to the front of the puzzle, spreading it evenly across the surface using a plastic spatula or a stiff piece of cardboard. Ensure the glue fills the crevices between the pieces. Allow the puzzle to dry completely for at least 4 to 24 hours in a well-ventilated room away from direct sunlight.
- Clean the Glazing: Before assembling the frame, clean both sides of the glass or acrylic sheet thoroughly using a microfiber cloth and an appropriate cleaner. Static electricity can attract dust particles to acrylic, so using an anti-static cleaner can help keep the surface clear. Ensure the glazing is completely dry before proceeding to prevent trapping moisture inside the frame.
- Assemble the Frame: Place the clean glazing into the frame moulding. Carefully lift your dry, glued puzzle and place it face down against the glazing. If your puzzle is slightly loose inside the frame, you can place a sheet of acid-free paper or a thin foam sheet behind it to act as a spacer. Lay the backing board over the puzzle, press down gently to ensure a flat fit, and secure the metal tabs or turn buttons around the perimeter.
- Select Wall Anchors: Weigh the fully assembled frame before hanging it. In Singapore, most residential walls are made of solid concrete or drywall partitions. For concrete walls, you will need to drill a hole, insert a plastic wall plug, and secure a screw to hang the frame safely. For drywall partitions, use specialized drywall anchors or toggle bolts that distribute the weight evenly. Avoid relying on basic adhesive hooks for heavy wood or glass-glazed frames, as the humidity can weaken the adhesive over time, leading to falls.
- Environmental Safety Checks: Avoid hanging your framed puzzle in areas prone to high humidity, such as directly opposite bathroom doors or in poorly ventilated kitchens, as moisture can seep into the frame and cause mold or warping. Additionally, keep the frame out of direct sunlight. Prolonged exposure to UV rays will fade the puzzle's ink and degrade the adhesive, causing the pieces to peel or discolor over time.
Frequently Asked Questions (FAQ)
Can I frame a puzzle without using puzzle glue?
Yes, you can frame a puzzle without liquid glue by using adhesive puzzle saver sheets applied directly to the back of the puzzle. These sheets lock the pieces together cleanly without affecting the front texture. Alternatively, you can use a tight-fit frame with a thick backing board that compresses the puzzle pieces firmly against the glazing, though this method carries a small risk of the pieces shifting or sagging over time if the frame loses tension.
How do I prevent glare on my framed puzzle?
To minimize distracting reflections, choose a frame equipped with non-glare glass or matte-finished acrylic glazing. These materials are specially treated to diffuse light, allowing you to view the puzzle clearly from various angles. Additionally, position your framed puzzle away from direct light sources, such as opposite large windows or directly beneath bright spotlights, to reduce surface reflections.
What should I do if my puzzle is slightly larger than the standard frame?
If your puzzle is only a few millimeters too large for a standard frame, you can carefully trim the outer edges of the puzzle using a sharp utility knife and a metal ruler, taking care not to cut into critical parts of the image. If trimming is not an option, the best solution is to purchase a larger standard frame and use a custom-cut mat board to border the puzzle, or consult a local framing shop for a custom-sized frame.
Community discussion
Share your experience or ask a question. Comments are reviewed before publication.