
Selecting the right ceiling fixture for a standard Housing & Development Board (HDB) flat requires balancing illumination needs with physical space constraints. With a standard ceiling height of 2.6 meters, choosing an oversized or excessively thick light fixture can quickly make a room feel cramped and lower the perceived height of the space. An LED glass panel light offers a sleek, modern aesthetic, but its physical dimensions, thickness, and material weight must be carefully matched to your room’s footprint to ensure both safety and visual harmony.
To achieve the perfect balance, homeowners must evaluate the fixture’s profile, mounting style, and overall dimensions. This guide provides a practical framework for selecting the ideal LED glass panel light size and thickness for 2.6m HDB ceilings, ensuring your living spaces remain bright, open, and comfortable.
Baseline Proportions and Visual Weight for 2.6m Ceilings
When designing lighting for a 2.6m ceiling, the relationship between the fixture’s physical footprint and the total ceiling area is critical. A fixture that is too large dominates the ceiling plane, drawing the eyes upward and creating an uncomfortable sense of visual crowding. As a general guideline, the longest dimension of a surface-mounted ceiling panel should not exceed one-tenth of the room’s shorter wall dimension. For example, in a room that measures 3 meters by 3 meters, the maximum recommended panel size is approximately 300mm.
Products mentioned in this guide
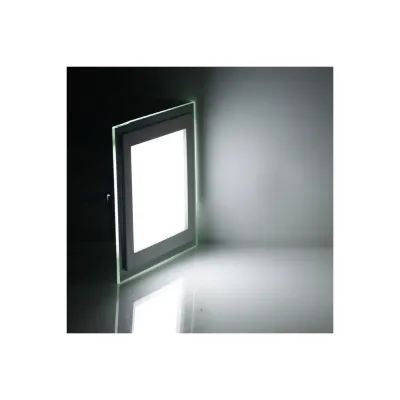
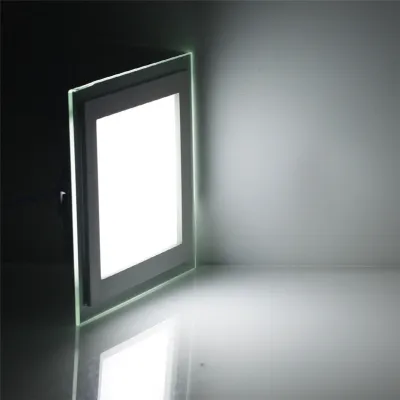
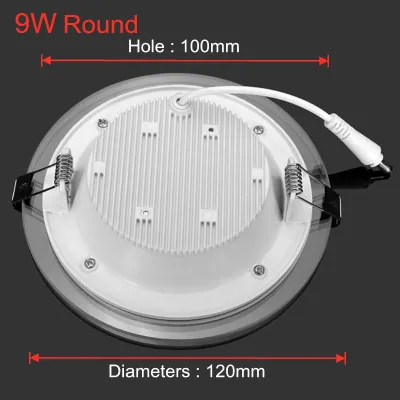
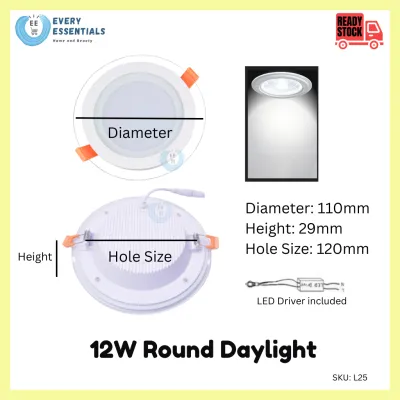
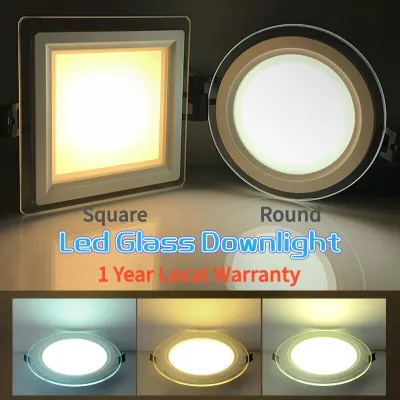
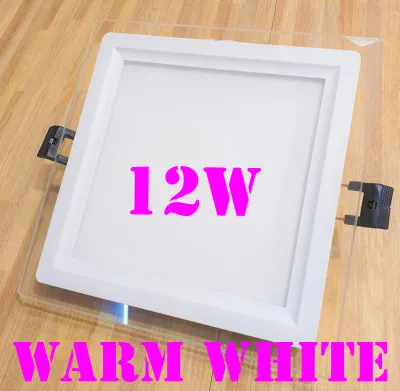
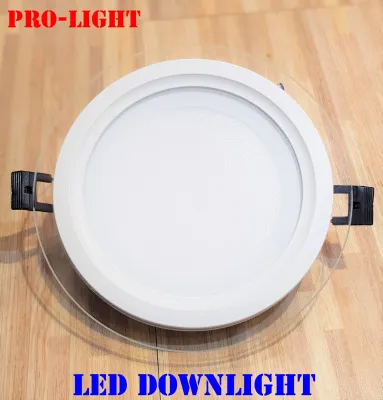
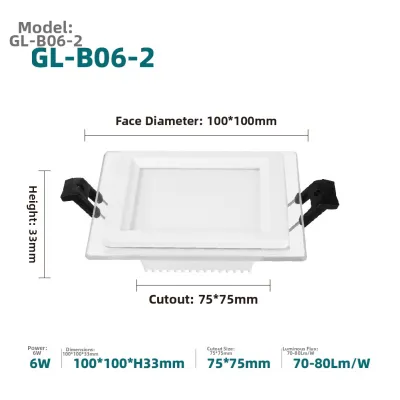
Prices are valid at publication and may change. Please refer to the product page for the latest price.
The material composition of the fixture also plays a significant role in how it is perceived. Glass has a distinct visual weight compared to lightweight alternatives like acrylic or polycarbonate. Because glass is highly reflective and has a polished, substantial appearance, it catches ambient light even when turned off. This high reflectivity makes the fixture stand out as a prominent architectural feature. If the glass panel is too thick or features a heavy, dark frame, it can feel visually heavy, making the 2.6m ceiling feel lower than its actual height.
Additionally, you must consider the baseline lumen-to-area ratio. Glass diffuses light beautifully, but it can absorb slightly more light than thin plastic diffusers. To ensure adequate illumination without resorting to an oversized fixture, select high-efficiency LEDs that deliver the required lumens within a compact frame. A standard HDB bedroom typically requires 1,500 to 2,000 lumens, which can be easily achieved with a compact, well-engineered panel rather than a massive, bulky unit.
Matching Panel Length and Width to Room Footprints
Different rooms within an HDB flat serve different functions and have distinct layouts, requiring tailored sizing strategies for your LED glass panel lights.

Compact Bedrooms and Study Rooms
In smaller, enclosed spaces like bedrooms and study rooms, which typically range from 9 to 12 square meters, a single square panel measuring 300mm x 300mm or a circular panel with a 300mm diameter is highly effective. This size provides sufficient, even light distribution across the room without overwhelming the ceiling. Keeping the fixture compact ensures that the glass border does not feel overbearing when you are resting or working at a desk.
Larger Living and Dining Zones
Living and dining areas offer a larger footprint but are still bound by the 2.6m ceiling height. Installing a single, massive rectangular panel (such as 600mm x 1200mm) can look industrial and visually lower the ceiling. Instead, consider scaling the lighting by using a square 600mm x 600mm panel as a central anchor, or distributing the visual weight by installing two or three smaller 300mm x 600mm rectangular panels. This distributed approach spreads the light more evenly, minimizes harsh shadows, and maintains a clean, open ceiling line.
Corridors and Kitchens
Narrow or irregular spaces like corridors and kitchens require careful clearance planning. HDB corridors are typically narrow, often measuring between 1m and 1.2m wide. For these zones, slim rectangular panels (such as 150mm x 600mm) or small circular glass panels (150mm to 200mm in diameter) work best. Ensure the fixture is perfectly centered to maintain at least 300mm of clearance from the walls and any overhead kitchen cabinetry. This clearance prevents the glass edges from clashing with cabinet doors and ensures the light spreads effectively across countertops.
Managing Fixture Thickness and Mounting Profiles
The physical depth of your LED glass panel light directly impacts the available headroom and spatial comfort in a 2.6m environment.
Edge-Lit vs. Back-Lit Designs
LED glass panels generally fall into two design categories: edge-lit and back-lit. Edge-lit panels house the LEDs along the inner frame, directing light through a light guide plate. This design allows for an incredibly slim profile, often between 15mm and 20mm in thickness. Back-lit panels place the LEDs directly behind the glass diffuser, requiring more depth (typically 35mm to 50mm or more) to prevent hot spots and ensure even light distribution. For a 2.6m HDB ceiling, edge-lit panels are highly recommended because they sit almost flush against the ceiling, preserving maximum vertical clearance.
Surface-Mounted vs. Recessed Profiles
Because HDB ceilings are constructed from solid concrete, recessed installation is not possible unless you install a false ceiling. However, adding a false ceiling typically lowers the room height to 2.4m or less, which can make the space feel confined. Therefore, surface-mounted glass panels are the standard and most practical choice for preserving the full 2.6m height. When selecting a surface-mounted fixture, look for low-profile mounting brackets that minimize the gap between the concrete ceiling and the top of the glass frame.
Frame Thickness and Edge Finishing
The frame of the glass panel holds the heavy glass diffuser securely in place. A thick, dark metal frame can create a stark visual boundary, making the fixture look bulky and low-hanging. Opt for frameless glass panels or those with slim, white, or brushed aluminum borders. Beveled or polished glass edges are particularly effective because they allow light to escape horizontally, softening the transition between the bright panel and the concrete ceiling, which reduces downward glare and makes the ceiling feel more spacious.
Structural Support and Electrical Safety Checks
Because glass is significantly heavier than acrylic or plastic, installing an LED glass panel light requires careful attention to structural support and electrical safety.
Concrete Ceiling Load Capacity
A medium-to-large glass panel light can weigh several kilograms. When mounting these fixtures onto a solid concrete HDB ceiling, standard lightweight plastic wall plugs are insufficient. You must use appropriate metal expansion anchors or heavy-duty nylon wall plugs designed for concrete. Ensure the mounting bracket is secured with at least two to four anchor points, depending on the fixture’s weight, to prevent any risk of the light loosening over time.
Junction Boxes and Wiring Conditions
Before purchasing a new panel, inspect your existing ceiling junction box. Ensure the wiring is in good condition and can support the wattage of the new fixture. Singapore’s residential electrical system operates at 230V AC, 50Hz. Any fixture you install must be compatible with this voltage and should carry the Enterprise Singapore Safety Mark. This certification ensures the product has been tested for electrical safety, insulation, and thermal management.
Installation Boundaries
While replacing a simple light bulb is a straightforward task, installing a heavy surface-mounted LED glass panel light involves working at height, drilling into concrete, and handling fixed electrical wiring. For safety, always isolate the power at the main distribution board (DB box) before commencing any work. If the installation requires drilling new mounting holes, extending wiring, or modifying the junction box, you must engage a licensed electrical worker (LEW) or a qualified professional installer to ensure compliance with local safety regulations.
Avoiding Common Sizing and Glare Mistakes
To ensure your new lighting setup is both functional and visually appealing, avoid these common sizing and placement errors:
- Installing Excessively Thick Panels: Avoid fixtures with a total depth exceeding 50mm. Thick, low-hanging panels reduce usable headroom and create a distracting visual obstacle in a 2.6m room.
- Creating Dark Corners: LED panels typically have a wide beam angle of 110 to 120 degrees. However, if you choose a panel that is too small for the room's footprint, the light may not reach the corners, creating a "cave effect" where the ceiling and upper walls remain dark. Ensure the panel size is calculated to distribute light evenly across the entire space.
- Ignoring Furniture Alignment: Do not place a large rectangular panel perpendicular to the main flow of the room or misaligned with major furniture pieces like the dining table or sofa. Aligning the orientation of rectangular panels with the long axis of the room or centering square panels over key functional zones creates a harmonious layout that enhances the perceived height and volume of your home.
Frequently Asked Questions (FAQ)
Can I use a suspended LED glass panel light in a room with a 2.6m ceiling?
Suspended or pendant-style mounting is generally not recommended for standard 2.6m HDB ceilings. A suspended light requires a minimum drop length to look balanced, which quickly eats into your headroom. For safety, the bottom of any light fixture should hang no lower than 2.1 to 2.3 meters from the floor to prevent taller occupants or raised arms from hitting the glass. In a 2.6m room, a suspension kit would leave only 30cm to 50cm of clearance, which can make the space feel incredibly cramped and pose a physical hazard. If you want a suspended look, limit it strictly to dining tables or kitchen islands where the furniture prevents people from walking directly underneath. Otherwise, stick to low-profile surface-mounted options.
What are the safe cleaning practices for installed glass panel lights?
Cleaning glass panel lights requires care to maintain their clarity and ensure safety. Always turn off the power at the wall switch and, ideally, the main circuit breaker before cleaning, and allow the fixture to cool completely to avoid thermal shock to the glass. Use a dry, lint-free microfiber cloth to wipe away dust. For stubborn smudges, lightly dampen the cloth with a mild glass cleaner or a mixture of water and a drop of dishwashing liquid. Never spray liquids directly onto the fixture, as moisture can seep into the LED driver or the frame’s electrical connections. Avoid abrasive pads, steel wool, or harsh chemical solvents like acetone, which can scratch the glass surface or strip the protective coating off the metal frame.
Community discussion
Share your experience or ask a question. Comments are reviewed before publication.