
Displaying a digital clock in a rental flat does not require drilling holes or risking your security deposit. You can achieve a clean, modern look by using damage-free adhesive hanging strips, placing the clock on existing furniture, or utilizing floating shelves. The ideal method depends on the weight of your clock, the type of wall surface in your flat, and how you manage the power cables. By matching your clock’s specifications to the right renter-friendly mounting technique, you can keep your home stylish and your walls completely undamaged.
Evaluate Your Wall Surface and Clock Specifications
Before purchasing any mounting accessories, you must assess the wall surface where you plan to display your digital clock. In many rental flats, especially standard HDB layouts, walls are typically finished with emulsion paint over concrete or plaster. Some areas, like kitchens or dining partitions, may feature ceramic tiles or wallpaper. Adhesives bond exceptionally well to smooth, non-porous surfaces like tiles, but they can struggle on textured plaster or delicate wallpaper. Wallpaper is particularly vulnerable, as the weight of the clock can easily tear the paper away from the wall.
Next, examine the physical specifications of your digital clock. Check its weight using a kitchen scale if the manual does not list it, and measure its dimensions. The material of the back panel is also crucial; smooth plastic or metal backings provide an excellent surface for adhesives, whereas textured wood or fabric backings require alternative mounting strategies. If your clock is a larger LED panel, it may be significantly heavier than a compact LCD screen, which directly influences the type of adhesive or support you will need.
Products mentioned in this guide
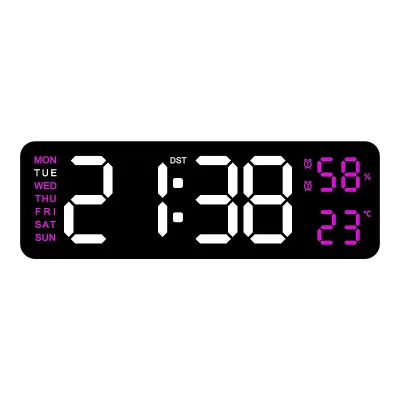
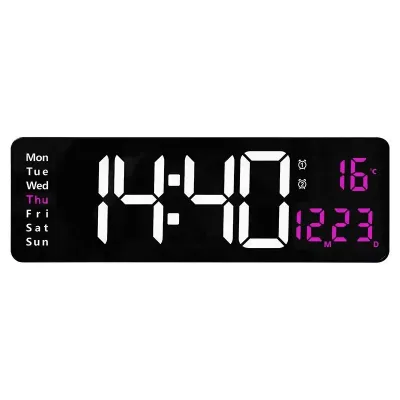
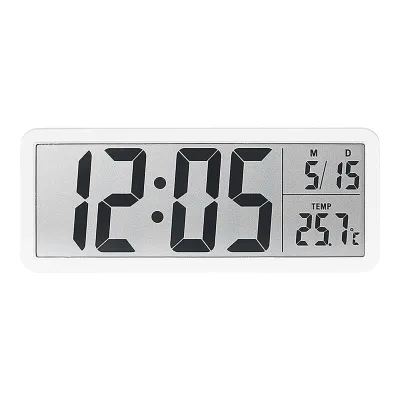
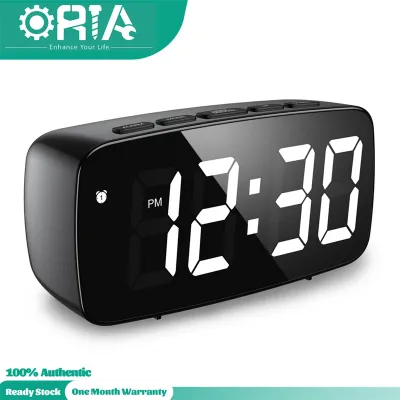
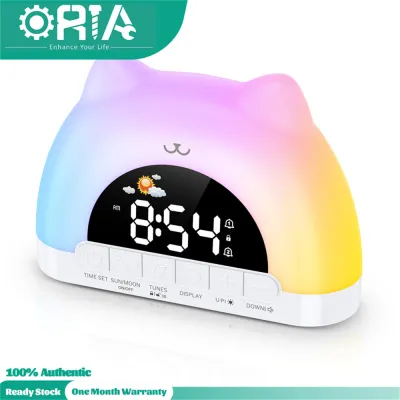
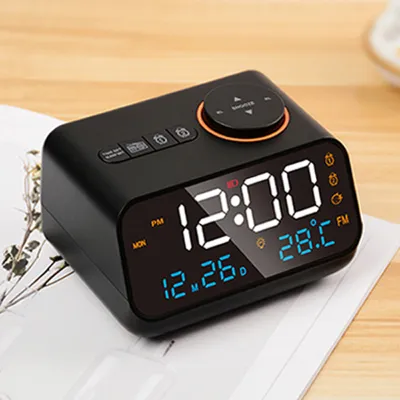
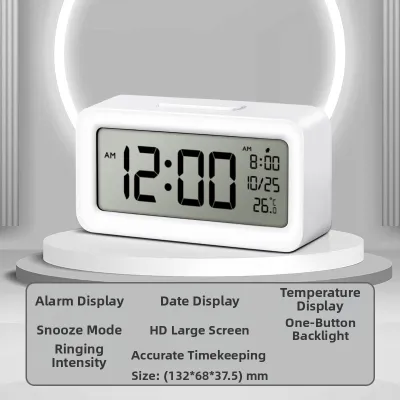
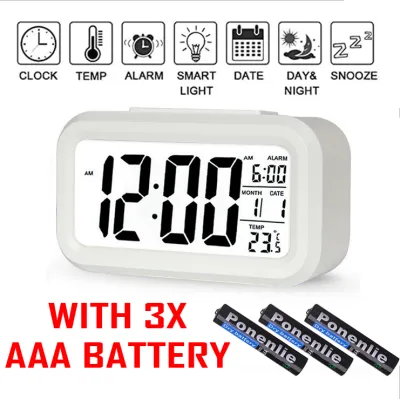
Prices are valid at publication and may change. Please refer to the product page for the latest price.
Power requirements are another vital consideration for digital clocks. Determine whether your clock is battery-operated or requires a continuous mains power connection. For plug-in models, locate the nearest electrical outlet before deciding on a mounting spot. In Singapore, household electricity runs at 230V, and any power adapter used should carry the appropriate safety certifications to prevent electrical hazards. You must plan a clear path for the power cable to ensure it does not drape across walkways, creating a tripping hazard or putting tension on the clock’s mounting hardware.
Select a Renter-Friendly Display Method
If you prefer a wall-mounted look, removable adhesive hanging strips are the most reliable option for lightweight to medium-weight digital clocks. These strips typically use a hook-and-loop system that allows you to detach the clock from the wall for battery changes or adjustments while leaving the adhesive base intact. For clocks with built-in hanging slots, heavy-duty adhesive utility hooks can work well, provided the hook’s depth matches the recess on the back of the clock. Always check the weight capacity printed on the adhesive packaging to ensure it can support your specific clock.

For heavier digital clocks or those with complex wiring, a freestanding or leaning display is often the safest and most stylish approach. Placing your clock on a TV console, sideboard, or entryway table keeps your walls completely untouched. You can also lean a larger digital clock against the wall on a sturdy shelf, surrounding it with potted plants or books to create a curated, intentional decor display. This method also makes it incredibly easy to access the back of the clock for time adjustments or battery replacements.
Cable management is the secret to making a renter-friendly clock display look professional. Unsecured, dangling cords can ruin the clean aesthetic of a digital display and pull the clock off the wall if snagged. You can use paintable, self-adhesive cord covers that run flat against the wall to conceal the power cable. Alternatively, routing the cable behind nearby furniture or using small, damage-free cable clips along the top of your skirting boards will keep the wires tidy and out of sight without requiring any drilling.
Step-by-Step Installation for Adhesive Wall Mounts
To ensure your digital clock remains securely on the wall without falling, you must prepare the surface meticulously. Begin by cleaning the exact area of the wall where the adhesive will go using isopropyl rubbing alcohol. Avoid using household surface sprays or glass cleaners, as these often leave behind a thin, slippery residue that prevents the adhesive from bonding properly. Allow the cleaned area to dry completely before proceeding to the next step.
Once the wall is dry, apply the adhesive strips to the back of the clock according to the manufacturer’s instructions. Press the strips firmly against the clock backing for at least thirty seconds to activate the pressure-sensitive adhesive. Next, remove the protective liners from the wall-facing side of the strips, align the clock using a spirit level or a leveling app on your smartphone, and press the clock firmly against the wall. Hold it in place with steady pressure for another thirty seconds to establish a strong initial bond.
For the best results, many adhesive manufacturers recommend temporarily removing the clock from the wall-facing strips and letting the adhesive cure. Slide or peel the clock off the hook-and-loop fasteners, then press the remaining wall strips firmly once more. Allow the adhesive to cure undisturbed for at least one hour—or the duration specified by the manufacturer—before reattaching the clock. Once reattached, route the power cable carefully and secure it with lightweight adhesive clips, ensuring there is no downward tension pulling on the clock itself.
If you notice that your wall paint is flaking, crumbly, or damp, stop the installation immediately. Adhesives will not hold on unstable surfaces, and attempting to mount a clock under these conditions will likely result in damaged paint and a broken timepiece. If your digital clock is exceptionally heavy or if the wall surface is unsuitable for adhesives, consult your landlord to see if they will permit a professional to install a single, neat wall anchor, or pivot to a freestanding display method instead.
Safe Removal and Wall Restoration
When your tenancy comes to an end, removing the adhesive mounts correctly is essential to avoid tearing the paint or plaster. Never pull the adhesive strips outward or away from the wall at a right angle, as this concentration of force will almost certainly rip the paint off. Instead, hold the base of the strip gently with one hand and use your other hand to pull the exposed tab straight down, parallel to the wall. Stretch the strip slowly and steadily, keeping your hand close to the wall surface as you pull. The strip will stretch and cleanly release its grip without leaving a mark.
If you encounter stubborn adhesive residue or if the strip has become brittle over time, you can use gentle techniques to soften it. Applying low heat from a hairdryer for fifteen to thirty seconds can warm the adhesive, making it pliable enough to roll off gently with your fingers. For any remaining sticky spots, apply a small amount of warm, soapy water or a dedicated adhesive remover to a microfiber cloth and rub the area gently. Always test any liquid cleaner on an inconspicuous spot near the skirting board first to ensure it does not discolor your wall paint.
After removing all mounting hardware, conduct a thorough inspection of the wall surface under good lighting. Take clear, well-lit photographs of the restored wall to document its pristine condition before your final move-out inspection. Having this photographic evidence provides peace of mind and ensures you can demonstrate to your landlord that the flat’s walls remain in the same undamaged state as when you first moved in.
Frequently Asked Questions (FAQ)
Can I use adhesive strips on freshly painted walls?
No, you should not apply adhesive strips to freshly painted walls. Even if the paint feels dry to the touch, it undergoes a chemical curing process that can take up to twenty-eight days to complete. Applying adhesives during this curing window traps moisture and solvents, preventing a proper bond and significantly increasing the risk that the paint will peel off when you eventually remove the strips. Always wait at least a month after painting before mounting anything with adhesives.
How do I hide the power cord without drilling?
You can easily conceal the power cord of your digital clock using renter-friendly cable management accessories. Self-adhesive cord covers or cable raceways can be stuck along the wall and painted to match your wall color, making them virtually invisible. For a simpler approach, use small, clear adhesive wire clips to route the cable neatly along the corners of walls, door frames, or the top edge of your skirting boards. Placing decorative items like books, photo frames, or indoor plants directly beneath the clock can also naturally block the cord from view.
What if my digital clock is too heavy for adhesive strips?
If your digital clock exceeds the weight rating of standard adhesive strips, you should avoid wall-mounting it to prevent it from falling and causing damage. Instead, transition to a freestanding setup by placing the clock on a sturdy piece of furniture, such as a bookshelf, mantelpiece, or console table. If wall mounting is your only option, contact your landlord to request written permission to install a proper wall anchor. Many landlords are amenable to small, professionally drilled holes if they are patched and painted neatly at the end of the tenancy.

Community discussion
Share your experience or ask a question. Comments are reviewed before publication.