
Achieving a gallery-quality finish with a DIY painting by number kit depends less on a specific brand name and more on verifying the physical specifications of the canvas, paint, and packaging. While many kits are marketed as home decor, many fall short when framed due to thin canvases, translucent paints, or permanent creases from shipping. To select a kit that transitions beautifully from a hobby project to a polished wall display, you must evaluate the structural components before purchasing.
Key Quality Metrics to Compare Paint-by-Number Brands
The foundation of any display-worthy painting is the canvas material. Standard kits often use cheap, synthetic polyester canvases that feel like plastic. These synthetic options are prone to stretching unevenly under tension, which can cause the finished painting to warp once mounted. For a professional look, seek out linen or cotton-linen blends. Linen offers a distinct, heavy texture that mimics professional artist canvases, holds paint layers securely, and maintains its tension over time without sagging.
Paint quality is the next critical factor. Most kits include acrylic paint, but the consistency and pigment density vary wildly. High-quality kits provide heavy-body acrylics that dry to a rich, slightly raised texture. Lower-grade kits often supply watery, translucent paints that require three or four coats to cover the printed numbers. This excessive layering can obscure the natural canvas texture and lead to an uneven, patchy finish that looks amateurish under directional wall lighting.
Products mentioned in this guide

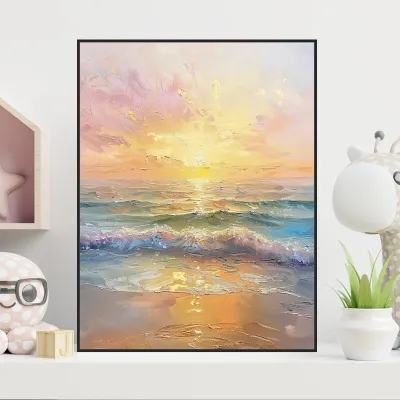



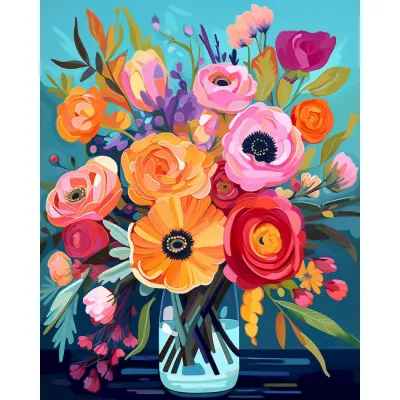

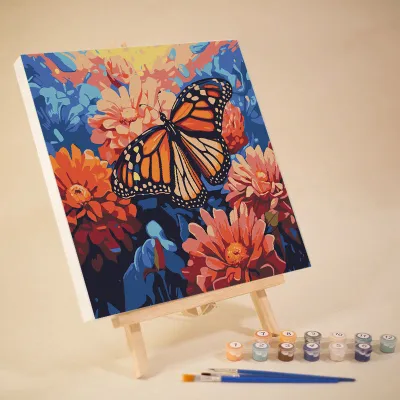
Prices are valid at publication and may change. Please refer to the product page for the latest price.
Finally, examine the print line clarity on the unpainted canvas. The underlying guide lines and numbers should be printed in a light, neutral color, such as light grey or soft blue. Dark black lines are incredibly difficult to cover, especially when working with light yellow, white, or pastel pigments. Additionally, the manufacturer should use anti-bleed inks; cheap printing inks can dissolve when wet, mixing with your paint and muddying the final colors.
Assessing Packaging and Component Durability
How a brand packages its kits directly impacts the final presentation. Canvases that are folded flat for shipping arrive with deep, stubborn creases. Removing these creases requires careful ironing, which can damage the canvas fibers if done incorrectly. Canvases shipped rolled tightly in a rigid cardboard tube are highly preferable. This packaging method prevents creasing entirely, ensuring a perfectly flat surface that is ready for immediate painting and seamless framing.

The durability of the paint pots is equally important for long-term projects. Acrylic paint dries rapidly when exposed to air, meaning the design of the paint pots can make or break your experience. Look for kits that feature vacuum-sealed, heavy-duty plastic pots with secure, snap-tight lids. If a brand’s packaging allows air to seep in during transit or storage, you may open the kit to find dried, unusable rubber clumps instead of smooth paint.
Additionally, consider the inclusion of practical accessories. A high-resolution paper reference sheet is essential for troubleshooting; once you paint over a section, you lose the number guide, making a physical backup sheet invaluable for final touch-ups. Furthermore, check if the canvas dimensions align with standard, off-the-shelf frame sizes, such as 40×50 cm. Choosing a standard size allows you to purchase ready-made frames easily, avoiding the high cost of custom framing.
Matching Art Styles to Your Wall Space
Selecting the right artwork style is crucial for ensuring the finished piece complements your home’s interior design. Minimalist line art, botanical illustrations, and bold abstract color blocks are highly forgiving for beginners and blend seamlessly into modern, contemporary spaces. Classic landscapes, detailed portraits, and impressionist styles require more precise brushwork but suit traditional or transitional interiors beautifully.
Be realistic about color complexity and how digital previews translate to physical paint. The images displayed on online marketplaces are almost always highly saturated, computer-generated renders. The actual physical acrylic paint will dry slightly darker and flatter than a glowing digital screen. To ensure the painting fits your room, evaluate the dominant color palette under your space’s specific lighting conditions. Warm indoor lighting will enhance earth tones, while cool natural light from windows will highlight blues and greys.
Consider the visual weight and proportion of the canvas relative to your furniture. A single small canvas can look isolated and lost when hung on a large wall above a sofa or dining table. For larger wall spaces, look for multi-panel kits (diptychs or triptychs) or plan to group several coordinated paintings together to create a cohesive gallery wall. This approach provides a balanced, intentional look that elevates the entire room.
Pre-Purchase Verification Checklist
Before ordering a kit, verify the exact painted area dimensions versus the overall canvas dimensions. A canvas must have an unpainted border of at least 3 to 5 cm on all sides if you plan to stretch it over wooden stretcher bars. If the printed design goes right to the edge of the canvas, stretching it will pull a portion of the artwork around the sides of the frame, cutting off the composition.
Do not rely solely on promotional images; instead, analyze user-uploaded photos in the review sections of online marketplaces. Look closely at photos of unpainted canvases to check the density of the weave and the darkness of the printed lines. Examine photos of completed projects to see if the paint successfully covered the numbers and if the final colors match the advertised design.
In tropical climates with high humidity, environmental resistance is a key consideration. High humidity can encourage mold growth on organic canvas fibers and cause cheap wooden frames to warp. Check manufacturer specifications for canvas treatments, and ensure you plan to display the finished piece in a well-ventilated, climate-controlled room away from direct moisture sources.
Final Preparation for Framing and Display
To prepare your completed artwork for display, start by ensuring the canvas is perfectly flat. If minor wrinkles persist, lay the canvas face down on a clean towel and iron the back on a low, dry heat setting. Never apply a hot iron directly to the painted side, as this can melt or distort the acrylic paint. Once flat, secure the canvas to a rigid backing board or stretch it over wooden stretcher bars before framing.
Applying a protective varnish is a vital step that many hobbyists skip. Once the acrylic paint has cured completely—typically 24 to 48 hours after your final brushstroke—apply a thin, even coat of acrylic varnish. A matte varnish is ideal for rooms with heavy glare from windows or light fixtures, while a gloss varnish will deepen the colors and add vibrancy. Always apply varnish in a dust-free, well-ventilated area, following the product’s specific instructions.
When selecting a frame, choose one that matches the depth of your mounted canvas. For flat canvases mounted on backing boards, a standard photo frame with acid-free matting works beautifully, keeping the painted surface from pressing directly against the glass. If you prefer a modern look, a floating frame designed for stretched canvases provides a clean, professional border that highlights the texture of your finished piece.
Frequently Asked Questions (FAQ)
Do I need to stretch a paint-by-number canvas before framing?
Whether you need to stretch your canvas depends entirely on the type of frame you plan to use. For a traditional, frameless gallery-wrap look, you must stretch the canvas over wooden stretcher bars. However, if you are using a standard glass-front frame, stretching is unnecessary; you can simply trim the excess border and mount the canvas flat against a rigid, acid-free backing board.
How can I hide the numbers if the paint is too thin?
To cover stubborn numbers without creating thick, clumpy patches of paint, apply multiple thin coats, allowing each layer to dry completely before applying the next. For exceptionally light colors like white, yellow, or cream, apply a tiny dot of white acrylic primer or gesso directly over the printed number and let it dry before painting. This neutralizes the dark ink without altering the final color of your paint.

Community discussion
Share your experience or ask a question. Comments are reviewed before publication.