
Decorating a rental home in Singapore comes with a unique set of challenges. Most Housing & Development Board (HDB) flats and private condominiums feature solid concrete walls finished with plaster and paint. Landlords are notoriously strict about drilling holes, often specifying in tenancy agreements that any wall damage will result in costly deductions from your security deposit.
If you want to set up a functional home office, kitchen organizer, or kids’ play area, a magnetic board is an incredibly versatile tool. Fortunately, you do not need a power drill to enjoy one. By selecting the right damage-free mounting techniques and understanding the physical properties of your walls, you can securely install a magnetic board while keeping your landlord perfectly happy.
Assess Your Wall Surface and Board Weight
Before purchasing any mounting materials, you must evaluate the specific condition of your rental walls and the physical properties of your board. Singapore’s tropical climate, characterized by high relative humidity that frequently exceeds 80%, plays a significant role in how adhesives behave over time.
Products mentioned in this guide
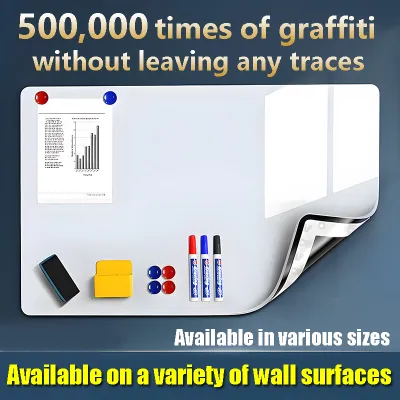
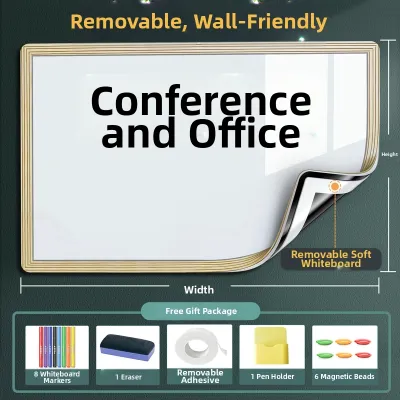
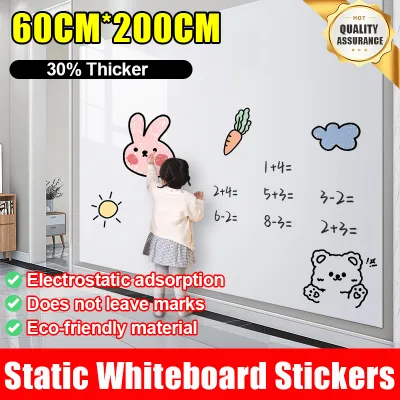
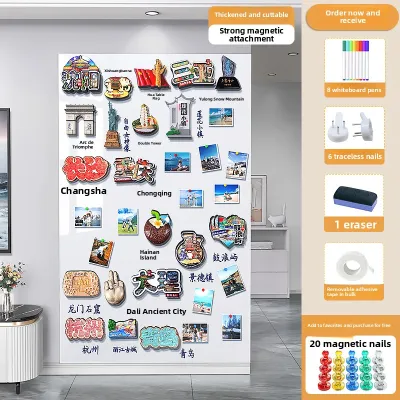
Prices are valid at publication and may change. Please refer to the product page for the latest price.
First, inspect the wall paint. Run your hand across the surface; if a powdery residue transfers to your fingers, the paint is “chalking.” Adhesives will not stick to chalky or peeling paint because they bond to the loose powder rather than the solid wall. Additionally, check for signs of moisture or condensation, especially on walls adjacent to air conditioning units or bathrooms. If the paint is fresh—perhaps your landlord repainted the flat just before you moved in—you must wait at least three to four weeks. Fresh paint needs this time to cure fully and release its solvents; applying adhesives too early will trap moisture, prevent a proper bond, and inevitably tear the paint when removed.
Next, weigh your magnetic board. A lightweight whiteboard with a magnetic steel backing might only weigh 1 to 2 kilograms, whereas a solid, industrial-style sheet steel board can easily exceed 5 kilograms. You must also factor in the dynamic weight of the items you plan to place on it. Heavy magnets, keys, spice tins, or thick paper pads add cumulative downward force.
Always read the manufacturer’s label on your mounting products to verify their maximum weight capacity and compatible surface types. Never assume a generic pack of tape can handle the job; instead, look for specialized, weight-rated mounting solutions and ensure they are compatible with your specific wall finish.
Choose the Best Damage-Free Mounting Method
Selecting the right installation method depends on the weight of your magnetic board and the condition of your walls. Matching your mounting method to the wall’s structural integrity is essential to prevent sudden falls.

For small to medium boards weighing under 5 kilograms, heavy-duty adhesive strips or hooks are the most reliable option. Specifically, hook-and-loop style interlocking strips are ideal because they allow you to detach the board from the wall for cleaning or reorganization without disturbing the adhesive bond on the wall itself. Avoid standard double-sided foam tape, mounting putty, or packing tape. These materials lack the shear strength required to withstand the constant downward pull of gravity and the dynamic, outward pressure applied when you pull magnets off the board. Over time, especially in humid conditions, standard tapes will slide, leaving a sticky residue and dropping your board.
If your rental flat features recessed alcoves, window frames, or built-in shelving nooks, a tension rod system is an excellent alternative. This method relies entirely on outward pressure against opposing vertical surfaces, meaning nothing touches your main walls. It is highly suited for hanging lightweight magnetic sheets, fabric-wrapped magnetic boards, or small metal panels. Tension rods can range from S$15 to S$40 depending on their length and weight capacity.
For large, heavy, or oversized magnetic boards that exceed the weight limits of adhesive strips, a leaning or floor-standing setup is the safest and most practical choice. By resting the weight of the board directly on the floor and leaning the top against the wall, you eliminate the risk of catastrophic falls. This approach also adds a relaxed, modern aesthetic to your living space or study room.
Step-by-Step Guide: Mounting with Heavy-Duty Adhesive Strips
To achieve a secure hold that lasts for years without damaging your rental walls, you must follow a precise installation process. Skipping even a minor step can cause the adhesive to fail prematurely.
Preparation
Gather your materials before starting. You will need high-quality rubbing alcohol (isopropyl alcohol), a clean microfiber cloth, a pencil, a spirit level (or a leveling app on your smartphone), and your chosen heavy-duty adhesive strips. Heavy-duty adhesive strips typically cost between S$10 and S$25 per pack.
Step 1 – Surface Cleaning
Clean the wall area and the back of the magnetic board thoroughly. Pour rubbing alcohol onto the microfiber cloth and wipe down both surfaces. This step is critical because it removes invisible oils, dust, and fingerprints that prevent the adhesive from bonding directly to the paint or metal. Avoid using household multi-surface cleaners, dish soap, or window sprays; these products often leave behind a microscopic, slippery silicone or surfactant residue that will cause the adhesive to fail within days.
Step 2 – Strip Application
Once the surfaces are completely dry, apply the adhesive strips to the back of the magnetic board. Space them evenly to distribute the weight across the entire surface. If your board is rectangular, place strips near the top corners, along the sides, and at the bottom. Avoid placing them right on the extreme outer edges to prevent them from peeking out or peeling from accidental contact. Press each strip firmly against the board for at least 30 seconds to activate the pressure-sensitive adhesive.
Step 3 – The Curing Wait (Crucial)
The most common mistake renters make is hanging the board and immediately loading it with items. To prevent failure, use your spirit level and pencil to lightly mark the board’s placement on the wall. Press the board firmly against the wall, holding pressure over each strip location for 30 seconds. Next, carefully peel the board off the wall, leaving the wall-side strips in place (if using interlocking hook-and-loop strips). Press firmly on the remaining wall strips once more.
Now, leave the adhesive to cure. In Singapore’s humid climate, the adhesive polymers need time to cross-link and form a secure bond with the paint. Let the strips cure undisturbed for at least one hour—or longer if recommended by the manufacturer—before reattaching the board.
Step 4 – Final Mounting and Testing
After the curing period, align the board with the wall strips and press them together until you hear or feel them click into place. Before placing any magnets, perform a gentle downward stress test by lightly pulling on the bottom of the board. If it feels secure, begin adding your magnets. Start with lightweight items and gradually add heavier accessories over a few days, keeping a close eye on the strips for any signs of lifting.
Alternative Setups: Tension Rods and Leaning Frames
If your walls are not suited for adhesives, or if your magnetic board is too heavy for strips, alternative setups offer excellent workarounds.
Tension Rod Setup
To install a tension rod system, begin by measuring the exact width of your recessed alcove or window frame. Purchase a heavy-duty tension rod rated for the weight of your board. Adjust the rod to fit tightly between the two surfaces, ensuring the rubber end caps are clean and dry to prevent slipping or marking the paint. Use sturdy S-hooks or heavy-duty zip ties threaded through the pre-drilled mounting holes of a lightweight magnetic board to suspend it from the rod. This setup is highly customizable and keeps your walls completely pristine.
Leaning Setup
For large steel magnetic boards, a leaning configuration is highly stable. Place the base of the board on the floor, angled slightly outward from the wall (an angle of 5 to 10 degrees is ideal). To protect your rental flooring—whether it is vinyl, laminate, parquet, or tile—and to prevent the board from sliding out, apply non-slip rubber or silicone furniture pads to the entire bottom edge of the frame.
Safety Boundary
While leaning setups are generally safe, a tall, top-heavy board can pose a tipping hazard, especially if you have pets or young children. To mitigate this risk, use discreet, damage-free anti-tip adhesive straps at the very top of the board, provided your wall paint is in stable condition. Alternatively, anchor the lower half of the leaning board securely behind a heavy piece of furniture, such as a solid wood desk or a heavy sideboard, which naturally blocks it from tipping forward.
How to Remove the Board Safely When Moving Out
When your tenancy ends, removing your magnetic board properly is just as important as the installation. Rushing this process can easily rip the paint off the plaster, leading to costly repairs.
To remove heavy-duty adhesive strips, never pull the tab outward or away from the wall at a 90-degree angle. Doing so concentrates all the force on a single point of paint, which will tear it. Instead, hold the top of the strip or the board gently to stabilize it, and pull the exposed adhesive tab straight down, parallel to the wall surface. Stretch the strip slowly and steadily. It may stretch up to 30 centimeters before releasing its grip entirely.
If you encounter stubborn adhesive residue that refuses to budge, do not scrape it with metal tools or sharp knives. Instead, use a hairdryer on a low-heat setting to gently warm and soften the adhesive. Once warmed, you can roll the residue off with your thumb. For any lingering stickiness, apply a tiny drop of mild solvent, such as eucalyptus oil or a specialized commercial adhesive remover, to a clean cloth and gently wipe the area. Always perform a spot test with the solvent in an inconspicuous area first—such as behind a light switch or near the floor skirting—to ensure it does not dissolve or discolor your wall paint.
Stop Condition: If you notice the wall paint beginning to bubble, lift, or tear during the removal process, stop immediately. Do not attempt to force the strip off. Continuing will only worsen the damage and create a larger patch of bare plaster. At this stage, consult your landlord or a professional handyman to assess the paint quality and safely repair the spot, which is often much cheaper than paying a penalty for extensive wall damage.
Frequently Asked Questions (FAQ)
Can I use magnetic paint instead of a physical board?
While magnetic paint sounds like a clever, space-saving solution, it is rarely practical for rental flats. Magnetic paint contains microscopic iron particles, and achieving a magnetic pull strong enough to hold even a lightweight paper note requires applying three to six thick coats. This process significantly alters both the texture and the color of your wall, leaving a dark, slightly rough surface.
Most tenancy agreements in Singapore require you to hand back the flat in its original state, which typically means smooth, light-colored walls. Restoring a wall painted with magnetic paint requires extensive sanding to remove the texture, followed by multiple coats of high-opacity primer and matching topcoat paint. This makes a physical, removable magnetic board a far more cost-effective and hassle-free choice for renters.
Will the magnets scratch my rental walls if the board slips?
Yes, if a magnetic board shifts or bows under pressure, the hard backs of magnets or the metal edges of the board can scrape against the wall, leaving unsightly marks.
To prevent this secondary damage, always choose magnets with smooth, rubberized, or felt-covered backings. Additionally, the adhesive strips used to mount your board naturally create a small gap of 2 to 3 millimeters between the board and the wall, which helps prevent direct contact. If your board is prone to slight movement, you can apply small felt furniture bumpers to the rear corners of the board, or place a small sheet of clear, static-cling protective film on the wall directly behind the board’s edges to act as a protective barrier.
Community discussion
Share your experience or ask a question. Comments are reviewed before publication.