
Hanging a fairy lights curtain transforms a plain window or wall into a soft, glowing focal point, creating an inviting atmosphere in any room. To achieve a perfectly aligned, polished look without damaging your surfaces or tangling the delicate strands, you must follow a systematic approach to mounting, spacing, and securing the wires. Whether you are decorating a concrete wall in a high-rise apartment or a floor-to-ceiling glass window, using the right non-invasive mounting tools and following proper electrical safety steps ensures a beautiful and secure display.
Preparation and Tools for a Damage-Free Installation
Before you begin hanging your fairy lights curtain, careful preparation is essential to prevent tangled wires and electrical hazards. Start by unboxing the light set on a clean, flat surface such as a large table or a swept floor. Do not untie the individual vertical strands yet; instead, keep them bundled in their original twists or ties while you work with the main horizontal header wire. This simple step prevents the vertical drops from intertwining and forming frustrating knots during the initial mounting process.
Next, conduct a thorough pre-installation safety check of your lighting equipment. In Singapore, household electricity operates at a standard voltage of 230V and a frequency of 50Hz, typically utilizing a Type G three-pin plug. Verify that your fairy light curtain’s power adapter matches these specifications and carries the appropriate electrical safety certifications for your region. Additionally, check the Ingress Protection (IP) rating printed on the product label; indoor-only setups require at least an IP20 rating, while semi-outdoor or damp areas demand IP44 or higher to protect against moisture. Inspect the entire length of the cord for any exposed copper, frayed insulation, or cracked plastic housings before plugging the unit in to test that all bulbs light up correctly.
Products mentioned in this guide
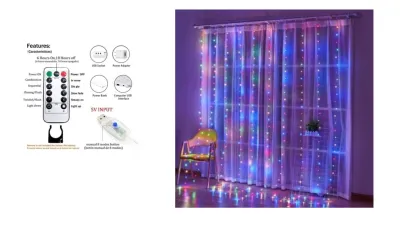
![[SG STOCK]4M LED String Light Fairy Curtain Lights Wedding Festive Christmas Decoration Lighting String Curtain Ceiling Light](https://img.lazcdn.com/g/p/96c2f8dded1d497bae8da3a55b7e37b3.jpg_400x400q80.jpg_.webp)
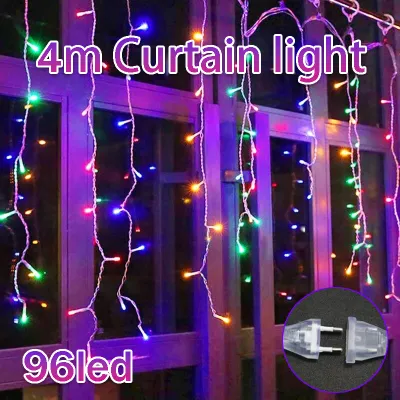
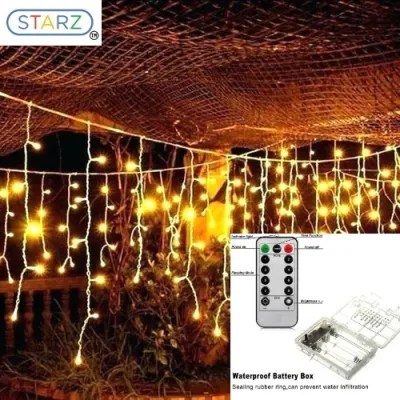
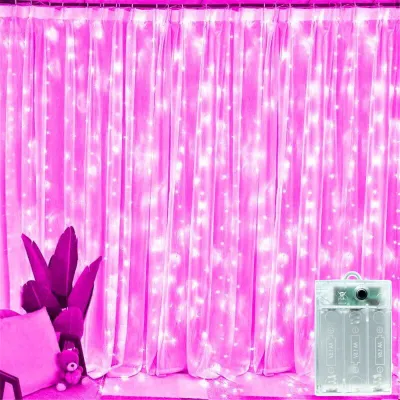
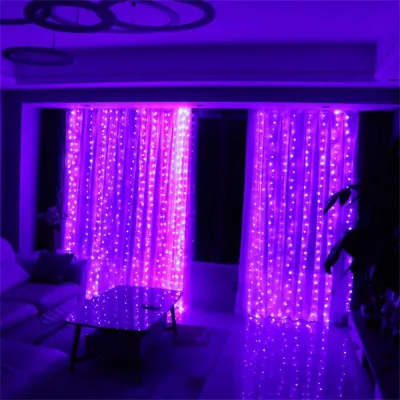
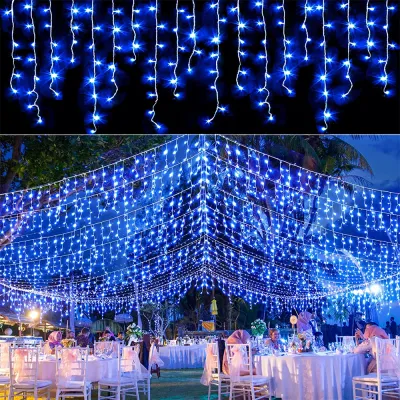
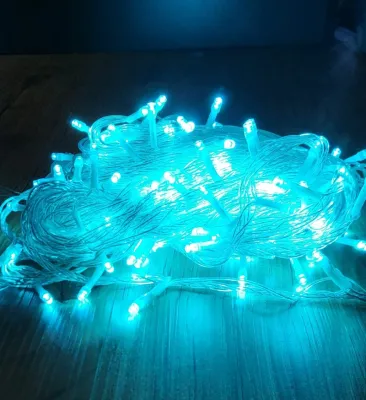
Prices are valid at publication and may change. Please refer to the product page for the latest price.
To achieve a damage-free installation, gather the necessary tools and hardware beforehand. You will need:
- Damage-free adhesive hooks or clips: Select clear, light-duty hooks rated for the weight of your specific light set.
- Tension rod or curtain rod: This is an excellent alternative for window frames, allowing you to hang the lights without applying adhesive directly to the wall or glass.
- Measuring tape: Essential for calculating precise spacing and centering the display.
- Microfiber cloth and isopropyl alcohol: Used to clean the mounting surfaces thoroughly, ensuring the adhesive bonds securely.
Step-by-Step Guide to Hanging the Fairy Lights Curtain
Mounting the Main Header on Walls or Windows
The foundation of a neat display lies in how securely and evenly you mount the top horizontal strand, known as the main header. Begin by using your measuring tape to measure the exact width of the window frame or wall section you wish to cover. Compare this measurement to the length of the light curtain’s header wire to determine where the first and last hooks should be placed, ensuring the display is perfectly centered. If the header wire is slightly wider than your target area, plan to fold or loop the excess ends neatly rather than letting them hang loosely.

For adhesive hooks to bond effectively, the target surface must be completely free of dust, grease, and moisture. Wipe down the wall, window frame, or glass pane with a microfiber cloth dampened with isopropyl alcohol, then allow it to dry completely. Avoid using household surface cleaners, as they often leave behind a thin residue that prevents the adhesive from sticking long-term.
Once the surface is dry, apply the adhesive hooks according to the manufacturer’s instructions, typically pressing each hook firmly against the surface for 30 seconds. For a standard fairy light curtain, space the hooks approximately 30 to 50 centimeters apart along the horizontal line to prevent the header wire from sagging in the middle. Let the adhesive cure for the recommended time—often one hour—before hanging any weight. If you are using a tension rod instead, adjust the rod to fit tightly inside your window frame, then wrap or loop the main header wire securely around the rod before wedging it into place. Never use staples, nails, or metal tacks to secure the wires, as these can easily pierce the protective plastic insulation and create a severe shock or fire hazard.
Draping and Arranging the Vertical Strands
With the horizontal header securely supported by your hooks or tension rod, you can now begin draping the vertical light strands. Carefully untie or unwrap one vertical strand at a time, starting from one end of the curtain and working your way to the other. Let each strand drop naturally toward the floor, allowing gravity to pull the wire straight. If the wires retain some of their coiled shape from the packaging, gently smooth them downward between your fingers to straighten them, taking care not to pull hard or strain the connections where the vertical drops meet the main header.
Proper spacing is key to preventing the vertical strands from clustering together or leaving awkward, uneven gaps. If you notice strands drifting toward each other due to static electricity or minor drafts, you can secure the bottom of each strand to the window frame or baseboard. Use small, clear adhesive wire clips designed for delicate cords to hold the bottom of the strands in place.
When securing the bottom or sides of the strands, always leave a small amount of slack in the wires. Pulling the strands too tightly can put mechanical stress on the internal copper wiring, leading to premature wire breakage or loose connections that cause sections of the curtain to fail. If you need to shape the lights around a specific architectural feature, use loose loops and gentle angles rather than sharp bends.
Safety Boundaries and Common Mistakes to Avoid
Operating decorative lighting safely requires adhering to clear electrical and physical limits. One of the most common mistakes is daisy-chaining multiple fairy light curtains together to cover a larger area. You must never connect more sets than the manufacturer explicitly recommends in their instruction manual. Overloading the power adapter or the thin copper wiring can cause extreme overheating, which poses a significant fire risk. If you need to cover a very wide wall, plug separate light curtains into individual power outlets or a certified multi-way extension outlet rather than linking them end-to-end.
In Singapore’s tropical climate, indoor humidity levels can rise significantly, especially when transitioning between air-conditioned and naturally ventilated spaces. This temperature shift can cause condensation to form on window panes and metal frames. If your light curtain is not waterproof, keep it away from direct contact with window glass where condensation pools. Additionally, ensure the warm LED bulbs do not rest directly against highly flammable, lightweight fabrics like sheer organza or delicate lace curtains. While high-quality LEDs generate minimal heat compared to traditional incandescent bulbs, prolonged contact with confined, heat-trapping fabrics can still present a safety hazard.
Protecting your home’s surfaces is just as important as protecting the electrical components. Avoid using heavy-duty duct tape, packing tape, or mounting putty directly on the wires, as these adhesives degrade over time under the mild heat of the lights, leaving a sticky residue that is difficult to clean and can damage the wire insulation. Furthermore, before applying adhesive hooks to painted drywall or delicate wallpaper, perform a small patch test in an inconspicuous area to ensure the adhesive can be removed later without peeling away the paint or paper fibers.
Always monitor your lighting setup for signs of electrical failure. You must unplug the power adapter immediately and stop using the light curtain if you observe any of the following warning signs:
- Frayed, cracked, or exposed wiring along any part of the strand.
- Sparking, flickering, or individual bulbs glowing excessively bright or dim.
- A hot-to-the-touch power adapter, plug, or wire section.
- Any unusual burning smells, smoke, or buzzing sounds coming from the lights or outlet.
Final Checks and Adjustments for a Polished Look
Once your fairy light curtain is fully hung and arranged, plug it in to perform a final visual inspection. Step back several meters to view the entire display from a distance. This perspective makes it easier to spot any uneven gaps between the vertical strands, sagging sections along the main header, or crooked lines. Make minor adjustments by sliding the header wire along the hooks or adjusting the tension rod until the alignment is perfectly straight and uniform.
To achieve a clean, professional finish, take a few minutes to conceal the excess wiring. Use clear cable ties or twist ties to bundle any unused header wire or the long lead cord running to the power outlet. You can tuck this bundled cord behind a nearby piece of furniture, a potted plant, or the edge of a curtain panel to keep it out of sight and eliminate a potential tripping hazard.
If your fairy light curtain model features smart integration, remote controls, or built-in timers, now is the time to configure these settings. Refer to the manufacturer’s companion application or user guide to pair the device with your home network. Setting a daily timer ensures your lights turn off automatically during the day, which conserves energy and extends the overall lifespan of the LEDs.
Frequently Asked Questions (FAQ)
Can I hang fairy light curtains outdoors in Singapore's climate?
You can hang fairy light curtains outdoors only if the product label explicitly states an appropriate Ingress Protection (IP) rating. For outdoor environments exposed to Singapore’s heavy rainfall and high humidity, the lights and their power adapter must be rated at least IP44 for splash resistance, though IP65 or higher is recommended for fully exposed areas. Indoor-rated lights (typically IP20) will quickly fail, short-circuit, or rust if exposed to moisture, so always bring them indoors during wet weather or high-humidity conditions.
How do I remove adhesive hooks without peeling the paint?
To remove adhesive hooks safely without damaging your wall paint, grab the exposed release tab at the bottom of the adhesive strip. Slowly pull the tab straight downward, keeping your hand parallel to the wall surface rather than pulling the hook outward or toward you. This stretching action releases the adhesive bond cleanly. If the tab snaps or the adhesive resists, use a hairdryer on a low-heat setting for 20 to 30 seconds to soften the adhesive before gently prying the hook off with a flat plastic tool.
Community discussion
Share your experience or ask a question. Comments are reviewed before publication.