
Hanging string lights can instantly transform a room, adding warmth, character, and a cozy ambiance to your living space. However, the prospect of repairing torn drywall, cracked plaster, or peeled paint in a rental property or a newly renovated apartment can make anyone hesitate. Achieving a beautiful, illuminated setup does not require drilling holes or causing permanent cosmetic damage to your property.
By matching the correct mounting method to your specific wall or ceiling material, you can secure your lights safely and remove them cleanly when it is time to move or change your decor. Whether you are dealing with smooth painted walls, rough concrete, or delicate glass surfaces, a damage-free installation is entirely achievable with the right planning, tools, and techniques.
Planning and Tools for a Damage-Free Setup
Before purchasing your mounting accessories, you must carefully plan your layout to ensure a seamless installation. Start by measuring the perimeter of the wall or ceiling area where you intend to hang the string lights. Map out your desired design on paper first; popular configurations include a clean perimeter border, a zigzag pattern across the ceiling, or a draped canopy effect. Knowing the exact dimensions of your space helps you calculate the total length of the light strand required and prevents unnecessary pulling or tension on the wires during installation.
Products mentioned in this guide
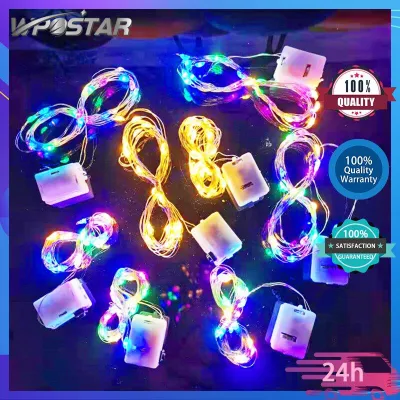
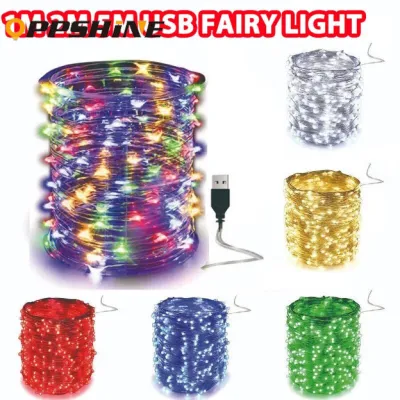
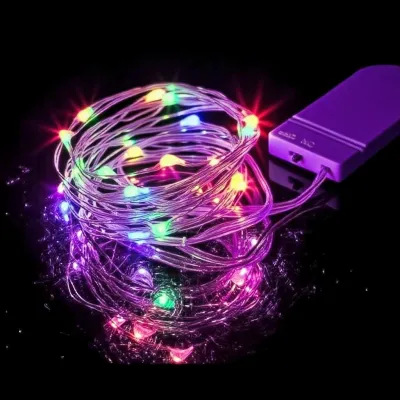
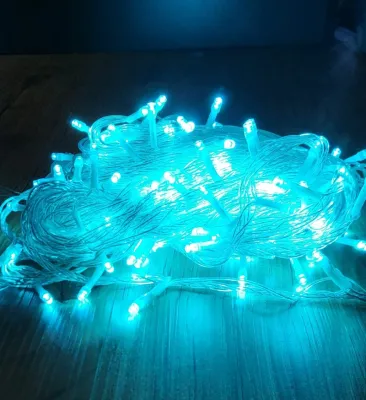
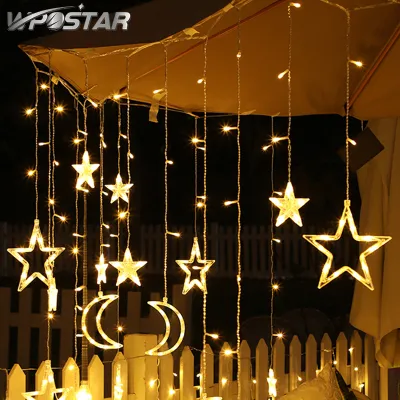
![[SG STOCK]4M LED String Light Fairy Curtain Lights Wedding Festive Christmas Decoration Lighting String Curtain Ceiling Light](https://img.lazcdn.com/g/p/96c2f8dded1d497bae8da3a55b7e37b3.jpg_400x400q80.jpg_.webp)
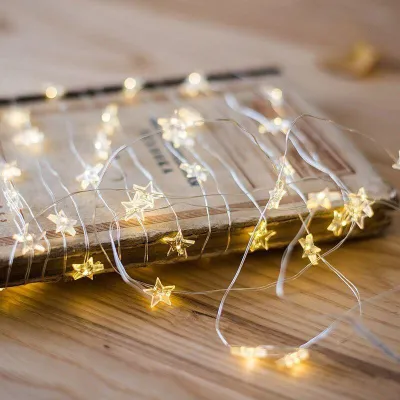
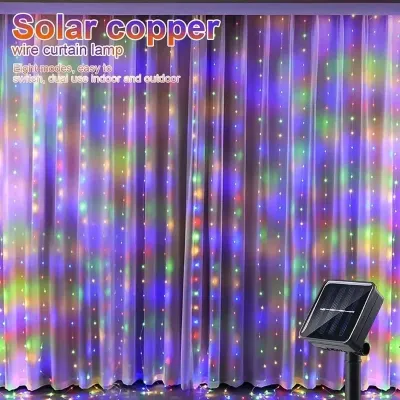
Prices are valid at publication and may change. Please refer to the product page for the latest price.
Next, identify the nearest electrical outlet and plan a safe route for the power cord. Avoid running cords across high-traffic walkways where they can present a tripping hazard or be easily pulled, which could rip the mounts off the wall. In Singapore, the standard household electrical supply operates at 230V. When purchasing string lights, verify that the power adapter is compatible with this voltage and carries recognized safety certifications, such as the Enterprise Singapore Safety Mark, to ensure safe operation under local electrical standards.
To complete the installation smoothly, gather your essential tools before you begin. You will need a measuring tape, a pencil or low-tack painter’s tape for marking, a bottle of isopropyl rubbing alcohol (at least 70% concentration), a clean microfiber cloth, and a sturdy step ladder if you are working on ceilings or high walls.
When selecting your string lights, prioritize lightweight options. Heavy vintage-style glass bulb strands place massive physical stress on temporary adhesives, often leading to premature failure and surface damage. Instead, opt for lightweight LED string lights, such as copper wire fairy lights or micro-LED strands. These products weigh very little, which drastically reduces the load on your mounting clips and minimizes the risk of adhesive failure.
Choosing the Right Mounts for Your Wall and Ceiling Surfaces
Different surface materials require specific mounting solutions to guarantee a secure hold without causing structural or cosmetic damage. Using the wrong adhesive on a sensitive surface can lead to a costly repair bill.

Smooth Painted Walls and Ceilings
Smooth painted drywall or plastered concrete walls are highly receptive to removable adhesive hooks and mounting strips, such as Command-style products. These hangers are engineered with a stretch-release adhesive that bonds firmly to painted surfaces but releases cleanly when pulled correctly.
Before purchasing, check the weight rating on the product packaging and compare it to the weight of your light strand. A typical small wire hook is rated to hold up to 225 grams, while medium utility hooks can support up to 1 kilogram. Spacing these hooks evenly ensures that the weight of the lights is distributed safely without overloading any single point.
Never use standard double-sided foam tape, heavy-duty mounting tape, or duct tape on painted walls. These products utilize permanent adhesives that cure and harden over time. When you attempt to peel them off, they will inevitably tear away the paint layers and the underlying plaster, leaving unsightly patches that require sanding and repainting.
Textured, Brick, or Delicate Surfaces
Textured plaster, popcorn ceilings, and exposed brick present a unique challenge because their uneven surfaces prevent flat adhesive strips from establishing full contact. In Singapore’s humid tropical climate, moisture can easily seep behind poorly bonded adhesives, causing them to slide or fall off within days.
For ultra-lightweight micro-LED wire lights on textured or delicate surfaces, reusable mounting putty is a highly effective solution. This pliable material can be pressed into the crevices of textured paint or brick, gripping the lightweight wire without causing any surface degradation.
If you need to hang heavier string lights on concrete or brick, temporary adhesives will not suffice. Instead, use small hardwall hangers or masonry clips that utilize tiny, hardened steel pins. While these pins technically pierce the surface, they only leave micro-holes that are virtually invisible and incredibly easy to patch with a tiny dab of wall filler later, making them a far safer alternative than risking a major paint peel from heavy-duty glues.
Tiles, Glass, and Mirrors
When decorating kitchens, bathrooms, or bedroom vanity mirrors, you will likely be working with highly polished, non-porous surfaces like ceramic tiles, glass, or mirrors. For these materials, suction cups with built-in hooks offer an excellent, zero-residue mounting option.
To ensure a reliable vacuum seal, clean the surface thoroughly with a dedicated glass cleaner to remove any grease, dust, or soap scum. Lightly moistening the inner rim of the suction cup before pressing it firmly against the glass will create a tight, long-lasting seal that can support lightweight string lights easily.
Alternatively, you can use removable silicone adhesive clips designed for wet or glossy environments. These clips grip the light wire tightly and can be peeled off glass or tiles cleanly without leaving any sticky, gummy residue behind.
No-Drill Ceiling and Room Alternatives
If you prefer to avoid adhesives entirely, you can leverage your room’s existing architectural features to secure your string lights. Spring-loaded tension rods are an exceptionally versatile, zero-damage tool for this purpose. By wedging a tension rod inside a window frame, an alcove, or between two closely spaced walls, you create a sturdy, temporary anchor point to drape or wrap your lights.
Additionally, you can drape your string lights over curtain rods, crown molding, bed frames, or tall bookshelves. This approach requires no mounting hardware at all and allows for quick adjustments whenever you want to refresh the look of your room.
For a floating canopy effect across a ceiling, use clear, high-strength monofilament fishing line. You can tie the fishing line to existing structural elements, such as curtain tracks, ceiling fan mounts, or secure light fixtures. This allows you to suspend the string lights gracefully across the room without applying any adhesive directly to the ceiling surface.
Step-by-Step Guide to Hanging Your String Lights
Once you have selected your mounting hardware and mapped out your design, follow this systematic workflow to ensure a clean, secure, and long-lasting installation.
- Step 1: Surface preparation. Clean the intended mounting areas thoroughly using a microfiber cloth dampened with isopropyl rubbing alcohol. This step is crucial because household dust, skin oils, and airborne grease prevent adhesives from bonding properly. Avoid using standard household spray cleaners, as they often leave behind a slick residue that compromises the adhesive. Allow the surface to dry completely for at least ten minutes before proceeding.
- Step 2: Mark the layout. Use a pencil or small pieces of low-tack painter's tape to mark exactly where each hook or clip will be placed. To prevent the string lights from sagging excessively or putting too much tension on individual mounts, space your markers evenly, roughly 30 to 50 centimeters apart.
- Step 3: Apply the mounts. Remove the backing paper from the adhesive strip, press the strip firmly onto the marked spot on the wall for 30 seconds, and then attach the hook. The most common cause of adhesive failure is hanging the lights too quickly. You must wait at least one hour—or the specific curing time recommended by the manufacturer—before hanging any lights to allow the adhesive bond to fully cure.
- Step 4: Hang the lights. Gently place your string lights into the clips, starting from the plug end to ensure the power cord reaches the outlet comfortably. Avoid pulling the wire taut. Leaving a slight, natural sag between each mount minimizes the constant pulling force on the adhesive, preventing the hooks from peeling off over time.
- Step 5: Cord management. Secure any excess power cord along your baseboards or behind furniture using small, removable adhesive cable clips. This keeps the installation looking neat, prevents the cord from dangling loosely, and ensures that pets or vacuum cleaners do not accidentally snag the wire and pull the entire setup down.
How to Remove Adhesives and Mounts Without Peeling Paint
Fulfilling the promise of a damage-free installation relies heavily on how you remove the mounts. Rushing the removal process is the primary reason walls get damaged, regardless of how safe the adhesive claims to be.
To remove stretch-release adhesive strips safely, never pull the hook straight outward away from the wall. This action concentrates all the force on a single spot, which will tear the paint. Instead, hold the plastic hook gently with one hand and use your other hand to pull the adhesive tab straight downward, parallel to the wall surface. Slowly stretch the strip downward—it can stretch up to 30 centimeters—until the hook releases cleanly from the wall.
If you encounter a stubborn adhesive strip or a piece of mounting putty that feels brittle or stuck, apply gentle heat. Use a hairdryer on a low, warm setting and direct the warm air at the mount for 20 to 30 seconds. The heat will soften the adhesive polymers, making it significantly easier to pull the strip or peel the putty away without damaging the paint finish.
Should any sticky residue remain on the wall after removal, avoid using abrasive scrubbing pads or harsh chemical solvents, which can dull or strip the paint. Instead, dampen a clean microfiber cloth with warm, soapy water or a small amount of rubbing alcohol and gently wipe the spot in a circular motion until the residue dissolves.
To remove leftover mounting putty, do not scrape it with your fingernails or sharp tools, which can scratch the surface. Instead, take a larger ball of fresh putty and press it repeatedly against the residue on the wall. The leftover pieces will naturally stick to the larger ball and lift away cleanly.
Electrical Safety and Final Setup Checks
Before you finalize your installation and enjoy your newly lit space, perform a few essential safety and structural checks to protect your home and equipment.
First, check the manufacturer’s guidelines regarding daisy-chain limits. Connecting too many string light strands together end-to-end can overload the wiring or the power adapter, creating a serious fire hazard. If your lights use a low-voltage transformer plug, ensure that the total wattage of the connected strands does not exceed the maximum output capacity of the transformer.
Position the power adapter and plug in a well-ventilated area. Do not cover them with curtains, pillows, or position them tightly behind heavy furniture where heat can accumulate. If your string lights feature dimming capabilities, ensure you are using the compatible controller provided by the manufacturer rather than an incompatible wall dimmer switch, which can cause flickering or electrical damage.
Perform a 24-hour test by leaving the lights turned on for a few hours while you are in the room. After 24 hours, inspect each mounting point. Check if the warmth from the LEDs or the ambient room temperature has softened any of the adhesive strips. If you notice any hooks starting to sag or peel, replace them immediately with a higher-rated hook before the entire strand falls.
Finally, verify the ingress protection (IP) rating of your string lights. Standard indoor string lights lack protection against moisture and must only be used in dry, indoor environments. If you are decorating a semi-outdoor balcony or a damp area, ensure the lights, connections, and power supply are specifically rated IP65 or higher, and plug them into a protected outdoor socket.
Frequently Asked Questions (FAQ)
Can I use hot glue to hang LED string lights on my wall?
You should not use hot glue directly on painted walls or drywall. The high temperature of the molten glue will melt the paint layer and bond directly to the drywall paper underneath. When you attempt to remove the glue, it will tear away the paint and drywall, leaving deep gouges that require plastering and repainting. Additionally, the heat from a hot glue gun can melt the thin plastic insulation of the string light wires, exposing live electrical conductors and creating a dangerous short circuit or shock hazard.
Will LED string lights damage my wall paint over time?
While LED lights themselves emit very little heat and will not damage your paint, leaving adhesive mounts on a wall for extended periods can cause issues. Over many months or years, the adhesive on mounting strips can dry out, degrade, or bond permanently to the paint surface. In humid climates, this degradation can happen more rapidly. To prevent damage, check the condition of your mounts periodically, and consider replacing the adhesive strips every one to two years if you plan to keep your lights up permanently.
How do I hide the power cord for a cleaner look?
To achieve a seamless, professional look, route the power cord along the natural lines of your room, such as the edges of door frames, window casings, or baseboards. You can use small, paintable plastic cord channels (cable raceways) that adhere to the wall and can be painted to match your wall color exactly. Alternatively, use clear, removable adhesive cord clips to keep the wire held tightly against corners, making it virtually invisible from a distance.
Community discussion
Share your experience or ask a question. Comments are reviewed before publication.