
Finding the correct replacement for a two-pin light bulb requires identifying the exact spacing and shape of the pins on your existing bulb. A mismatch can prevent the bulb from fitting into the socket or create an electrical hazard. By measuring the distance between the center of the two pins and observing how they lock into the fixture, you can quickly determine whether you need a G9, GU10, GX53, or another two-pin variant.
How to Measure and Identify Your Existing 2-Pin Base
To identify your bulb base accurately, start by turning off the power supply to the fixture and letting the bulb cool completely. Once safe, carefully remove the bulb from its socket. Look closely at the pins at the bottom of the bulb. Some pins are thin, straight metal wires; others are looped, flat metal blades, or thick studs with wide, flat tips designed to twist and lock into place.
Next, measure the distance between the pins. Use a standard ruler or a digital caliper to measure from the center of one pin to the center of the other. This measurement, taken in millimeters, is the key number in the base designation. For example, a spacing of 9 mm indicates a G9 base, while 10 mm indicates a GU10 base.
Products mentioned in this guide
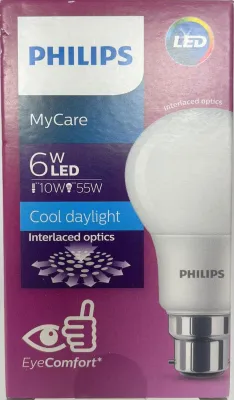
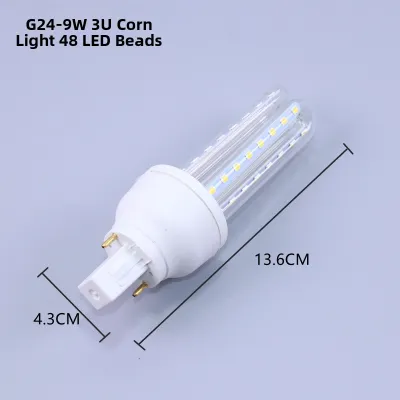
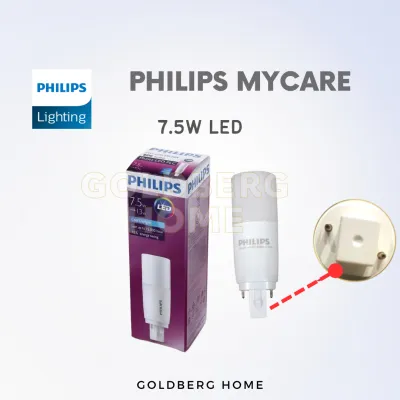
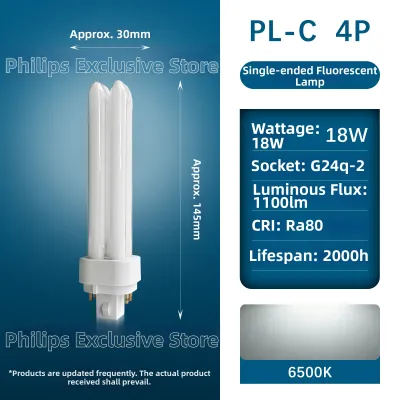
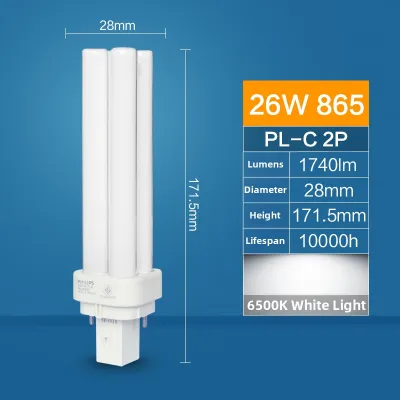
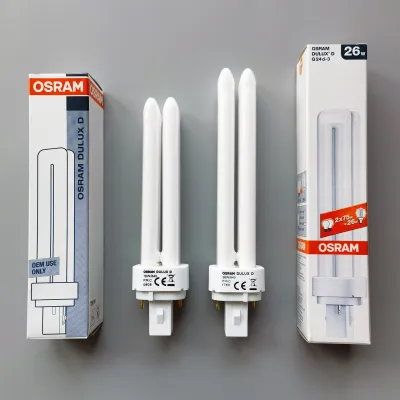
Prices are valid at publication and may change. Please refer to the product page for the latest price.
You should also inspect the bulb casing and the socket itself for printed markings. Manufacturers typically print the base type, voltage, and maximum wattage directly on the ceramic or plastic body of the bulb, or on a small sticker inside the fixture housing. If you see labels like “G9,” “GU10,” or “GX53,” you have an immediate confirmation of the required fit.
Key Specifications for G9, GU10, and GX53 Bases
The letter and number codes used for light bulb bases follow international standards. The letter prefix describes the shape or type of the base, while the number indicates the exact distance between the pins in millimeters. Understanding these designations helps you verify compatibility before purchasing a replacement bulb from an online marketplace or local lighting store.

G9 Base Specifications and Compatibility Checks
The G9 base features two pins spaced exactly 9 mm apart. These pins typically look like small wire loops or flat metal blades rather than solid studs. G9 bulbs are compact and are commonly used in decorative fixtures, wall sconces, and compact pendant lights found in Singapore apartments where space is limited.
When replacing a G9 bulb, check the fixture label to verify the operating voltage. While many G9 fixtures run on mains voltage (typically 230V in Singapore), some specialized low-voltage fixtures require a transformer. Additionally, because G9 fixtures are often highly compact, you must measure the physical clearance inside the glass cover or shade. Ensure the replacement bulb has sufficient space around it to allow heat to dissipate safely, preventing premature failure of the LED components.
GU10 Base Specifications and Compatibility Checks
The GU10 base is one of the most common configurations for directional spotlights and recessed downlights. It features two thick, cylindrical pins spaced 10 mm apart, ending in widened, flat feet. This design is specifically engineered for a push-and-twist installation, which locks the bulb securely into the socket to prevent it from vibrating loose.
To install a GU10 bulb, align the pins with the wider entry points of the socket slots, push the bulb in, and twist it clockwise until it locks. Before buying a replacement, check the depth of your spotlight canister. Some older halogen canisters are shallow, and while modern LED GU10 bulbs generally match standard dimensions, some high-output or smart variants are slightly longer and may protrude. Always verify the physical length of the bulb against your fixture’s available depth.
GX53 Base Specifications and Compatibility Checks
The GX53 base is designed for low-profile, surface-mounted, or recessed under-cabinet lighting. It features two pins spaced a wide 53 mm apart on a flat, disc-like bulb body. This wide spacing and flat profile allow the bulb to sit flush within shallow shelving, wardrobes, or ceiling cutouts without requiring a deep recess.
Like the GU10, the GX53 uses a twist-and-lock mechanism to secure the bulb. When selecting a replacement, verify that the outer diameter of the disc matches your fixture’s opening. Because GX53 fixtures are often installed in enclosed spaces like wooden cabinets or under kitchen shelves, heat management is critical. Ensure the replacement bulb is rated for enclosed use if your fixture lacks open ventilation, and check that the bulb sits completely flush to maintain the clean, integrated look of your cabinetry.
Critical Electrical and Fixture Compatibility Checks
Beyond matching the physical pins, you must verify several electrical and environmental parameters to ensure safe operation. First, confirm the voltage compatibility. Installing a low-voltage bulb into a mains-voltage socket will cause immediate failure and potential electrical hazards, while installing a mains-voltage bulb into a low-voltage system will result in extremely dim light or no light at all.
Second, check the maximum wattage rating of your fixture. This rating is usually printed on a safety label inside the socket housing. While energy-efficient LED replacements draw significantly less power than older halogen bulbs, you must ensure the actual wattage of the new bulb does not exceed the fixture’s stated limit. If you are using a dimmer switch, you must also verify that the replacement bulb is explicitly labeled as dimmable and is compatible with your existing dimmer type.
Finally, consider the installation environment. For fixtures located in damp areas, such as bathrooms or outdoor balconies exposed to Singapore’s high humidity, ensure the bulb and the fixture carry the appropriate IP (Ingress Protection) rating. If your installation requires working at height, handling fixed wiring, or mounting heavy suspended fixtures, always isolate the mains power at the distribution board before starting, and consult a qualified professional if you are unsure about any electrical connections.
Frequently Asked Questions (FAQ)
Can I use a GU10 bulb in a G9 socket with an adapter?
Using a base adapter to fit a GU10 bulb into a G9 socket is not recommended. G9 and GU10 bulbs have entirely different physical dimensions, mounting mechanisms, and heat dissipation profiles. Adding an adapter increases the physical length of the assembly, which can prevent the fixture cover from closing and put mechanical stress on the delicate G9 socket. For safety and reliability, always use a bulb that matches the native socket of your fixture.
What should I do if the base type marking on my fixture is faded or missing?
If the markings on your fixture are no longer legible, you can identify the socket type by taking precise measurements. Use a digital caliper or a precise ruler to measure the distance between the center holes of the socket contacts. Compare your measurement against standard base dimensions: 9 mm for G9, 10 mm for GU10, and 53 mm for GX53. If you cannot confidently confirm the socket type or the operating voltage, consult a qualified electrician to inspect the fixture before installing a new bulb.
Community discussion
Share your experience or ask a question. Comments are reviewed before publication.