
Finding the correct bulb holder base for a light fixture can feel confusing with so many codes and sizes. However, matching the base is a straightforward process when you know what physical and electrical characteristics to look for. To identify the right bulb holder base type, you must examine the physical connection style (screw, bayonet, or pin), measure the dimensions of the base, and verify that the electrical specifications of your fixture match your home’s power supply.
Using the wrong bulb can lead to poor electrical contact, flickering, or even safety hazards. By taking a few moments to understand the standard options and safety limits, you can confidently select the perfect bulb for any fixture in your home.
Quick Reference: Common Bulb Holder Base Types in Singapore
Most residential properties in Singapore use a handful of standardized bulb bases. Recognizing these common designs visually is the fastest way to narrow down what you need.
Products mentioned in this guide
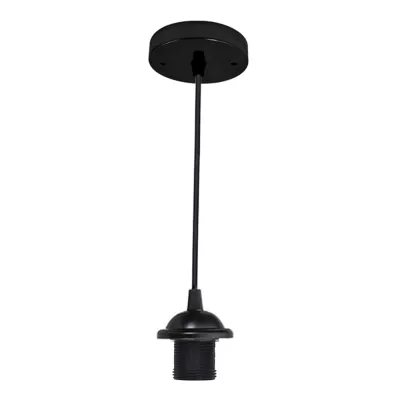
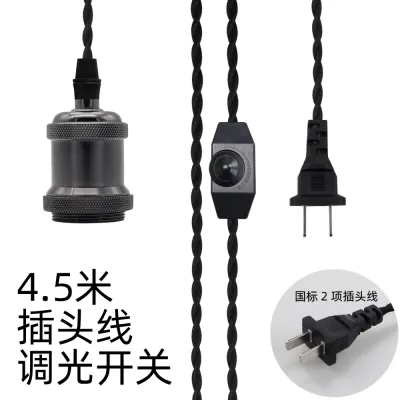
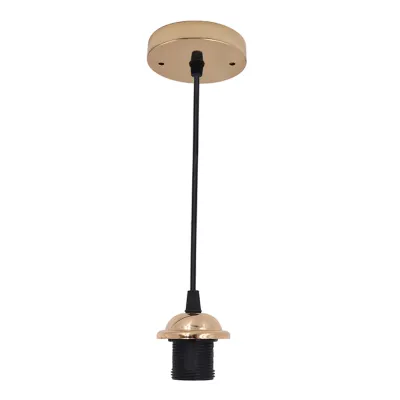
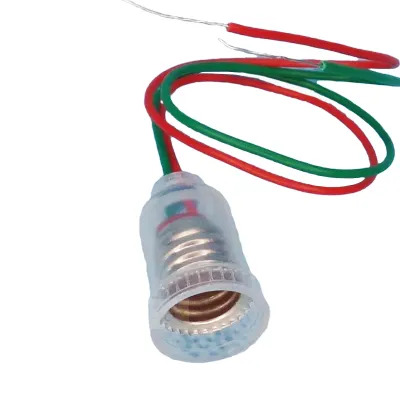
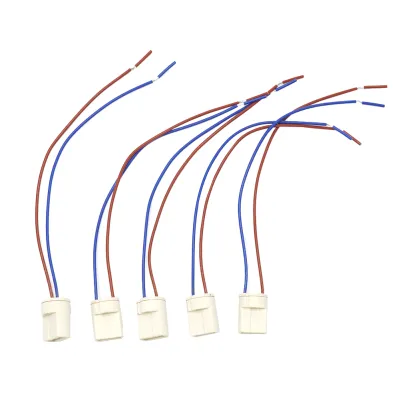
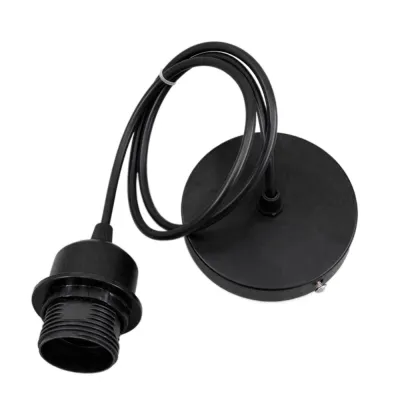
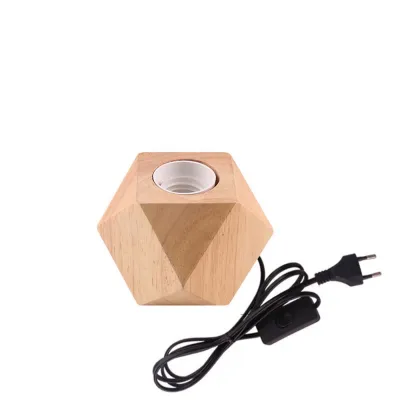
Prices are valid at publication and may change. Please refer to the product page for the latest price.
- E27 (Edison Screw): This is the most common screw-in base, featuring a threaded metal end that measures 27mm in diameter. You will find E27 bulb holders in standard ceiling pendant lights, modern table lamps, and general ambient light fixtures.
- E14 (Small Edison Screw): A narrower version of the Edison screw, this base has a 14mm diameter. It is primarily used for decorative lighting, such as chandeliers, wall sconces, and bedside reading lamps.
- B22 (Bayonet): This base features a smooth metal collar with two small pins protruding from opposite sides. It uses a push-and-twist mechanism to lock into place. While more common in older homes and utility spaces, B22 bulb holders remain widely available.
- GU10 (Twist and Lock): This base has two thick, blunt pins spaced 10mm apart. It is the standard choice for recessed downlights, ceiling spotlights, and track lighting setups.
Distinguishing between these mechanisms is simple. Screw bases (E27 and E14) have continuous threaded ridges. Bayonet bases (B22) are smooth cylinders with small side pins. Pin bases (GU10) feature two distinct prongs sticking straight out of the bottom. No specialized tools are required to spot these visual differences.
Step-by-Step: Checking Physical Base Compatibility
When a fixture’s label is missing, faded, or completely painted over, you can determine the correct bulb holder size by taking direct physical measurements.

To measure a screw-type bulb holder, use a standard ruler or caliper. Measure the inner diameter of the threaded opening of the bulb holder. If the opening measures approximately 27mm, you require an E27 bulb. If it measures closer to 14mm, you need an E14 bulb. If you have the old bulb on hand, you can measure the outer diameter of its threaded metal base instead.
For pin-based fixtures, you must check the pin spacing. For a GU10 holder, measure the distance from the center of one pin slot to the center of the other. The distance will be exactly 10mm. Additionally, look at the shape of the slots; GU10 sockets have keyhole-style entry points to accommodate the nail-head shape of the pins, which lock when twisted.
To identify a bayonet holder, look inside the socket collar. You should see two L-shaped slots cut into the metal or plastic sleeve, along with two small, spring-loaded brass contact pins at the very bottom. This physical configuration confirms that a B22 bulb is required.
If you are dealing with an unmarked fixture and do not have an old bulb to reference, do not guess the size. Take a sharp, well-lit photograph of the inside of the empty bulb holder with your smartphone. You can also bring the portable fixture itself—such as a desk lamp—to a local Singapore lighting shop, where staff can physically test different bulb bases to find an exact match.
Electrical Safety: Matching Voltage and Wattage Limits
Physical compatibility is only half the equation. A bulb that fits perfectly into a bulb holder can still pose a serious safety risk if its electrical ratings do not align with the fixture and the local power supply.
Singapore’s standard mains electricity supply operates at 230V at a frequency of 50Hz. Any bulb you install must be rated for this voltage range (typically labeled as 220V–240V). Bulbs purchased online that are rated strictly for 110V–120V (the standard in North America) will fail immediately, overheat, or trip your home’s circuit breaker if inserted into a local fixture, even if the screw threads match perfectly.
Every light fixture or individual bulb holder has a maximum wattage rating. This is usually printed on a small sticker inside the fixture cup, embossed on the plastic of the holder, or noted on the manufacturer’s spec plate. It might say “Max 40W” or “Max 60W.” This limit indicates the maximum amount of electrical power and heat the fixture’s wiring and materials can safely handle.
When switching to energy-efficient lighting, it is important to understand the difference between actual wattage and “equivalent” wattage. A fixture rated for a maximum of 40W can safely run a 9W LED bulb, even if the LED package states that it “replaces a 60W traditional bulb.” The safety limit is based on actual power draw and heat generation; because the LED only draws 9W of actual power, it operates well within the fixture’s 40W thermal ceiling.
Never exceed the maximum wattage limit by installing high-wattage halogen or traditional incandescent bulbs. Doing so causes extreme heat buildup inside the bulb holder. Over time, this heat degrades the insulated wiring, melts plastic sockets, and creates a severe risk of electrical fires.
Base Adapters: When to Use Them and What to Avoid
If you have a collection of bulbs that do not match your existing fixtures, base adapters can bridge the physical gap. However, these accessories come with mechanical and electrical limitations.
Commonly available adapters include E27-to-B22, E14-to-E27, and B22-to-E27 converters. These allow you to thread a screw bulb into a bayonet socket or vice versa. While they are highly convenient for temporary setups or reusing spare bulbs, they should be used with caution.
Avoid using physical adapters with heavy bulbs, such as large smart home bulbs or heavy vintage glass filament LEDs. The adapter adds physical length to the assembly, which acts as a lever. This extra leverage puts mechanical stress on the internal contacts of the original bulb holder, which can cause the bulb to droop, lose electrical contact, or damage the socket.
In enclosed or semi-enclosed fixtures, such as tight glass globes or recessed ceiling canisters, adding an adapter can cause issues. Because the adapter increases the overall length of the bulb, the bulb may protrude past the edge of the shade, creating an unsightly glare or preventing you from reinstalling the protective glass cover. The restricted space can also trap heat, shortening the lifespan of both the bulb and the adapter.
It is also vital to remember that physical base adapters do not convert voltage; they only alter the shape of the contact points. If you use an adapter to plug a 110V bulb into a 230V Singapore socket, the bulb will still burn out or short-circuit. Voltage transformers are required to change voltage levels, but these are rarely practical or necessary for standard residential lighting when correctly rated 230V bulbs are readily available.
Inspection and Safety Boundaries for Bulb Holders
Before undertaking any inspection, maintenance, or replacement of a bulb holder, you must prioritize your personal safety by understanding your physical and technical limits.
Prior to touching or looking closely inside any bulb holder, always turn off the mains power at your home’s main distribution board (DB box) by switching off the corresponding circuit breaker. Relying solely on the wall switch is insufficient, as improper home wiring could leave the live electrical wire active even when the switch is in the “off” position.
During routine bulb changes, perform a quick visual health check of the holder. Look for signs of wear and tear, such as dark scorch marks, discolored or brittle plastic, rust on the metal screw threads, or loose copper contacts inside the socket. If you notice any of these warning signs, stop using the fixture immediately and have the bulb holder replaced.
Special care must be taken in damp or wet locations, such as bathrooms, outdoor balconies, or kitchen sink areas. Standard indoor bulb holders are highly vulnerable to moisture, which can cause corrosion and short circuits. For these environments, you must use specialized fixtures with an appropriate Ingress Protection (IP) rating, such as IP44 or IP65, which are specifically sealed against water splashes and dust.
Always know when to call a professional. If a bulb holder is part of a fixed ceiling installation, requires hardwired electrical connections, or if you smell a persistent burning odor when the light is turned on, do not attempt a DIY fix. Contact a licensed electrical worker (LEW) in Singapore to inspect and safely resolve the issue.
Frequently Asked Questions (FAQ)
Can I use an E26 bulb in an E27 holder?
An E26 bulb (the standard 26mm screw base used in North America) can physically thread into an E27 bulb holder because the dimensions are incredibly close. However, you must verify the voltage rating printed on the bulb before turning it on. Most E26 bulbs are rated only for 110V–120V; using them in Singapore’s 230V system will cause immediate electrical failure, pop your circuit breaker, and potentially ruin the bulb. Only use an E26 bulb in an E27 holder if the bulb is explicitly labeled as dual-voltage (110V–240V).
Do smart bulbs require a specific bulb holder base?
Smart bulbs do not require specialized bulb holders; they are designed to fit standard residential sockets like E27, E14, and GU10. However, they do have specific electrical requirements. Because smart bulbs contain internal wireless receivers, they require a constant, uninterrupted flow of electricity to remain connected to your home network. You should not install smart bulbs in fixtures controlled by traditional wall dimmer switches, as lowering the dimmer starves the bulb’s internal electronics of power, leading to flickering, connectivity drops, or permanent hardware damage.
Community discussion
Share your experience or ask a question. Comments are reviewed before publication.