
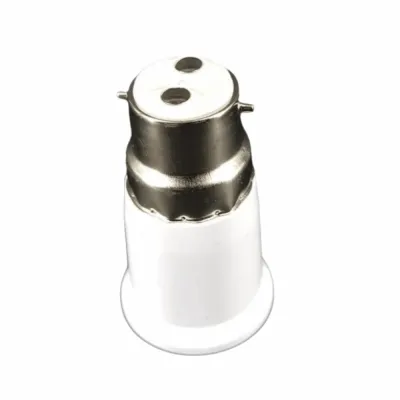
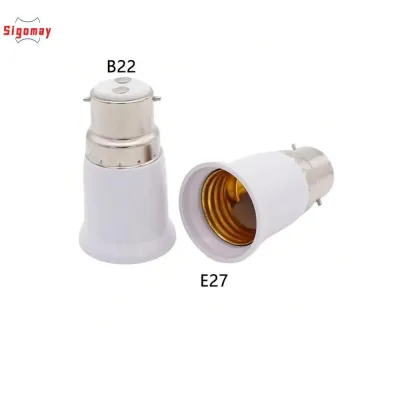
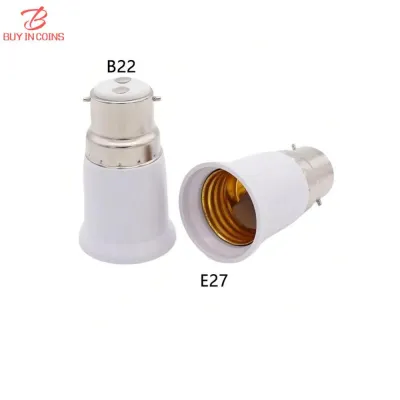
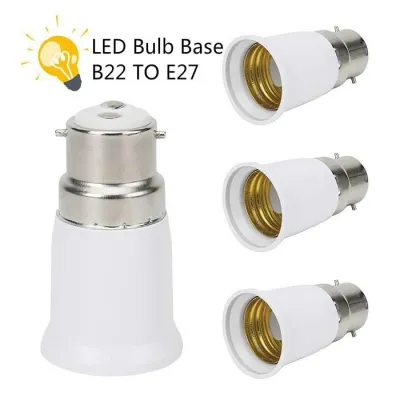
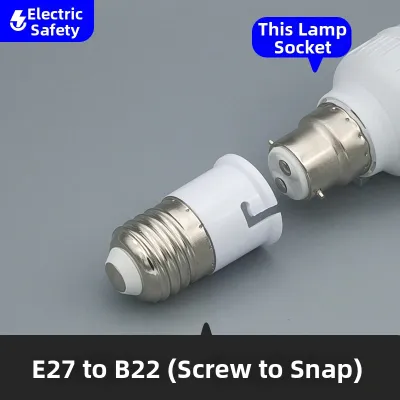
Installing a B22 to E27 adapter is a simple and cost-effective way to expand your lighting options, allowing you to use widely available Edison screw (E27) bulbs in fixtures designed for bayonet (B22) bulbs. To do this safely, you must first completely isolate the electrical power at your home’s main distribution board (DB box), insert the adapter into the bayonet socket by pushing and twisting it clockwise until it locks, and then screw your E27 bulb into the adapter’s threaded collar.
Many older apartments and heritage homes in Singapore feature British-standard B22 bayonet light fixtures, whereas modern smart bulbs, decorative filament bulbs, and specialized LED fixtures predominantly use the European E27 screw base. Instead of hiring a contractor to rewire or completely replace a perfectly functional light fitting, a B22 to E27 adapter acts as a passive mechanical bridge, saving you time and installation expenses. However, because you are dealing with mains electricity—typically 230V in Singapore—safety and compatibility must remain your top priorities.
Preparation and Electrical Safety
Before you begin handling any electrical components, you must prioritize personal safety. Working with light fixtures carries an inherent risk of electrical shock if proper precautions are not taken. The single most important step is to isolate the electrical circuit you will be working on. Do not rely solely on the wall switch to turn off the power, as some switches only cut the live wire, leaving the neutral wire active, or they may be wired incorrectly. Instead, locate your home’s main distribution board (often referred to as the DB box or consumer unit) and switch off the specific circuit breaker labeled for lighting. If you are unsure which breaker controls the room, switch off the main incoming power switch to isolate the entire property temporarily.
Products mentioned in this guide
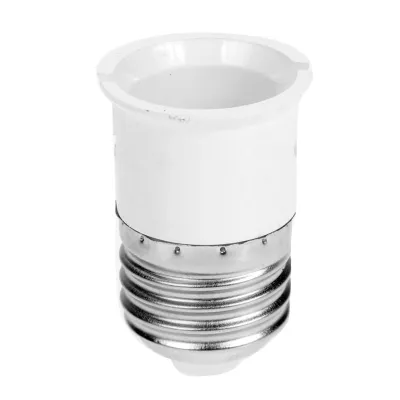
![[HomeBox] 🇸🇬 E27/B22/GU10/G24/MR16 Convertor Adaptor/Base Holder Bulb Base Lamp Socket Holders](https://img.lazcdn.com/g/p/c2e782df3ef1c15a167282f6c37dcfae.jpg_400x400q80.jpg_.webp)
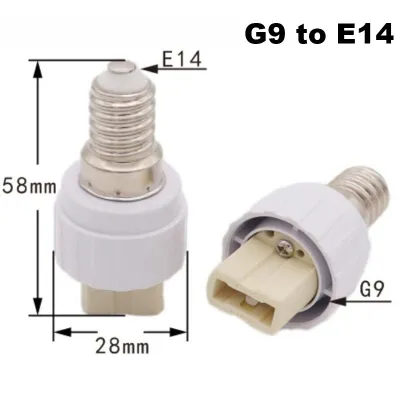
Prices are valid at publication and may change. Please refer to the product page for the latest price.
To ensure the circuit is completely dead before touching the fixture, it is highly recommended to use a reliable, non-contact voltage tester. Simply bring the tester near the B22 socket; if it does not beep or light up, you can proceed with confidence. Additionally, make sure you have all the necessary materials gathered beforehand so you do not have to leave the work area mid-task. You will need a high-quality B22 to E27 adapter, your chosen E27 light bulb, and a sturdy step ladder if the light fixture is located on a high ceiling or out of comfortable reach. Never stand on unstable chairs, tables, or sofas to reach a light fixture, as this is a common cause of domestic falls and injuries.
Before inserting any adapter, always perform a thorough visual inspection of the existing B22 bayonet socket. Look closely inside the socket for any signs of physical deterioration, heat damage, scorch marks, or brittle plastic. In tropical climates, high humidity combined with the heat generated by older incandescent bulbs can accelerate the degradation of plastic sockets over time. If you notice any cracks, discoloration, or loose wiring contacts, do not attempt to install the adapter. Using an adapter on a compromised socket can lead to poor electrical contact, overheating, or even an electrical fire. Under these circumstances, stop immediately and consult a licensed electrical worker (LEW) or a qualified professional to replace the damaged fixture.
Furthermore, before proceeding, check the manufacturer instructions and safety labels on both the adapter and the light fixture. If the instructions on the adapter conflict with those of your existing fixture, or if either item is unidentified and lacks clear electrical specifications, stop and seek professional guidance. When purchasing an adapter, look for products that carry recognized electrical safety certifications or are sourced from reputable retailers to ensure they comply with local safety standards.
Step-by-Step Installation Process
Once you have verified that the power is completely isolated and the existing socket is in pristine condition, you can proceed with the physical installation. This process is straightforward but requires gentle precision to ensure a secure connection that will safely hold the weight of the new bulb.

Step 1: Insert the Adapter Begin by holding the B22 to E27 adapter by its outer plastic or ceramic body. Avoid touching the metal contact pins on the base. Look at the end of the adapter and locate the two small metal pins protruding from opposite sides of the cylindrical base. Next, look up at the B22 socket on your ceiling or lamp and locate the two L-shaped slots on the collar. Align the pins of the adapter with these slots. Gently push the adapter upward into the socket against the internal spring-loaded contacts. While maintaining a slight upward pressure, twist the adapter clockwise (approximately a quarter turn) until you feel the pins slide into the horizontal grooves of the L-shaped slots and lock firmly into place.
Step 2: Verify the Connection Once the adapter is twisted into place, you must verify that it is properly seated and locked. Release your upward pressure slowly. The internal springs of the B22 socket should push back slightly, securing the pins into the retaining notches of the slots. Give the adapter a very gentle downward tug. It should feel completely firm and stable, with no wobbling or sliding. If the adapter feels loose or slips out of the grooves easily, remove it immediately. A loose connection can cause electrical arcing, which generates intense heat and poses a severe fire hazard.
Step 3: Install the E27 Bulb With the adapter securely in place, you are ready to mount your E27 bulb. Hold the bulb by its glass or plastic dome and align the threaded metal base with the opening of the adapter. Insert the bulb and begin turning it clockwise. As you turn, the threads of the bulb will engage with the internal threads of the adapter. Continue screwing the bulb in until you feel a firm resistance, indicating that the bottom contact of the bulb has met the metal contact plate inside the adapter. Be extremely careful not to overtighten the bulb. Overtightening can crack the casing of the adapter, strip the plastic threads, or damage the internal electrical contacts of both the bulb and the adapter.
Step 4: Restore Power and Test After confirming that both the adapter and the bulb are securely mounted and properly aligned, clear the immediate area of any tools or packaging. Carefully step down from your ladder and store it safely. Return to your home’s DB box and switch the lighting circuit breaker or main switch back to the “On” position. Walk back to the room and flip the wall switch to test the light. The bulb should illuminate instantly and remain steady. If the bulb lights up successfully, observe it for a few minutes to ensure there is no flickering, buzzing, or unusual odor.
Physical and Electrical Compatibility Checks
While using a B22 to E27 adapter is highly convenient, it introduces physical and electrical changes to your light fixture that must be carefully managed to avoid safety hazards or damage to your property.
Size and Clearance One of the most immediate physical impacts of using an adapter is the added height it introduces to your lighting setup. A B22 to E27 adapter typically adds between 2 to 4 centimeters of length to the overall bulb assembly. This extra length can cause the bulb to protrude awkwardly from the bottom of lampshades, pendant fixtures, or recessed ceiling downlights. Before purchasing an adapter, measure the available clearance inside your fixture’s housing. If you are installing this setup in a shallow recessed ceiling common in modern apartments, ensure that the extended bulb will not press against the internal housing or prevent the decorative trim from fitting flush.
Weight Limits B22 bayonet sockets are physically designed to hold standard, lightweight bulbs. However, many modern E27 bulbs—especially smart bulbs with integrated Wi-Fi or Bluetooth radios, heavy glass vintage filament bulbs, or high-wattage LED globes—are significantly heavier than traditional bulbs. When you combine the weight of the adapter and a heavy E27 bulb, it puts additional mechanical stress on the original B22 socket. Check that your existing light fixture, particularly if it is a suspended pendant cord, is structurally sound and capable of supporting this extra load. If the fixture begins to sag, or if the cord appears strained, remove the setup immediately to prevent the fixture from falling.
Wattage Ratings Every light fixture has a maximum wattage rating, which is typically printed on a small safety label inside the socket or on the fixture body. This rating indicates the maximum amount of heat the fixture can safely dissipate without melting the wiring insulation or casing. Even though LED bulbs consume far less power than old incandescent bulbs, you must ensure that the actual wattage of your new E27 bulb does not exceed the maximum wattage rating of the original B22 fixture. Exceeding this limit can lead to heat buildup, which is particularly dangerous in warm, humid climates where ambient temperatures are already elevated.
Dimmer Switches If your existing B22 fixture is controlled by a wall-mounted dimmer switch, you must take extra precautions. Standard B22 to E27 adapters are purely passive mechanical devices; they do not contain any electronic components to regulate voltage or current. Therefore, the ability to dim the light depends entirely on the E27 bulb you choose. You must verify that the E27 bulb is explicitly labeled as “dimmable” on its packaging. Attempting to use a non-dimmable LED bulb on a dimming circuit can cause severe flickering, buzzing, and premature failure of both the bulb and the dimmer switch. If you are unsure about compatibility, it is best to use a standard on/off wall switch or consult a professional.
Troubleshooting Common Issues
Even with careful installation, you may occasionally encounter issues where the light does not function as expected. Knowing how to safely troubleshoot these problems will help you identify the root cause without exposing yourself to electrical hazards.
Light Does Not Turn On If your newly installed bulb fails to light up when you flip the wall switch, do not panic. First, turn off the wall switch and, for absolute safety, isolate the power at the DB box again. Check to see if the E27 bulb is fully screwed into the adapter. Sometimes, a fear of overtightening leads to the bulb not making contact with the internal terminal. If the bulb is snug, verify that the adapter itself is fully twisted and locked into the B22 socket. If the connections are secure and the power is restored but the light still does not work, remove the E27 bulb and test it in a known-working E27 socket elsewhere to rule out a defective bulb.
Flickering Light A flickering light can be highly distracting and is usually a sign of a loose electrical connection or a dimming mismatch. Turn off the power at the DB box and check if the bulb has loosened slightly due to vibrations. If the bulb is tight, inspect the connection between the adapter and the B22 socket. If you are using a dimmer switch, double-check that the E27 bulb is indeed dimmable. If the bulb is dimmable but still flickers, the dimmer switch itself may be incompatible with the low wattage of modern LED bulbs, requiring a replacement dimmer designed specifically for LEDs.
Adapter Feels Loose or Wobbly If you notice that the adapter does not sit tightly inside the B22 socket and wobbles when touched, turn off the power immediately. Over time, the internal spring-loaded pins inside older B22 sockets can lose their tension or become corroded, preventing them from pushing firmly against the adapter’s contact pins. Do not attempt to force the adapter or use tape or adhesives to secure it, as this can cause a short circuit or a fire. Under these circumstances, the safest course of action is to have a qualified electrician replace the worn-out B22 fixture with a modern, native E27 fitting.
Frequently Asked Questions (FAQ)
Can I use a B22 to E27 adapter in an enclosed or outdoor light fitting?
Most standard B22 to E27 adapters are designed strictly for dry, indoor residential environments. They do not possess an Ingress Protection (IP) rating, meaning they lack seals to protect against moisture, dust, or water splashes. Using them in outdoor fixtures exposed to rain, or in high-humidity indoor areas like bathrooms, can allow moisture to penetrate the electrical connections, leading to short circuits, corrosion, and electric shock hazards. Additionally, in fully enclosed indoor fixtures, the added physical length of the adapter and bulb reduces the surrounding air volume, which can trap heat. This heat buildup can significantly shorten the lifespan of sensitive electronic components inside LED bulbs.
Do B22 to E27 adapters reduce brightness or affect energy efficiency?
No, standard B22 to E27 adapters are passive mechanical converters. They simply route the electrical current from the bayonet terminals to the Edison screw contacts without altering the voltage, current, or resistance in any significant way. Consequently, they do not reduce the brightness or impact the energy efficiency of your light bulb. Any perceived difference in light output or distribution is typically due to the physical characteristics of the new E27 bulb itself, such as its lumen rating, color temperature, or beam angle, rather than the adapter.
Community discussion
Share your experience or ask a question. Comments are reviewed before publication.