
Integrating a Xiaomi light sensor with your existing spot or track lighting allows your home to automatically adjust illumination based on natural daylight. This setup bridges the gap between natural daylight and your indoor lighting, allowing your spotlights or track systems to dim or turn on automatically as the room darkens. By establishing a reliable, light-responsive environment, you can maintain optimal brightness throughout the day while optimizing energy use.
Achieving a seamless integration requires careful physical placement, correct smart home pairing, and precise automation rules. Because lighting systems involve electrical currents and wireless protocols, understanding the safety boundaries and hardware requirements is essential before beginning the installation process.
Pre-Installation Checks and Electrical Safety Boundaries
Before handling any hardware, it is important to understand the electrical differences between your smart home components. The Xiaomi light sensor is a low-voltage, battery-powered wireless device that does not carry mains voltage. It functions solely as a data collector, measuring ambient light levels and transmitting this information to your smart home hub.
Products mentioned in this guide
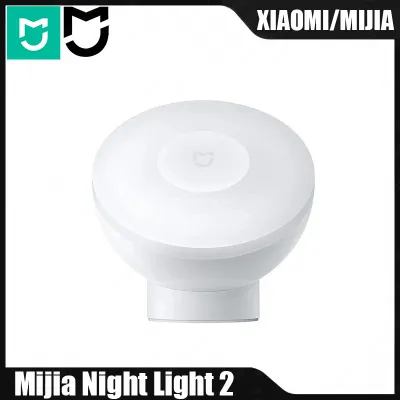
![[ SG SELLER ] XIAOMI MIJIA Night Light 3 V3 Motion Sensor Adjustable Brightness Smart Human Light Sensor Night Lamp Rechargeable](https://img.lazcdn.com/g/p/201718b7ef793fbf6e6ce2be63c82185.jpg_400x400q80.jpg_.webp)
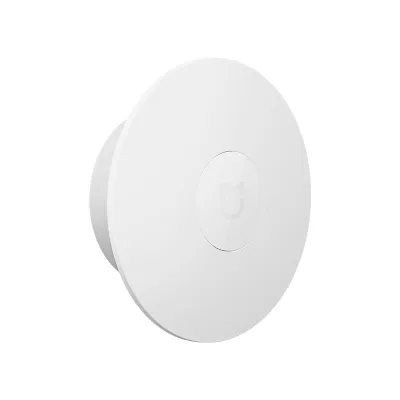
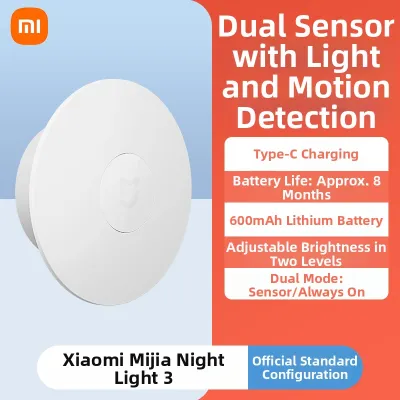
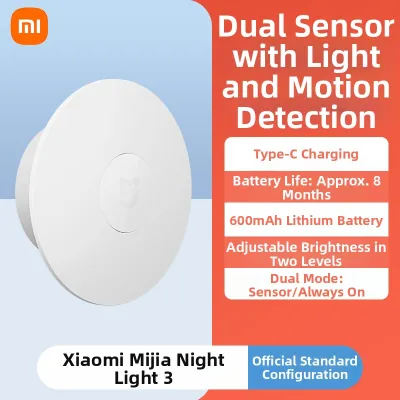
Prices are valid at publication and may change. Please refer to the product page for the latest price.
In contrast, your spot and track lights operate on standard household mains voltage, which carries significant electrical risks. If your automation plan requires physical rewiring, replacing standard wall switches with smart switches, or modifying the track rails, you must observe strict safety protocols. Always isolate the power at the main distribution board or circuit breaker before touching any electrical wiring. If you are uncomfortable with fixed wiring, working at height on a step ladder, or handling complex track configurations, stop immediately and consult a licensed electrician or qualified professional.
Additionally, verify that your existing smart home hub supports the specific communication protocol, such as Zigbee or Bluetooth, required by your sensor. Check the voltage, wattage limits, and electrical certifications of your smart switches or track fixtures to ensure compatibility with your home’s electrical system.
Required Tools and Smart Home Components
Gathering all necessary physical tools and smart ecosystem components beforehand ensures a smooth installation and configuration process. For physical mounting, prepare a clean microfiber cloth, a mild cleaning solution to prep the mounting surface, and the adhesive tape provided with the sensor. If you prefer a mechanical mount, check if your specific sensor model supports a bracket and prepare appropriate small screws and a screwdriver.

Because track lights are typically mounted high on ceilings or walls, a stable, slip-resistant step ladder is essential. Ensure the ladder is placed on a flat, level floor before climbing, and avoid overreaching while positioning the sensor.
On the smart home side, you will need the Xiaomi light sensor, a compatible smart home gateway or hub, and a smartphone with the official companion app installed. Finally, ensure you have the intermediary control devices for your spot or track lights. The light sensor cannot directly cut power to a traditional light bulb; you must have smart bulbs, smart track light adapters, or a compatible smart wall switch wired to the track light circuit to execute the sensor’s commands.
Physical Installation: Positioning and Mounting the Sensor
Finding the right location for your light sensor is critical for accurate automation. The optimal mounting location should represent the room’s general ambient light, facing the primary source of natural daylight, such as a window. Avoid placing the sensor in deep corners, behind furniture, or in areas prone to harsh, temporary window glare that does not reflect the actual brightness of the room.
Most importantly, keep the sensor away from the direct path of your spot and track lights. If a spotlight shines directly onto the sensor, it will create a feedback loop where the sensor detects artificial light, turns the fixtures off, detects darkness, and turns them back on. This rapid cycling can damage your bulbs and create an unpleasant environment.
When dealing with track light systems, ensure the sensor is not mounted directly on the track rail itself. Track systems generate heat during operation, and excessive heat can degrade the sensor’s battery life or damage its internal components. Additionally, moving track heads can physically block the sensor’s field of view or cast unwanted shadows.
Once you select the optimal spot, clean the surface thoroughly with a dry cloth or alcohol wipe to remove dust and grease. This step is crucial for adhesive tape, as humidity can cause the adhesive to fail if the surface is dirty. Peel the backing off the adhesive tape, press the sensor firmly against the surface, and hold it in place for at least 30 seconds to ensure a secure bond.
App Pairing and Automation Setup for Spot and Track Lights
With the physical installation complete, open the official companion app on your smartphone and ensure your phone’s Bluetooth is enabled. Initiate the pairing sequence by selecting the option to add a new device in the app. Follow the on-screen instructions, which typically involve pressing and holding the physical reset button on the light sensor until the LED indicator flashes.
Once the hub detects the sensor, assign it to the correct room in your virtual home layout. Place the sensor in its final mounting position and check the app to verify that it is reporting real-time lux readings accurately.
Next, navigate to the automation section of the app to create your control logic. Select the light sensor as the trigger device and set a condition based on light intensity, such as when ambient light drops below a specific lux threshold. For the action, select your smart wall switch, smart track light adapter, or smart bulbs, and set them to turn on or dim to a specific level.
To prevent your spotlights from flickering on and off during transitional lighting periods like dusk or dawn, configure execution delays or time restrictions. For example, restrict the automation to run only during specific evening hours, or set a delay timer that requires the light level to remain below the threshold for several minutes before triggering the lights.
Testing the System and Troubleshooting Common Issues
To validate your new automation, perform a manual test by covering the light sensor completely with a dark cloth or your hand to simulate darkness. Observe your spot or track lights to see if they respond within the expected timeframe. Remove the cover and verify that the lights turn off or return to their previous state if you have configured a corresponding daytime automation.
If the lights do not respond, check the device status in your app. A common issue is the sensor going offline, which is often caused by weak signal strength. If the sensor is mounted too far from the smart hub or separated by thick concrete walls, the wireless signal may degrade. Consider moving the hub closer to the sensor or adding a mains-powered smart device that acts as a signal repeater to extend your mesh network.
Another common culprit is a low battery. Check the battery level in the app and replace the button cell battery if it is depleted.
During testing, pay close attention to the physical behavior of your lighting fixtures and switches. If the connected smart switch or track lights exhibit abnormal heating, flickering, buzzing, or unusual odors, immediately cut power at the main circuit breaker and seek a professional inspection from a licensed electrician.
Frequently Asked Questions (FAQ)
Can the light sensor directly control non-smart track lights?
No, the light sensor cannot directly control non-smart track lights. The sensor is a low-power wireless device that only measures light levels and transmits this data to a smart home hub; it does not have the physical capability to interrupt or supply electrical current to your fixtures. To control traditional, non-smart track lights, you must install a compatible smart wall switch in place of your existing light switch, or use a smart inline controller wired into the track’s power feed. The hub receives the light sensor’s data and then sends a command to the smart switch to turn the traditional lights on or off.
Where is the best place to mount the sensor in a room with spotlights?
The best place to mount the sensor is on a wall or ceiling opposite your spotlights, or in a central location that is shielded from direct light beams. It should be positioned to measure the natural daylight entering through windows rather than the artificial light emitted by your spotlights. Avoid placing the sensor directly under or next to a spotlight head, as the artificial glare will trick the sensor into thinking the room is bright, causing your lights to turn off prematurely. Mounting the sensor at eye level on an adjacent wall or flat on the ceiling away from the light cones provides the most accurate ambient light readings.
Community discussion
Share your experience or ask a question. Comments are reviewed before publication.