
Installing a solar light with clip requires balancing two distinct needs: placing the solar panel in direct, unobstructed sunlight and aiming the light fixture to cover your desired area. Because these lights rely entirely on their environment for power and positioning, proper clipping techniques and angle adjustments are the most critical factors for long-term performance and reliable illumination.
In tropical urban environments like Singapore, high-rise balconies, awnings, and dense foliage create complex shading patterns that require careful planning. A successful installation relies on a dual-zone strategy: positioning the solar panel where it receives maximum daily sunlight while angling the light head to cover your target pathway, balcony, or garden area. By verifying your mounting surface, tracking the sun’s path, and adjusting the fixture’s angles, you can achieve reliable, wire-free outdoor illumination.
Pre-Installation Checks for Your Solar Clip Light
Before clipping your light to any outdoor structure, you must verify that the physical dimensions of the clip match your intended mounting surface. Measure the thickness of the target surface—such as a metal balcony railing, a wooden fence rail, or an awning edge—and compare it against the maximum opening width specified in the product manual. Forcing a spring-loaded clip beyond its rated capacity can weaken the internal spring tension or crack the plastic housing, leading to a loose grip.
Products mentioned in this guide
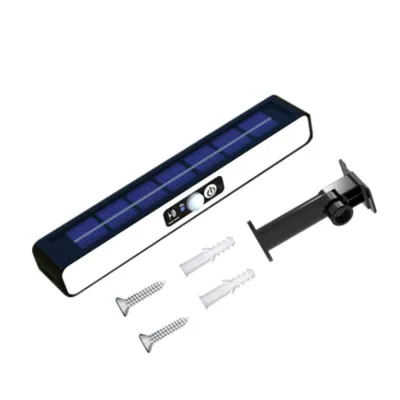
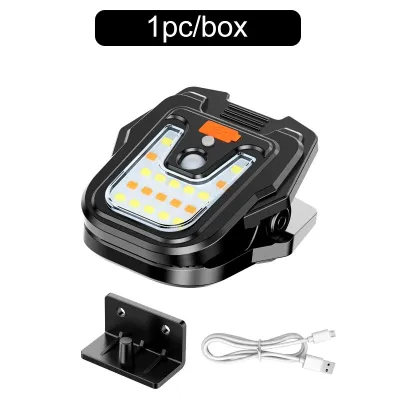
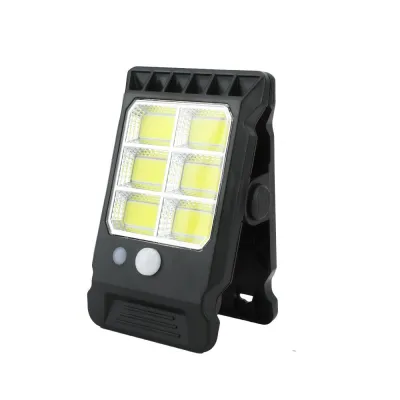
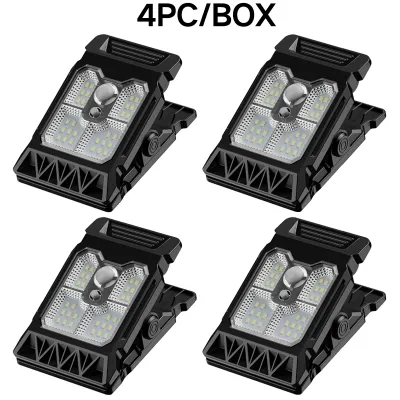
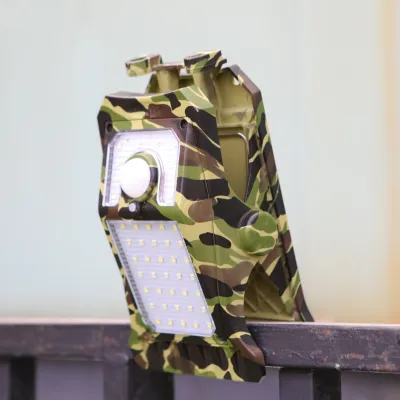
Prices are valid at publication and may change. Please refer to the product page for the latest price.
Check the manufacturer’s weight and load limits to confirm the clip can securely support the fixture’s weight over time, especially during heavy downpours or gusty winds. Inspect the clip’s inner surfaces for protective grip pads or rubberized teeth. These pads prevent the hard plastic or metal clip from scratching delicate surfaces like painted wood, glass balustrades, or soft outdoor fabrics.
Verify the installation environment and the light’s specifications before proceeding. Ensure the fixture has an appropriate ingress protection (IP) rating for outdoor use, typically IP44 or higher, to withstand rain and humidity. Determine if your solar light with clip features an integrated solar panel on top of the light head or a split design with a separate panel connected by a cable. An integrated design requires a single mounting spot that satisfies both sun exposure and lighting needs, whereas a split design offers greater placement flexibility but requires routing a cable.
Finding the Best Spot for Solar Charging
To maximize the charging efficiency of your solar light with clip, you must identify a mounting location that receives direct, unobstructed sunlight for several hours each day. Spend a day observing your outdoor space at different times to track the local sun path and identify transient shadows cast by trees, neighboring buildings, or roof overhangs.

In equatorial regions, the sun passes almost directly overhead for much of the year, meaning that overhead obstructions like deep eaves, balconies above, or dense tree canopies are the primary causes of poor charging performance. Even a small amount of partial shade covering a single cell on the solar panel can drastically reduce the overall charging current, leaving the battery undercharged by nightfall.
Ensure the chosen mounting spot is free from accumulating debris such as falling leaves, bird droppings, or dust from nearby roads, which can block light transmission. If your light uses a split design with a separate solar panel, plan a safe route for the connecting cable before securing any components. Avoid routing the cable over sharp metal edges, through tight pinch points like window frames, or across high-heat areas like air conditioning condenser exhausts, keeping the connection port protected from direct rain.
Step-by-Step Clipping and Mounting Techniques
Once you have selected the ideal location, open the clip fully and slide it completely onto the mounting surface. Ensure the base of the clip sits flush and square against the surface to distribute the clamping pressure evenly and prevent the fixture from pivoting.
For slippery or smooth surfaces, such as powder-coated metal railings, glass balustrades, or PVC pipes, verify that the clip’s non-slip silicone or rubber pads make full contact. If the surface is exceptionally smooth, you can wrap a small piece of outdoor-rated rubber tape around the railing to provide a textured grip for the clip’s teeth.
When clipping to irregular surfaces like tree branches or decorative wrought iron, use the fixture’s adjustable hinge or gooseneck to compensate for the awkward mounting angle. This adjustment allows you to keep the solar panel facing directly upward toward the sky while the clip remains securely anchored to the angled branch.
Test the physical stability of the installation by gently tapping the fixture from different angles to simulate wind resistance. If the light wobbles, slips, or sags, reposition the clip to a thicker, flatter, or more textured section of the structure. If you are mounting the light at height, such as on a high balcony rail or awning, always isolate any nearby electrical power first if applicable, and ensure you work safely from a stable platform to prevent falls.
Adjusting Angles for Lighting and Sensor Coverage
After securing the clip, you must adjust the angles of the light head and the motion sensor to optimize illumination and avoid common outdoor lighting pitfalls. Tilt the light head downward to focus the beam directly onto your target area, such as a walkway, step, or doorway.
This downward angle maximizes useful ground illumination while preventing harsh glare from shining into neighboring properties or your own windows, which can cause visual discomfort. Decorative style and perceived color temperature are conditional preferences; choose a warm or cool light output that matches your existing outdoor aesthetic, but prioritize downward angling to minimize light pollution.
If your solar light with clip includes an integrated passive infrared (PIR) motion sensor, aim the sensor’s field of view across the expected approach path. PIR sensors are highly sensitive to lateral movement (cutting across the field of view) but less sensitive to radial movement (moving directly toward or away from the sensor). For fixtures with a dual-head or split design, adjust the solar panel angle independently of the light head to face the peak sun direction, even if it differs from the light’s aiming direction.
Wait until dusk to perform a final visual check of your setup. Switch the light to its “test” or “auto” mode and walk through the detection zone to verify the actual beam spread, shadow placement, and sensor trigger range, making minor physical adjustments as needed.
Routine Maintenance and Seasonal Adjustments
To maintain optimal charging efficiency and physical stability, your solar light with clip requires simple, periodic upkeep. Wipe the solar panel surface regularly with a soft, damp microfiber cloth to remove accumulated dust, pollen, and salt spray that can block sunlight.
Avoid using abrasive sponges or harsh chemical cleaners, which can scratch the protective plastic or glass coating and permanently degrade solar absorption. Periodically check the clip’s tension and grip, as outdoor temperature fluctuations, high humidity, and wind vibrations can cause materials to expand, contract, or shift over time.
Clear away any new foliage, climbing vines, or temporary outdoor structures that may have grown or been placed in a way that casts new shadows on the solar panel. If you notice a significant decrease in nighttime runtime despite clear, sunny days, consult the product manual for battery care instructions.
Many solar lights use rechargeable lithium-ion or NiMH batteries that may need replacement after a few years of continuous outdoor service to restore original performance. Always follow the manufacturer’s instructions for battery replacement to maintain the fixture’s waterproof seal.
Frequently Asked Questions (FAQ)
What should I do if the clip is too small for my railing or fence?
If the built-in clip is too small for your target surface, do not attempt to force it open beyond its designed limit, as this can snap the internal spring or crack the housing. Instead, check the manufacturer’s accessories for larger bracket attachments, extension arms, or alternative mounting bases.
If permitted by the product manual, you can thread heavy-duty, UV-resistant zip ties or adjustable stainless steel hose clamps through the clip’s mounting holes or around the clip body to secure it safely to a wider post or railing without causing damage.
Can I separate the solar panel from the light fixture?
Separating the solar panel from the light fixture is only possible if your product is specifically designed as a split or dual-component system with a detachable panel and an extension cable. If your light has this design, you can clip the light fixture in a shaded area that requires illumination, such as under a deep balcony ceiling, while mounting the solar panel in a nearby sunnier spot.
Always secure the connecting cable along its path using cable clips or ties to prevent tripping hazards, wind damage, or water from pooling at the connection port. Ensure all cable connections are tightly screwed or snapped together according to the manufacturer’s instructions to maintain weatherproofing.
Community discussion
Share your experience or ask a question. Comments are reviewed before publication.