
Hanging fairy lights adds a warm, inviting glow to your living space, but a careless installation can leave behind unsightly paint chips and sticky residue. In warm and humid climates, securing decorative lighting requires a strategic approach to ensure the adhesives hold up without permanently bonding to or peeling your wall finishes. By selecting the right removable mounting materials, preparing your surfaces correctly, and following a patient removal process, you can enjoy a beautiful light display and keep your wall paint completely intact.
Assessing Your Wall and Ceiling Surfaces Before Installation
Before buying any mounting accessories, examine the exact composition of your walls and ceilings. Most modern residential units, such as high-rise apartments and condominiums, feature concrete walls finished with plaster and paint. Drywall partitions are also common in partitioned rooms or false ceilings.
Plaster over concrete behaves differently than drywall. Drywall has a paper backing that can tear easily if a strong adhesive is pulled straight out. Plaster is sturdier but can still flake if the paint bond is weak. Textured walls, such as sand-textured finishes or rough plaster, present a challenge because adhesives cannot form a continuous seal on uneven surfaces. Wallpaper is highly susceptible to tearing; standard removable adhesives are often too strong for delicate paper fibers and should generally be avoided on wallpapered surfaces.
Products mentioned in this guide
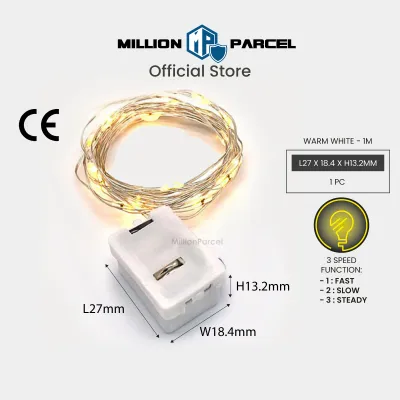
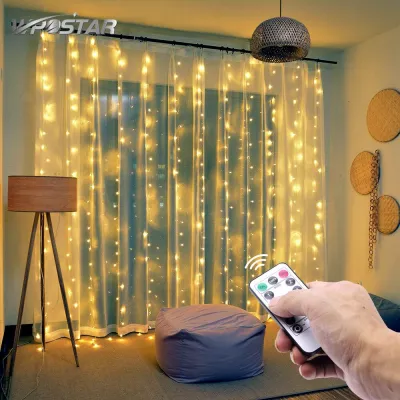
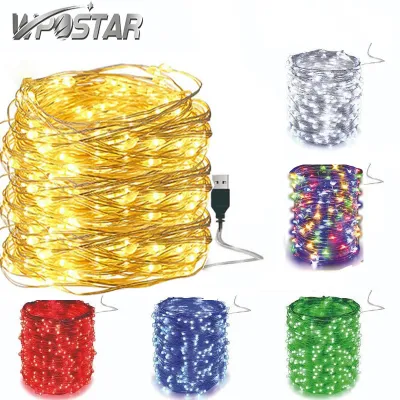
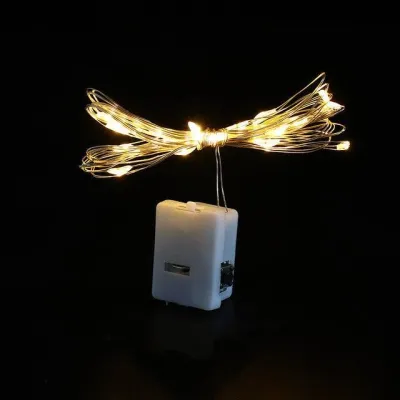
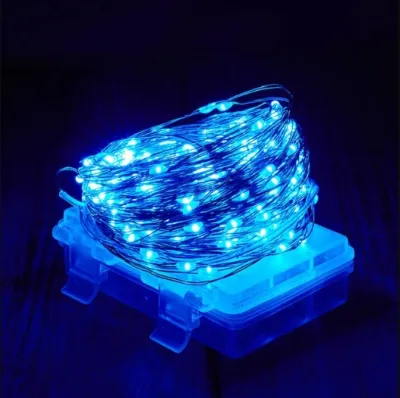
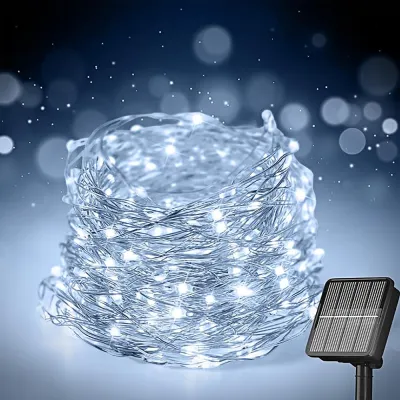
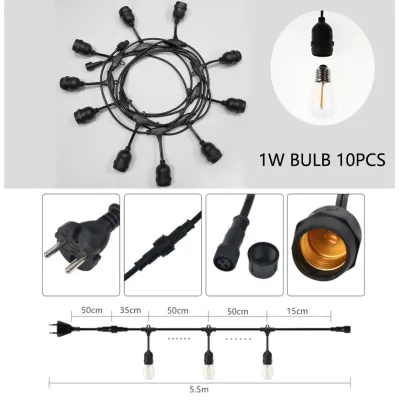
Prices are valid at publication and may change. Please refer to the product page for the latest price.
Next, inspect the condition of your paint. Look closely for any signs of bubbling, peeling, or flaking, especially near windows or baseboards. If the paint is already degrading, applying any adhesive—even those labeled “damage-free”—will likely pull the loose paint off when removed.
Environmental factors play a massive role in adhesive performance. High relative humidity can soften certain water-soluble adhesives over time, causing them to slip or fail. Similarly, areas near air conditioning vents experience temperature fluctuations that can cause materials to expand and contract, weakening the bond. Avoid mounting adhesives directly above cooking stoves, near bathroom doors where steam escapes, or on walls that receive intense, direct afternoon sunlight, as the heat can melt or degrade the adhesive backing.
Choosing Damage-Free Mounting Materials for Painted Surfaces
Selecting the right mounting hardware is the foundation of a damage-free installation. Removable adhesive hooks and transparent cable clips are excellent choices for lightweight fairy lights. Transparent clips are particularly popular because they blend into the background, keeping the focus entirely on the glowing wire.

Mounting putty is another versatile option, especially for ultra-lightweight copper wire fairy lights. Putty can be molded to fit small gaps and is easily removable, though it is best suited for temporary setups as some oil-based putties can leave faint grease marks on flat or matte paint over extended periods. Check the product specifications to ensure you select a non-staining variety.
Avoid standard double-sided foam tapes, heavy-duty mounting tapes, or industrial-strength adhesives. These products are designed for permanent installation and use acrylic adhesives that cure into an incredibly strong bond. Attempting to peel these off a painted wall will almost certainly tear away the paint layers down to the bare plaster or drywall.
Always read the product packaging carefully to verify the “damage-free” or “removable” designation. Pay close attention to the weight limits specified by the manufacturer. While a single strand of copper fairy lights weighs very little, the cumulative weight of a long strand, its power adapter, and any decorative clips can add up. Ensure your chosen hooks are rated to support more than the estimated weight of the lights to prevent sudden falls that could pull paint away.
Preparing the Surface for Maximum Adhesive Bonding
Adhesives require a clean, dust-free surface to form a secure bond. In any home, walls accumulate an invisible layer of dust, oils from cooking, and skin oils from touch. If you apply an adhesive strip directly to a dusty wall, it will stick to the dust particles rather than the paint, leading to premature failure.
To clean the surface, use a mild, non-residue cleaning agent. Isopropyl alcohol (rubbing alcohol) diluted with water is the standard recommendation for preparing walls for adhesive strips. Dampen a clean microfiber cloth with the solution and gently wipe the specific spots where you plan to place the hooks.
Avoid using harsh household chemical cleaners, degreasers, or abrasive scrubbing pads. These can strip the paint’s protective topcoat, soften the paint layer, or leave behind a soapy residue that prevents the adhesive from bonding. Never saturate the wall with water, as moisture can seep into plaster or drywall and cause the paint to bubble or peel.
Allow the cleaned areas to dry completely before proceeding. In humid environments, this may take longer than expected, so wait at least 10 to 15 minutes. If you are unsure about the durability of your wall paint—especially if it is a flat, matte, or chalky finish—perform a spot test. Apply a single adhesive strip in an inconspicuous area, such as behind a door or near the floorboard, leave it for 24 hours, and remove it according to the instructions to verify that the paint remains undamaged.
Step-by-Step Installation Guide for Walls and Ceilings
A successful installation begins with a clear plan. Before peeling any adhesive backings, lay your fairy lights on the floor to check their length, inspect the wire for any damage, and test that all bulbs illuminate correctly. Use a pencil or low-tack painter’s tape to lightly mark the positions on the wall or ceiling where each hook or clip will go.
Measure the distance between your planned mounting points. For standard copper wire fairy lights, spacing hooks every 30 to 50 centimeters is usually sufficient to prevent excessive sagging. If your lights have thicker plastic cables or heavy decorative bulbs, you will need to space the hooks closer together to distribute the weight evenly.
When applying the adhesive hooks or clips, follow the manufacturer’s instructions precisely. Typically, this involves peeling the liner off one side of the adhesive strip, pressing it firmly onto the hook, peeling the remaining liner, and then pressing the hook firmly against the wall. Apply steady, even pressure with your thumb for at least 30 seconds. This pressure activates the adhesive, ensuring a deep bond with the surface.
Crucially, observe the specified waiting time before hanging your lights. Most removable adhesive brands require at least one hour for the bond to cure fully before supporting any weight. Hanging the lights immediately after sticking the hooks can cause the adhesive to pull away from the wall prematurely.
Once the waiting period has passed, gently drape the fairy light wires over the hooks. Avoid pulling the wire too tight or creating tension between the mounting points, as this constant pulling force can slowly peel the adhesive off the wall over time. Leave a slight, natural drape in the wire to minimize stress on the hooks.
Carefully manage the power cord and plug placement. If your fairy lights are mains-powered, ensure the cord reaches the nearest electrical outlet without stretching or dangling in a way that creates a tripping hazard. For ceiling installations, route the cord down a corner or behind furniture, securing it with dedicated cable clips to keep the setup neat and safe.
Safe Removal and Residue Cleanup Techniques
When it is time to take down your fairy lights, rushing the process is the most common cause of wall damage. Never grab the light strand and pull it off the wall, as this will rip the hooks and the underlying paint right off. Instead, carefully unthread the lights from the hooks first, leaving only the mounting hardware on the wall.
To remove stretch-release adhesive strips, grasp the exposed tab firmly. Pull the tab slowly and straight down, keeping your hand flat against the wall. Do not pull the strip outward or at an angle, as this changes the direction of the force and can tear the paint. The strip must stretch parallel to the wall surface, which safely releases the adhesive bond without pulling on the plaster.
If you encounter a stubborn hook or are using an adhesive that does not have a stretch-release tab, apply gentle heat to soften the bond. Use a hairdryer set to a low or medium heat setting and direct the warm air at the hook for 20 to 30 seconds. The heat will soften the adhesive, making it much easier to peel away gently without taking the paint with it.
If any sticky residue remains on the wall, do not scrape it with sharp metal tools, fingernails, or abrasive sponges, which can easily scratch or gouge the paint. Instead, apply a small amount of mild solvent, such as isopropyl alcohol or a dedicated adhesive remover safe for painted surfaces, to a soft cloth and gently rub the residue in a circular motion.
Monitor the wall closely during the removal process. If you notice the paint beginning to lift, crack, or separate from the plaster, stop immediately. Applying more force will only worsen the damage. In such cases, consult a professional painter or handyman to assess the wall condition and assist with safe removal or touch-up repairs.
Electrical Safety and Professional Installation Boundaries
While fairy lights are generally low-voltage decorative items, electrical safety must always be a priority. Before plugging in your lights, verify that the voltage matches your local electrical supply (typically 230V). Check that the power adapter carries the appropriate safety certifications, such as the local Safety Mark, to ensure it has been tested for safe domestic use.
Avoid overloading your electrical outlets or extension cords. Do not daisy-chain multiple extension leads together or plug too many high-wattage appliances into the same outlet as your decorative lights. If you are connecting multiple strands of fairy lights together, check the manufacturer’s instructions to verify the maximum number of strands that can be safely linked on a single power supply.
Ceiling installations require extra caution, particularly when working at heights. If your design involves complex layouts, suspended heavy loads, or integrating the lights into fixed electrical wiring, do not attempt to do this yourself. Working with fixed wiring or mounting heavy fixtures to concrete ceilings requires drilling and specialized anchors, which should always be handled by a qualified, licensed electrician to ensure structural and electrical safety.
Finally, keep your fairy lights clear of potential hazards. Ensure the bulbs and wires do not come into direct contact with flammable materials, such as paper decorations, lightweight curtains, or synthetic fabrics. Keep them clear of ceiling sprinkler heads, air conditioning units, and heat-emitting appliances to prevent any risk of fire or water damage.
Frequently Asked Questions (FAQ)
Can I use fairy lights on freshly painted walls?
No, you should avoid applying any adhesives to freshly painted walls until the paint has fully cured. While paint may feel dry to the touch within a few hours, the curing process—where the paint solvents completely evaporate and the paint film reaches its maximum hardness—typically takes between two to four weeks. Applying adhesive hooks or putty to uncured paint will trap moisture and solvents, preventing a proper bond and almost certainly causing the paint to peel off when the lights are removed.
What should I do if the adhesive leaves a sticky mark?
If an adhesive hook leaves a sticky residue on your wall, avoid using abrasive scrubbers or sharp tools that can scratch the paint. Instead, apply a small amount of isopropyl alcohol or a specialized, paint-safe adhesive remover to a clean microfiber cloth. Gently dab the residue to soften it, then wipe it away in a circular motion. For stubborn spots, rolling a small piece of mounting putty or the sticky side of painter’s tape over the residue can help lift it off the wall without damaging the paint finish.
Community discussion
Share your experience or ask a question. Comments are reviewed before publication.