
Fairy lights are an exceptionally versatile way to add warmth, character, and a touch of magic to any living space. For renters or homeowners who want to keep their walls pristine, the prospect of hammering nails, drilling holes, or using permanent adhesives can be daunting. Fortunately, you can secure these delicate light strands to both walls and ceilings without leaving a single mark, scratch, or peeled patch of paint behind. By selecting the right damage-free mounting materials and following a systematic installation process, you can achieve a secure setup that looks beautiful and removes cleanly when it is time for a change.
To achieve a successful, damage-free installation, you must match your mounting strategy to your specific wall or ceiling surface, taking into account environmental factors like ambient humidity. In places with high relative humidity, such as Singapore, standard adhesives can soften and fail if not selected and applied correctly. This comprehensive guide walks you through the entire process—from initial layout planning and surface preparation to safe removal techniques—ensuring your home remains beautiful and damage-free.
Planning Your Fairy Light Layout and Gathering Materials
Before buying any materials or peeling any adhesive backings, take the time to plan your layout and measure the space. Use a soft, flexible measuring tape to trace the exact path you want the lights to follow, whether it is a crisp geometric border, a relaxed zigzag pattern, or an overhead canopy. Measure the distance from the end of your planned light path to the nearest power outlet, adding at least 1 to 1.5 meters of extra length to prevent the power cord from being pulled taut or dangling awkwardly in mid-air.
Products mentioned in this guide
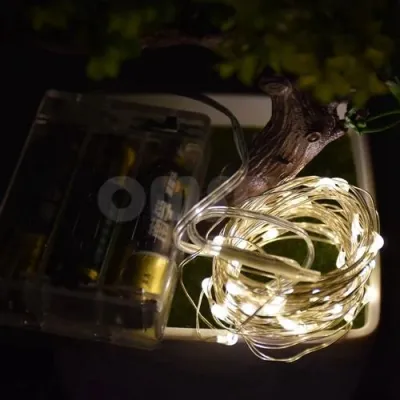
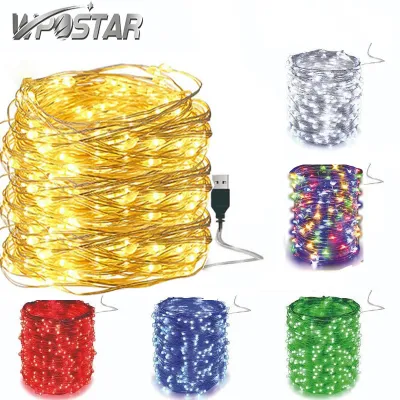
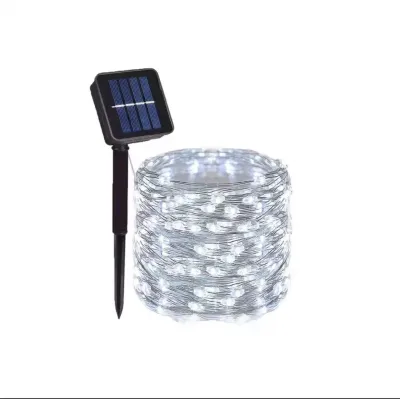
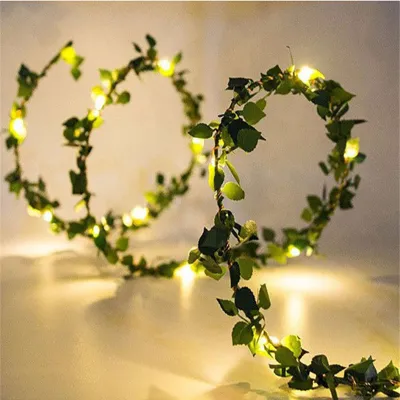

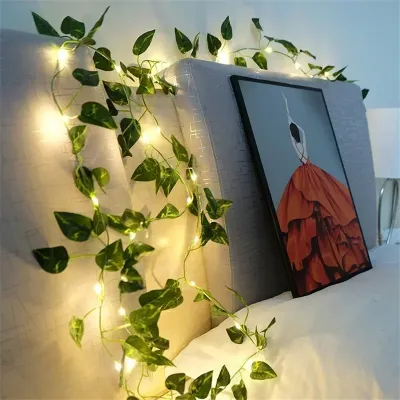
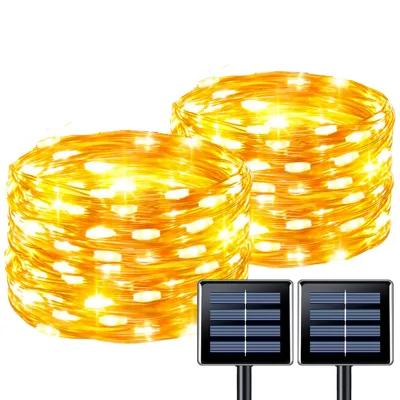
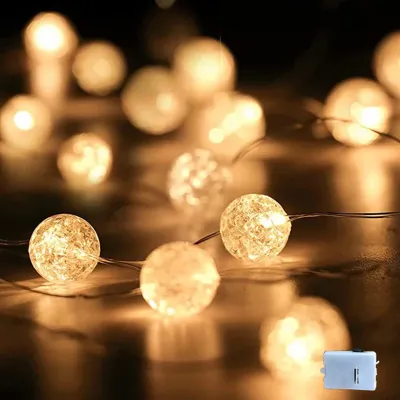
Prices are valid at publication and may change. Please refer to the product page for the latest price.
When choosing your fairy lights, evaluate the power source options based on your layout and proximity to outlets. Battery-operated fairy lights offer unmatched portability and eliminate the need for trailing cords, making them ideal for small, isolated displays like photo walls or headboards. However, they require periodic battery replacements, which can become inconvenient for daily use. USB-powered lights are highly versatile, allowing you to run them off standard USB wall adapters or portable power banks. Traditional plug-in fairy lights are the most reliable option for larger, permanent installations, though they require a nearby 230V electrical socket.
Choosing the right damage-free mounting hardware is the most critical step in protecting your walls. Clear adhesive hooks (such as stretch-release plastic hooks) are the industry standard, as they blend discreetly into the background and hold the wire securely. For ultra-lightweight copper wire fairy lights, reusable adhesive putty is an excellent, highly flexible alternative that allows for quick adjustments. If you prefer a completely flush look, specialized low-tack transparent mounting tape designed specifically for clean removal can be used to secure the wire at regular intervals.
Before purchasing any adhesive, check the product label for weight limits, surface compatibility, and environmental operating conditions. Singapore’s tropical climate brings high indoor humidity levels, which can weaken standard water-based adhesives over time. Look for adhesives explicitly rated for humid or damp environments to ensure they maintain their grip. Always verify that the adhesive is compatible with your specific wall finish, as some products are formulated strictly for smooth, semi-gloss, or gloss painted surfaces and may not adhere well to highly textured plaster or flat matte paint.
Additionally, perform a quick electrical and compatibility check on your chosen fairy lights before installation. Verify the operating voltage (typically 5V for USB or 12V/24V/230V for plug-in models), plug interface, wattage limits, and whether the lights are dimmable if you plan to use a controller. Ensure the lights carry recognized electrical safety certifications (such as the Safety Mark in Singapore) to guarantee they have been tested for safe indoor use. If you plan to install lights in damp areas like semi-outdoor balconies, ensure the light strand and its power supply carry an appropriate ingress protection (IP) rating, such as IP44 or higher, to resist moisture.
Step-by-Step Guide to Installing Fairy Lights on Walls
Installing fairy lights on vertical walls requires a balance between securing the wire firmly and protecting the underlying paint. If you are living in a rental property or have recently painted your walls, taking a careful, step-by-step approach is essential to avoid tearing the paint film when the lights are eventually removed.

Preparing the Surface for Adhesion
The secret to long-lasting adhesive bond strength lies in a perfectly clean surface. Dust, airborne grease, and skin oils naturally accumulate on walls over time, creating a microscopic barrier that prevents adhesives from making direct contact with the paint. To prepare your wall, gently wipe the installation area with a dry, lint-free microfiber cloth to remove loose dust. For areas near kitchens or high-traffic zones, lightly dampen the cloth with clean water or a highly diluted, mild, non-abrasive soap solution to cut through grease. Avoid harsh chemical cleaners, citrus-based sprays, or heavy household detergents, as these can leave a chemical residue that actually repels adhesives.
Once cleaned, allow the wall surface to dry completely before applying any mounting hardware. In humid environments, moisture can easily trap itself beneath the adhesive backing, preventing a secure cure and causing the hook to slide off the wall under the weight of the lights. Give the wall at least 20 to 30 minutes to air-dry naturally.
To guarantee that the adhesive will not react poorly with your specific wall paint, always perform a localized patch test. Before applying hooks across your entire wall, first check the adhesive product’s label and your wall paint manufacturer’s care instructions. If instructions conflict, the wall material is unidentified, or the intended use is not explicitly covered, stop and consult the manufacturer or a qualified professional. If clear to proceed, apply a single adhesive hook or a small strip of mounting tape in an inconspicuous, hidden area—such as low down behind a piece of furniture or inside a closet. Leave it in place for 24 hours, then remove it slowly according to the package instructions. If the paint remains intact and no sticky residue is left behind, you can proceed with the full installation with confidence.
Routing and Securing the Light Strand
With your wall fully prepped, it is time to map out your lighting layout. Trying to stick adhesive hooks directly to the wall while holding a tangled strand of lights often leads to crooked lines and misplaced hooks. Instead, use low-tack painter’s tape to temporarily mock up your design on the wall. This allows you to step back, assess the symmetry, adjust the drapes, and make changes without committing to permanent hook placements. If painter’s tape is unavailable, you can use a light pencil to mark tiny, easily erasable dots where each anchor point will go.
Once you are satisfied with the temporary layout, begin placing your adhesive hooks or clips at regular intervals along your marked path. For standard insulated wire fairy lights, space the hooks roughly 30 to 50 centimeters apart. This spacing provides adequate support and prevents the wire from sagging excessively under its own weight. If you are using ultra-lightweight copper wire lights, you can extend the spacing to 60 or 80 centimeters, though closer spacing will give you tighter, more defined geometric shapes. Press each adhesive hook firmly against the wall for at least 30 seconds to activate the pressure-sensitive adhesive, then wait the manufacturer’s recommended curing time (often 1 hour) before hanging the lights.
When hanging the fairy lights, gently lay the wire over the hooks or snap it into the clips. It is crucial to avoid pulling the wire completely taut between the anchor points. A taut wire puts continuous, high lateral tension on the adhesive backing, which will eventually cause the hooks to fail and peel away from the wall. Instead, allow a tiny, almost imperceptible amount of slack between each hook. This slight drape distributes the weight of the strand vertically rather than pulling horizontally on the adhesive. Take care not to pinch, crimp, or tightly bend the wire around sharp corners, as this can damage the delicate copper filaments inside and cause the lights to malfunction.
Techniques for Mounting Fairy Lights on Ceilings
Mounting fairy lights on a ceiling creates a beautiful, starry-sky effect, but it presents unique physical challenges. Unlike wall installations where the weight of the lights pulls parallel to the surface, ceiling installations are subject to direct, downward gravitational pull. This constant tension means that your choice of mounting materials and installation safety practices must be highly precise.
Because gravity works against ceiling mounts, standard lightweight adhesive hooks may not suffice. You should select specialized ceiling clips or adhesive hooks with a higher weight capacity than those used for walls. Look for hooks designed specifically for overhead suspension, which often feature a closed-loop or deep-hook design to prevent the wire from slipping out. Ensure the adhesive backing is rated for the total weight of the light strand divided by the number of hooks you plan to use, adding a generous safety margin.
To minimize the constant downward pull on your ceiling anchors, design your layout with intentional, gentle drapes. Trying to pull a fairy light strand completely flat across a ceiling requires immense tension, which will inevitably pull the adhesive hooks off the plaster. By creating soft, uniform loops or swags between your ceiling mounts, you redirect the physical forces. The weight of each section hangs naturally downward from the hooks rather than pulling them sideways, significantly increasing the longevity of the adhesive bond while creating a much softer, more elegant visual effect.
Safety is paramount when working overhead. Always use a sturdy, high-quality step ladder or step stool placed on a completely flat, level, and non-slip floor. Never stand on the top two steps of a ladder, and avoid overreaching to grab a distant spot, as this can cause the ladder to tip over. If your ceiling is exceptionally high or if you are installing a complex canopy, do not attempt to do it alone. Have a second person present to stabilize the ladder, hand you tools and light strands, and help you gauge the symmetry of the layout from the floor. For complex installations involving fixed wiring, high-voltage connections, or heavy suspended loads, always isolate the main power source before starting, follow the manufacturer’s installation instructions, and consult a qualified professional or licensed electrician to ensure compliance with local building and electrical safety standards.
Finally, pay close attention to the placement of the power supply. Heavy battery packs, heavy-duty extension cords, or bulky AC power adapters must never be allowed to hang freely from the ceiling. A dangling power pack acts as a heavy pendulum, putting immense strain on the nearest adhesive hooks and creating a significant falling hazard. Instead, secure the battery pack to a nearby wall using a heavy-duty, damage-free wall hook, or place it on a high shelf. If you are using a plug-in model, ensure the lead wire (the unlit portion of the wire between the plug and the first LED) is long enough to reach the floor or a wall outlet without putting any downward tension on the ceiling mounts.
How to Safely Remove Fairy Lights Without Peeling Paint
Taking down your fairy lights should be done with the same care and patience as installing them. Many people make the mistake of simply pulling the lights down in one quick motion, which almost always results in torn paint, damaged plaster, or torn wallpaper. By using a controlled, systematic removal process, you can ensure your walls remain completely undamaged.
The most effective way to remove adhesive hooks or mounting tape is by applying gentle heat. Most modern consumer adhesives are made of thermoplastic polymers that soften and lose their grip when warmed. Set a standard household hairdryer to a low-to-medium heat setting. Hold the hairdryer approximately 10 to 15 centimeters away from the adhesive backing of the hook and warm it for 20 to 30 seconds. This gentle heat softens the adhesive gel, making it pliable and significantly reducing its bond strength to the wall paint.
Once the adhesive is warm, begin the peeling process. If you are using stretch-release adhesive strips (which feature a small pull-tab), do not pull the tab outward toward yourself. Pulling outward puts intense leverage on the paint layer, which can cause it to snap and peel. Instead, hold the hook gently with one hand and pull the adhesive tab straight down, parallel to the wall surface. Slowly stretch the strip downward, keeping your hand close to the wall. The strip will stretch to several times its original length and release cleanly from the wall without leaving a mark. For standard adhesive tapes, peel them back slowly at a very shallow, 180-degree angle, folding the tape back on itself rather than pulling it off at a right angle.
If any sticky adhesive residue remains on the wall after removal, do not attempt to scrape it off with metal putty knives, fingernails, or sharp tools, as this will scratch and gouge the paint. Instead, mix a few drops of mild dish soap with warm water. Dampen a clean, soft microfiber cloth with the soapy water and gently rub the residue in a circular motion. The combination of warmth, moisture, and mild surfactants will safely break down the remaining glue. Avoid using harsh chemical solvents, acetone, nail polish remover, or abrasive scrubbing pads, as these chemicals can dissolve the paint binder, strip away the paint’s sheen, or leave permanent discoloration.
If you encounter unusually high resistance during removal and the adhesive refuses to budge, do not force it. Forcing a stubborn adhesive will inevitably tear the paint or plaster underneath. Stop immediately and refer to the adhesive manufacturer’s removal troubleshooting guide or the paint manufacturer’s care instructions. If the wall paint is old, chalky, or was applied without a proper primer, the bond between the paint and the wall may be weaker than the adhesive bond itself. In such cases, seeking advice from a professional painter or the manufacturer can help you avoid a costly wall repair.
Electrical Safety and Maintenance Tips
While fairy lights are generally low-voltage and highly safe, maintaining basic electrical safety practices is essential to protect your home and prolong the lifespan of your lights. A secure physical installation must always be matched with responsible electrical usage.
Before you begin hanging your lights, conduct a thorough visual inspection of the entire strand. Lay the lights out on a flat surface, plug them in, and inspect the wire from end to end. Look for any signs of physical wear, such as cracked plastic insulation, fraying, kinks, or exposed copper filaments. If you notice any damage, do not attempt to patch the wire with electrical tape or use the strand; discard it immediately and replace it with a new, certified set.
Safe power distribution is critical to avoiding electrical overloads. Never daisy-chain multiple plug-in fairy light strands together unless the manufacturer’s instructions explicitly state that they are designed for end-to-end connection, and you remain strictly within the specified maximum wattage limits. For USB-powered lights, ensure you plug them into a high-quality USB wall adapter or power bank that provides the exact voltage and current rated for your lights (typically 5V and 1A or 2A). Using an underpowered adapter can cause it to overheat, while an incorrect voltage can permanently damage the LEDs.
Although modern LED fairy lights are highly energy-efficient and emit very little heat compared to traditional incandescent bulbs, the power adapters, transformers, and battery compartments can still warm up during extended operation. Ensure these power components are placed in well-ventilated areas where heat can dissipate naturally. Avoid tucking power adapters behind heavy curtains, under pillows, or inside tight, unventilated spaces surrounded by flammable materials like paper or soft fabrics.
Finally, establish a safe operational routine. Always turn off your fairy lights when you leave the room, go to sleep, or leave your home. This simple habit not only conserves electricity and extends the operational lifespan of your LEDs but also eliminates any remote risk of an electrical short circuit or fire occurring while the lights are unattended. For added convenience, consider plugging your lights into a smart plug or a simple mechanical timer, allowing you to schedule your lights to turn off automatically each night.
Frequently Asked Questions (FAQ)
Can I use double-sided foam tape on painted walls?
No, you should avoid using standard double-sided foam tape on painted walls. Double-sided foam tape is typically manufactured with highly aggressive, permanent acrylic adhesives designed for heavy-duty mounting. Because the adhesive is designed to bond permanently, removing it almost always tears away the outer layer of paint, plaster, or drywall paper, leaving a deep gouge that requires patching and repainting. Additionally, the foam core can degrade over time, leaving a messy, sticky residue that is incredibly difficult to clean. For a damage-free setup, always choose removable, paint-safe alternatives such as stretch-release adhesive hooks, low-tack transparent mounting tapes, or reusable adhesive putty.
How do I hide the battery pack or power cord?
Hiding power accessories is key to achieving a clean, professional-looking installation. For battery-operated lights, you can place the battery pack on a nearby floating shelf, tuck it behind a potted plant or a framed photo, or place it inside a decorative hollow book or a small woven basket. For long power cords running down to a wall outlet, use small, paint-safe cable clips to route the wire neatly along the top of your baseboards or around door frames, keeping the wire flush and inconspicuous. Alternatively, you can install paintable plastic cord covers (cable raceways) over the cord, painting them to match your exact wall color so they blend seamlessly into the background.
Community discussion
Share your experience or ask a question. Comments are reviewed before publication.