
Fairy lights are a highly versatile way to introduce warm, ambient illumination to any space, whether you want to create a cozy indoor reading nook or add a welcoming glow to an outdoor balcony. However, a common challenge is hanging these delicate wire strings securely without leaving unsightly holes, peeling paint, or damaging delicate surfaces. Achieving a professional, damage-free installation requires matching the right mounting hardware to your specific surface material—such as painted plaster, concrete, wood, or glass—while carefully managing wire tension and electrical safety.
By taking a systematic approach to preparation, surface selection, and mounting techniques, you can enjoy a beautiful lighting display that remains securely in place and removes cleanly when it is time for a change.
Preparation and Tools for Damage-Free Installation
Before hanging a single strand of lights, proper preparation is essential to ensure both physical safety and a reliable bond for your mounting hardware. Skipping these initial checks often leads to falling lights, damaged walls, or electrical hazards.
Products mentioned in this guide

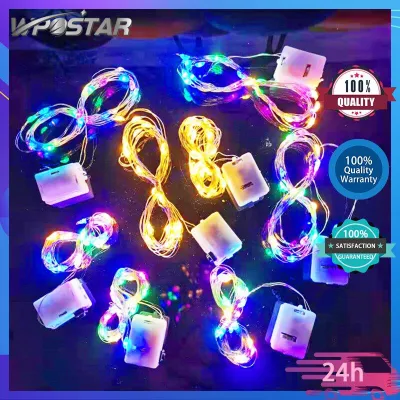
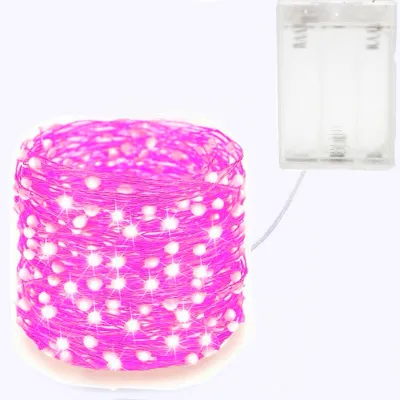
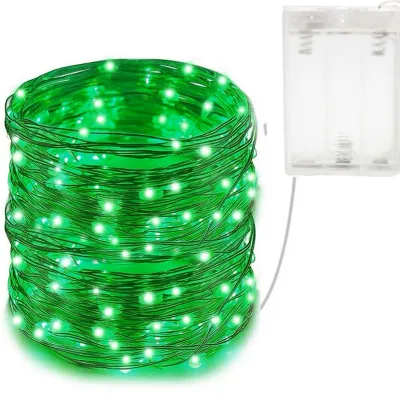
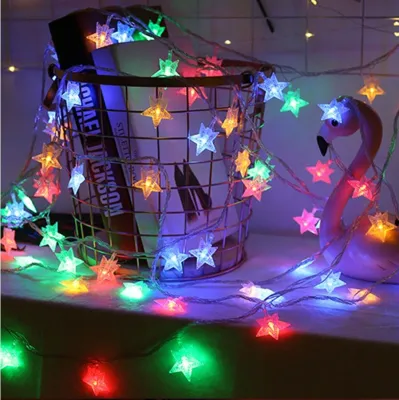
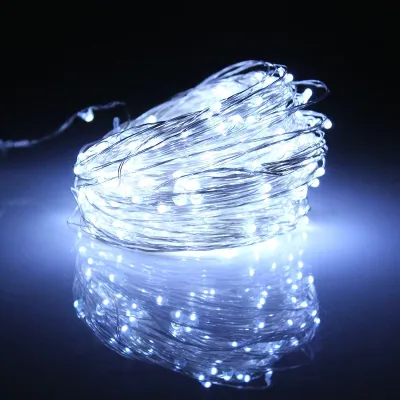
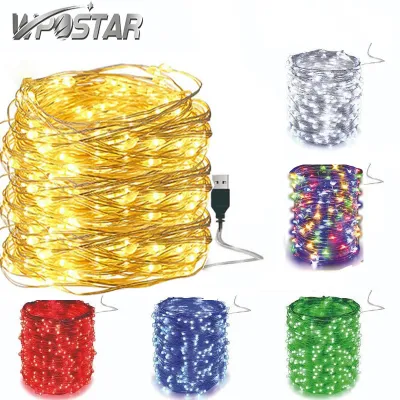
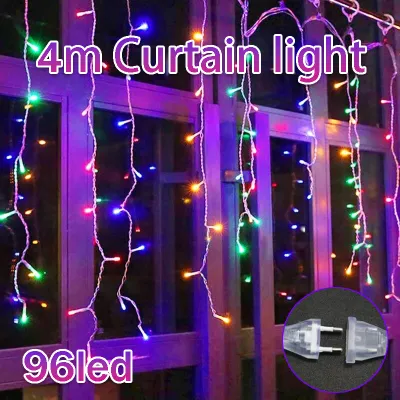
Prices are valid at publication and may change. Please refer to the product page for the latest price.
Electrical and Environmental Specifications
First, verify the electrical requirements of your fairy lights. Most modern decorative lights operate on low-voltage direct current (DC), typically powered by a 5V USB connection or a 12V to 24V plug-in power adapter. If you are using mains-voltage (230V) fairy lights, extra care must be taken to ensure the cable insulation is completely intact. In Singapore, always look for the SAFETY Mark on the power adapter or transformer, which indicates the product has been tested and certified safe for local electrical standards.
Next, check the environmental rating of your lights. Indoor-rated lights (typically IP20) lack protection against moisture and must never be used outdoors. If you plan to decorate a balcony, patio, or garden, ensure both the light string and its power supply are explicitly rated for outdoor use (minimum IP44 for sheltered areas, or IP65 for fully exposed environments).
Essential Tools and Hardware
Gathering the correct tools beforehand prevents mid-installation delays and minimizes the risk of improvised, damaging solutions:
- Measuring Tape: Used to calculate the distance between your power source and the starting point, as well as the spacing between mounting points.
- Damage-Free Adhesives: Transparent adhesive hooks, cable clips, or temporary mounting putty designed specifically for easy removal.
- Surface Cleaning Supplies: Isopropyl alcohol (70% concentration) and a clean microfiber cloth to remove dust and oils.
- Stable Step Ladder: A certified A-frame ladder of appropriate height to reach overhead areas safely.
Pre-Installation Safety Inspection
Always conduct a thorough physical inspection of the light string while it is completely unplugged. Lay the strand out flat on a clean floor and run your fingers gently along the wire to check for any fraying, exposed copper, cracked plastic bulb housings, or loose connections. If you detect any physical damage, do not attempt to repair or install the strand; discard it and use a new, certified set. Always keep the lights disconnected from the power outlet during the entire mounting process to eliminate any risk of electrical shock.
Installing Fairy Lights on Indoor Walls and Furniture
Indoor walls and furniture present a variety of surface finishes, from painted drywall and concrete plaster to delicate wood veneers and smooth glass. Each material requires a tailored approach to ensure the mounting solution holds firmly without ruining the finish.

Step 1: Surface Preparation and Cleaning
Adhesives require a completely clean, dry surface to form a secure bond. Dust, oils, and household grime will prevent adhesive strips from adhering properly, leading to premature failure. Wipe the target mounting areas with a microfiber cloth dampened with isopropyl alcohol.
Warning: Before applying any solvent, check the paint manufacturer’s care instructions or the furniture’s warranty guidelines. Some delicate matte, chalk, or water-based paints, as well as sensitive wood varnishes, can discolor or dissolve when exposed to alcohol. If your surface is delicate or unidentified, perform a quick spot-test in a hidden area, or clean the surface using only a dry, lint-free microfiber cloth. Allow the cleaned area to dry completely for at least ten minutes before applying any adhesive.
Step 2: Planning and Marking the Layout
To avoid crooked lines or awkward sagging, plan your layout before peeling the adhesive backing. Use your measuring tape to determine the path of the lights. If you are creating a specific pattern, such as a zigzag or a curtain effect, use a light pencil to mark the exact placement of each hook.
When marking, ensure your starting point is close enough to a wall outlet so that the power cord reaches comfortably without being stretched tight or creating a tripping hazard. Never allow the first light bulb to rest directly against the outlet or plug housing.
Step 3: Applying Damage-Free Adhesive Hooks
For painted drywall or concrete walls (common in Singapore HDB flats), high-quality, damage-free adhesive clips are the most reliable option. Remove the backing paper from the adhesive strip, press it firmly onto the marked spot, and hold it in place with steady pressure for at least 30 seconds.
To prevent the wire from sagging or putting excessive weight on a single point, space your hooks or clips at regular intervals of 30 to 50 centimeters. Once the hooks are applied, wait at least one hour (or the duration recommended by the adhesive manufacturer) to allow the bond to cure fully before hanging the lights.
Step 4: Mounting the Wire Gently
Once the adhesive has fully cured, carefully thread or press the fairy light wire into the clips. Work slowly from the power source outward. Avoid pulling the wire taut; instead, leave a fraction of a centimeter of slack between each mounting point. This minor slack accommodates slight temperature shifts and prevents continuous tension from pulling the hooks off the wall. Do not bend or kink the copper core of the wire at sharp 90-degree angles, as this can cause internal micro-fractures in the conductor, leading to premature failure of the light string.
Mounting Alternatives for Delicate Furniture
Avoid using nails, metal staples, or heavy-duty double-sided foam tape directly on painted walls, plaster, or delicate wood veneers. These mechanical fasteners and permanent adhesives will inevitably chip the paint, crack plaster, or peel away wood finishes during removal. For wooden bed frames or metal shelving, consider using non-marring mounting putty or temporary silicone-based clips, which hold lightweight wires securely and peel away cleanly without leaving oily residues.
Securing Fairy Lights on Ceilings and Overhead Areas
Hanging fairy lights overhead adds a starry, magical quality to a room, but gravity presents a constant challenge. Overhead installations require secure mounting methods and strict adherence to safety protocols to prevent accidents.
Step 1: Prioritize Ladder Safety
Working at height introduces a significant risk of falls. Always use a stable, safety-rated A-frame step ladder that is tall enough to allow you to work comfortably without stretching. Place the ladder on a flat, even, and non-slip floor. Never stand on the top two steps of the ladder, and never substitute unstable household furniture like chairs, beds, or wheeled desks for a proper ladder. If possible, have a second person stand nearby to spot you and pass up tools.
Step 2: Select Tension-Rated Ceiling Clips
Standard wall hooks are designed to handle shear force, where the weight pulls downward parallel to the adhesive surface. When applied to a ceiling, the weight pulls directly outward (tension force), which can easily cause standard wall adhesives to fail.
Choose adhesive clips specifically designed and rated for ceiling or overhead wire management. These clips typically feature a deeper hook or a locking gate that prevents the wire from slipping out, and their adhesives are formulated to resist continuous downward tension.
Step 3: Work in Progressive Sections
Do not attempt to hang the entire length of the light string at once. Start at the power source end and work in small, manageable sections of about 50 centimeters. Secure the wire into the first few ceiling clips before moving your ladder to the next section. This progressive method prevents the weight of the uninstalled wire from dangling freely, which can tear down the newly mounted hooks or cause the wire to tangle.
Step 4: Avoid Heat and Mechanical Hazards
When planning your ceiling layout, map the path carefully to avoid potential hazards. Never route fairy lights near heat-generating sources, such as recessed halogen downlights, spotlight fixtures, or HVAC heating vents. Additionally, ensure the wire is positioned far away from any moving parts, such as ceiling fan blades or sliding wardrobe tracks. A pinching wire can easily short-circuit or snap, creating an immediate electrical and fire hazard.
Installing Fairy Lights in Outdoor and Damp Environments
Outdoor spaces like balconies, patios, and gardens are subjected to harsh environmental conditions, including rain, high humidity, wind, and intense sunlight. Standard indoor mounting techniques will fail rapidly in these settings, demanding specialized weatherproofing and durable materials.
Step 1: Verify Weatherproof and IP Ratings
Before taking any electrical device outdoors, you must confirm its Ingress Protection (IP) rating. Both the fairy lights and the power adapter must be rated for outdoor use. Look for a minimum rating of IP44, which protects against splashing water from all directions, making it suitable for sheltered balconies. For fully exposed garden areas, opt for IP65 or higher, which provides dust-tight protection and resistance to water jets.
Never plug an indoor-rated power adapter into an outdoor outlet, even if the outlet is covered. If the adapter itself is not weatherproof, it must be housed inside a dedicated, weather-resistant enclosure.
Step 2: Use UV-Resistant and Weatherproof Hardware
Standard indoor adhesive strips degrade rapidly when exposed to tropical humidity and UV radiation, causing your lights to fall within days. Instead, use hardware designed to withstand the elements:
- UV-Stabilized Nylon Zip Ties: Excellent for securing lights to metal balcony railings or outdoor pipes.
- Plastic Gutter Hooks: Ideal for hanging lights along rooflines or gutters without drilling.
- Stainless Steel Eye Screws: For permanent installations on wooden pergolas or fascia boards. Stainless steel resists rust and corrosion in humid climates.
Step 3: Elevate and Protect Power Connections
To prevent water ingress, always keep all electrical connections elevated off the ground. Never allow plugs, adapters, or extension cord junctions to sit in areas where water can pool.
- Use an outdoor-rated extension cord with a molded, water-resistant plug.
- Place any exposed plug connections inside an IP56-rated weatherproof junction box.
- Drip Loops: Form a "drip loop" in the power cable just before it enters the outlet or junction box. A drip loop is a simple downward curve in the wire that forces rainwater to drip off the bottom of the loop rather than tracking along the cable directly into the electrical socket.
Safety Boundary for Complex Outdoor Installations
If your outdoor lighting project requires drilling into exterior masonry, brick, or structural concrete, or if you need to connect the lights directly to your home’s main external electrical panel, stop immediately. Improper drilling can compromise your home’s waterproofing layers, and working with mains outdoor wiring carries severe safety risks. Consult a licensed electrical worker (LEW) or a professional installer to handle these structural and high-voltage tasks safely.
How to Remove Fairy Lights Without Damaging Surfaces
The true test of a damage-free installation is how cleanly the hardware removes. Taking your time during the removal process prevents paint peeling, plaster cracking, and wire damage, ensuring your walls remain pristine and your lights are preserved for future use.
Step 1: Disconnect the Power
Before touching or removing any mounting hardware, unplug the fairy lights from the wall outlet. This simple step eliminates any risk of minor static shocks or accidental short circuits if a wire is pinched or snapped during the removal process.
Step 2: Correctly Release Adhesive Strips
Many people make the mistake of pulling adhesive hooks straight outward from the wall, which almost always tears away a chunk of paint or plaster. To remove stretch-release adhesive hooks correctly:
- Gently remove the fairy light wire from the hook first.
- Hold the plastic hook gently with one hand to stabilize it, but do not press it hard against the wall.
- With your other hand, grasp the exposed rubber release tab at the bottom of the strip.
- Pull the tab straight down, keeping your hand parallel to the wall surface.
- Continue stretching the strip slowly downward (it may stretch up to 30 centimeters) until the adhesive releases cleanly from the wall.
Step 3: Clear Away Stubborn Adhesive Residue
If any sticky residue remains on the surface after removing the hooks, do not scrape it with sharp metal tools, which will scratch the paint or wood. Instead, apply a small amount of a mild, citrus-based adhesive remover to a clean microfiber cloth.
Warning: Test the adhesive remover on an inconspicuous, hidden area of the wall or furniture first. Ensure it does not dull, discolor, or strip the paint or varnish. Once verified safe, gently rub the residue in a circular motion until it lifts, then wipe the area clean with a damp cloth and pat it dry.
Step 4: Proper Storage for Future Use
To prevent your fairy lights from tangling or developing internal wire breaks while in storage, coil them carefully. Wrap the string in loose, circular loops around your hand or a sturdy piece of cardboard. Avoid tight bends or knots, which put mechanical stress on the thin copper filaments inside the wire. Store the coiled lights in a cool, dry place away from direct sunlight to preserve the plastic insulation.
Final Verification and Safety Checks
Once your fairy lights are fully installed, take a few minutes to perform a comprehensive post-installation safety check before leaving them turned on unattended. This final step ensures your lighting display is both physically secure and electrically safe.
Step 1: Visual and Physical Inspection
Walk along the entire length of the installed light string and verify the following:
- No wires are pinched in window frames, doors, or behind heavy furniture.
- The wire is not stretched tight; there is visible, gentle slack between all mounting points.
- Every adhesive hook or mounting clip is firmly bonded to the surface and shows no signs of peeling or lifting.
- The power cable is routed safely away from foot traffic to prevent tripping hazards.
Step 2: Functional Power Test
Plug the power adapter into the outlet and turn on the lights. Cycle through all available lighting modes or dimming levels. Watch closely for any flickering, dim sections, or unlit bulbs. If a portion of the strand fails to light, unplug the power source and check if the wire was bent too sharply or damaged during the mounting process.
Step 3: Thermal Safety Check
Let the fairy lights run continuously for 30 minutes. After this period, carefully feel the power adapter (transformer) and run your hand along several sections of the wire.
- Normal Condition: The adapter and wire should feel cool or only slightly warm to the touch.
- Stop Condition: If the power adapter feels excessively hot (uncomfortable to hold), if you notice any flickering in the lights, or if you detect a distinct burning or melting plastic smell, unplug the power source immediately. Do not plug the lights back in. This indicates a short circuit, an overloaded outlet, or a faulty power adapter. Inspect the setup for physical damage, verify that the outlet is not overloaded with too many high-wattage appliances, and if the issue persists, replace the light set or consult a qualified professional.
Community discussion
Share your experience or ask a question. Comments are reviewed before publication.