
Hanging fairy lights transforms a room into a cozy sanctuary, but peeling paint or cracked plaster can quickly ruin the aesthetic. Securing these delicate strands without leaving permanent marks requires a strategic approach to surface assessment and adhesive selection. By utilizing removable, damage-free mounting solutions and proper surface preparation, you can achieve a flawless installation on both walls and ceilings. This guide provides a comprehensive, step-by-step breakdown of how to mount and remove your lights safely, ensuring your home decor remains beautiful and your walls undamaged.
Preparation: Tools and Materials for Damage-Free Installation
Before unboxing your LED fairy lights, take time to analyze the installation environment and gather the necessary materials. Different surfaces react uniquely to adhesives, making a preliminary assessment crucial.
Surface Assessment In Singapore, residential walls are commonly finished with matte or semi-gloss emulsion paints over plaster or drywall, while some feature concrete, glass, or varnished wood. Matte paint is highly susceptible to peeling if the wrong adhesive is used, whereas smooth, non-porous surfaces like glass or tiles offer excellent adhesion but require specific types of removable hooks. Examine the texture of your wall or ceiling; heavily textured surfaces (such as stucco or rough plaster) reduce the contact area for flat adhesive strips, meaning you may need specialized mounting putty or flexible clips.
Products mentioned in this guide
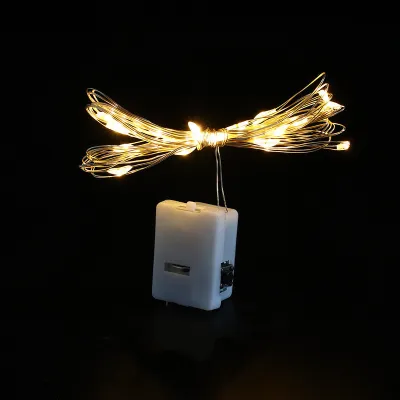
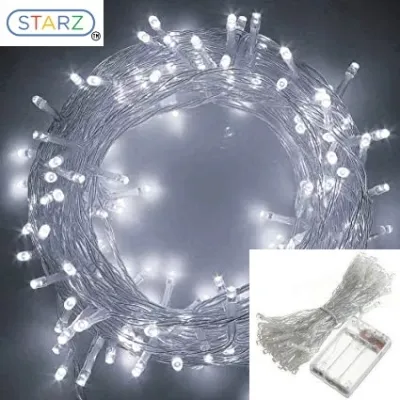
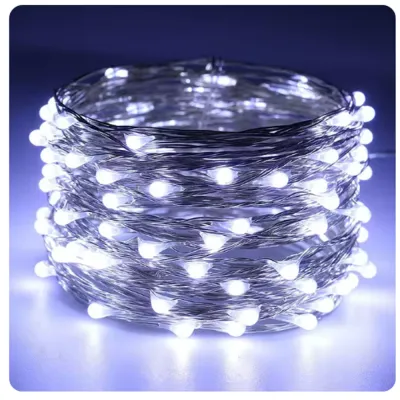
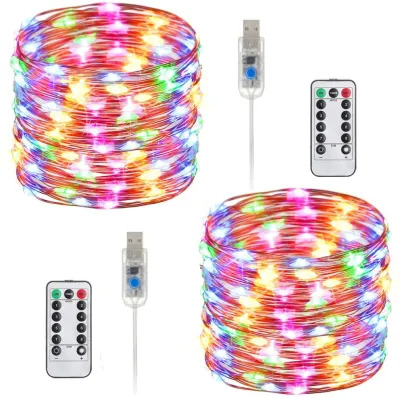
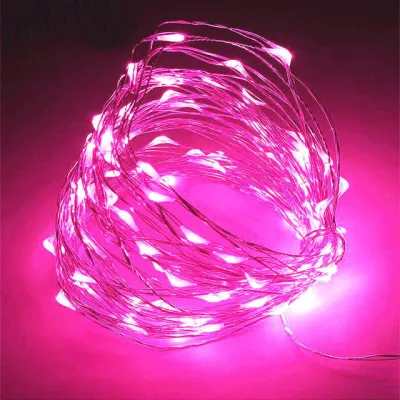
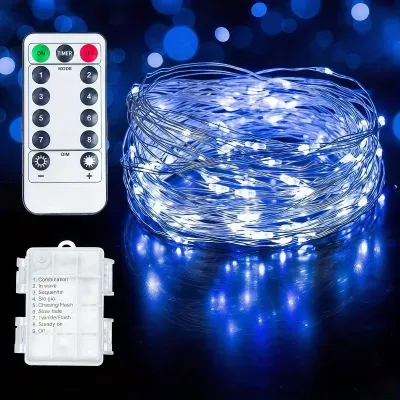
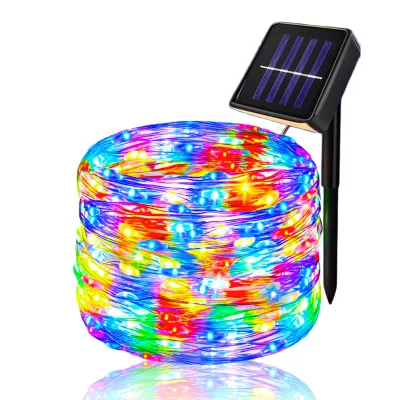
Prices are valid at publication and may change. Please refer to the product page for the latest price.
Adhesive Selection To keep your surfaces pristine, avoid nails, tacks, and standard double-sided foam tapes. Instead, opt for damage-free mounting solutions:
- Removable adhesive hooks and clips: These feature a pull-tab mechanism that stretches the adhesive parallel to the wall, releasing the bond without tearing the paint.
- Transparent plastic clips: Ideal for a seamless look, these blend into the background and hold thin copper or plastic wires securely.
- Mounting putty: A reusable, pliable material that works well on textured surfaces and allows for quick adjustments, though it is best suited for ultra-lightweight wire lights.
- Painter's tape: Useful for temporary layouts or mapping out designs, though not recommended for long-term support.
Layout Planning and Measurements Measure the length of your LED fairy lights and the dimensions of the wall or ceiling area you plan to cover. Map out your design pattern—whether it is a simple horizontal drape, a vertical waterfall, or a complex geometric shape—using a pencil and a measuring tape. Ensure that the layout ends within comfortable reach of a power outlet. Stretching the wire to its absolute limit can damage the delicate internal copper connections and put unnecessary tension on your mounting clips, leading to adhesive failure.
Safety, Electrical, and Environmental Checks Always verify the specifications of your LED fairy lights before installation. Check the voltage requirements (Singapore standard is 230V, 50Hz) and ensure that the power adapter carries a recognized electrical safety certification, such as the local Safety Mark, to prevent electrical hazards. Verify the wattage limits, dimensions, dimming methods, and whether the lights are strictly rated for indoor use.
In humid climates like Singapore, moisture in the air can significantly compromise adhesive bonding. If you are installing lights in a room without consistent air conditioning, ensure the surface is completely dry and free of condensation before applying any adhesive. Additionally, keep in mind that while warm white (typically 2700K to 3000K) or cool white (5000K to 6500K) color temperatures and specific draping patterns alter the visual atmosphere of your room, these are conditional aesthetic preferences rather than universal performance indicators.
Step-by-Step Guide to Mounting Fairy Lights on Walls
Mounting fairy lights on walls is a straightforward process when done systematically. The goal is to distribute the weight evenly while protecting the paint or wallpaper from peeling.

Step 1: Clean the Surface Dust, grease, and fingerprint oils accumulate on walls over time, creating a barrier that prevents adhesives from bonding properly. Wipe down the target areas of the wall using a clean, dry, lint-free microfiber cloth. Avoid using wet liquid cleaners or chemical solvents immediately before applying adhesives, as trapped moisture or chemical residues can weaken the glue. If you must use a damp cloth to remove stubborn dirt, allow the wall to dry completely for at least two to three hours before proceeding.
Step 2: Apply Removable Hooks or Clips Determine the spacing for your clips based on the weight and thickness of your light strand. For lightweight copper wire fairy lights, spacing the clips 40 to 50 centimeters apart is generally sufficient. For heavier, plastic-coated strands, space them 30 centimeters apart to prevent sagging. Remove the backing paper from the adhesive strip, press the clip firmly against the wall, and hold it in place with steady thumb pressure for at least 30 seconds. This pressure activates the adhesive. For the best results, allow the adhesive to cure and bond with the wall for at least one hour (or the duration specified by the manufacturer) before hanging any lights.
Step 3: Secure the Light String Once the adhesive has fully cured, carefully drape the LED fairy lights into the clips. Start from the end closest to the power source and work your way across the design. Always leave a slight amount of slack or “drape” between each clip. If the wire is pulled too taut, temperature fluctuations or minor wall vibrations can create tension, pulling the clips off the wall and potentially tearing the underlying paint.
Step 4: Route the Power Cable Guide the remaining plug wire safely down the wall and along the baseboards or room corners. Use small, removable cable clips to keep the cord flush against the surface. This prevents the cord from hanging loose, which creates an unsightly look and a dangerous tripping hazard that could pull the entire light installation down.
Critical Warning and Manufacturer Instructions Before applying any adhesive product to your wall, always check the applied product’s label and the treated item’s manufacturer instructions. If the instructions conflict, if your wall material is unidentified, or if your specific use case is not covered, stop the installation and consult the manufacturer or a qualified professional. Never use heavy-duty double-sided foam tapes, mounting squares, nails, or metal pushpins on painted drywall or delicate wallpaper. These permanent mounting methods are guaranteed to cause irreversible damage, such as deep plaster gouges or torn paper, when you attempt to remove them.
Step-by-Step Guide to Mounting Fairy Lights on Ceilings
Ceiling installations present unique challenges, primarily due to gravity, the physical strain of working overhead, and the risk of falling objects. Taking the time to execute each step safely ensures a secure and beautiful overhead canopy.
Step 1: Safe Access and Cleaning Working at height requires strict safety precautions. Always use a stable, fully opened step ladder placed on a flat, even floor. Never stand on chairs, tables, or wheeled furniture. Ensure you have a helper nearby to steady the ladder and hand you materials. Before mounting anything, clean the ceiling surface thoroughly. Ceilings tend to accumulate more rising dust, cobwebs, and airborne grease than walls, which can cause adhesives to fail almost instantly. Wipe the surface with a dry microfiber cloth to ensure a clean bonding area.
Step 2: Select Overhead-Suitable Adhesives Because gravity pulls directly downward on ceiling-mounted items, standard flat adhesive tape is rarely sufficient. Use specialized transparent wire clips or ceiling hooks designed specifically for overhead suspension. These hooks typically feature a deeper curve or a closed loop that prevents the wire from slipping out over time.
Step 3: Staggered Application To create a starry night effect or a structured canopy, plan a staggered, zigzag, or curved pattern. Applying your clips in a zigzag layout distributes the weight of the wire evenly across multiple anchor points. This design reduces the load on any single clip, minimizing the risk of a domino-effect failure where one failing hook pulls down the entire strand.
Step 4: Attach and Test Gently thread the fairy lights through the ceiling hooks, keeping a close eye on the tension. Once the lights are in place, plug them into the power source to test the overall visual effect, shadow patterns, and brightness. This allows you to make minor adjustments to the draping before finalizing the placement of all clips. For safety, ensure the power outlet is turned off or isolated while you are actively hanging or adjusting the wires.
Safety Boundary and Component Management Do not hang heavy battery packs, bulky USB controllers, or heavy power adapters directly from the ceiling. The constant downward pull will inevitably cause the adhesive hooks to fail, creating a falling hazard. Instead, secure these heavier components to an adjacent wall, a high shelf, or a sturdy piece of furniture using separate, heavy-duty removable fasteners, leaving only the lightweight wire strand on the ceiling.
Safe Removal and Surface Cleanup
When it is time to take down your lights—whether you are moving out of a rental or changing your seasonal decor—improper removal can undo all your hard work. Follow these steps to ensure your surfaces remain completely undamaged.
Proper Removal Technique Never pull the adhesive strip outward or away from the wall at a 90-degree angle, as this concentration of force will peel off the paint and plaster. Instead, hold the plastic hook gently with one hand to stabilize it. With your other hand, grab the exposed release tab and pull it straight down slowly, keeping the strip parallel to the wall surface. As you pull, the strip will stretch to several times its original length, cleanly releasing its chemical bond without affecting the paint underneath.
Softening Stubborn Adhesive If the adhesive strip feels stuck or does not stretch easily, do not force it. Use a handheld hairdryer set to low or medium heat to gently warm the adhesive for 20 to 30 seconds. The heat softens the polymer chains in the glue, making it pliable and much easier to pull away safely. Keep the hairdryer at least 15 centimeters away from the wall to avoid overheating and bubbling the paint.
Residue Cleanup If any sticky residue remains on the surface, avoid using harsh chemical solvents or abrasive scrubbing pads, which can dull semi-gloss paint or strip matte finishes. Instead, mix a few drops of mild dish soap with warm water and gently wipe the residue with a soft microfiber cloth. For stubborn spots, use a gentle, surface-safe adhesive remover. Always test any cleaner or adhesive remover on a small, hidden area of the wall first to verify that it does not discolor or damage the paint finish.
Storage for Future Use Once the lights are down, avoid tossing them into a drawer where they can tangle. Coil the LED fairy lights loosely around a clean piece of cardboard or a dedicated plastic spool. Secure the ends with twist ties or hook-and-loop straps. Proper storage prevents internal copper wire breakage, ensuring your lights are ready to shine safely during your next project.
Troubleshooting Common Installation Issues
Even with careful planning, minor installation challenges can arise. Use these practical solutions to keep your fairy lights looking their best.
Lights Sagging Between Clips If your light strand sags lower than intended, it can look untidy and place extra strain on the supporting hooks. To fix this, add an extra transparent clip in the exact middle of the sagging section. Alternatively, plan a tighter layout by reducing the distance between your existing hooks.
Adhesive Failing on Textured Walls Flat adhesive strips require a smooth surface to form a strong bond. If your walls have a textured finish, flat strips may fail repeatedly. Switch to a high-quality mounting putty, which can conform to the crevices of textured plaster, or utilize specialized hooks designed with flexible adhesive backings that adapt to uneven surfaces.
Power Cord Reaching Limits Never pull or stretch your fairy light wire to reach a distant outlet, as this can snap the delicate internal conductors or pull your clips off the wall. Instead, use an indoor-rated extension cord that matches the power requirements of your light adapter. Position the connection point safely on the floor or a shelf, ensuring there is no tension on the fairy light wire itself.
Frequently Asked Questions (FAQ)
Can I use regular double-sided tape for LED fairy lights?
Regular double-sided foam tape is designed for permanent bonding applications and should not be used for temporary or damage-free lighting installations. The aggressive adhesives used in standard double-sided tapes cure over time, making them nearly impossible to remove without tearing off layers of paint, drywall paper, or plaster. Furthermore, they often leave behind a thick, sticky residue that is difficult to clean. For a safe, damage-free installation, always choose removable adhesive hooks, transparent clips, or specialized mounting putty designed specifically for clean removal.
Are battery-operated fairy lights better for ceilings?
Battery-operated fairy lights offer the advantage of eliminating long, dangling power cords that need to be routed down to a wall outlet, which can simplify the overhead layout. However, the battery pack itself is heavy and cannot be safely suspended from a ceiling hook without risking a fall. If you use battery-operated lights, you must mount the heavy battery box securely to a wall or shelf. For ceiling installations, USB-powered or low-voltage plug-in LED fairy lights are often more practical, as the lightweight wire can run across the ceiling while the heavier power adapter or controller rests safely near floor level.
Community discussion
Share your experience or ask a question. Comments are reviewed before publication.