
Installing LED light strips is one of the most effective ways to transform your home for the festive season. By placing these flexible lights along key architectural features, you can instantly bathe your living spaces in the traditional warm golds and vibrant emerald greens that define the holidays. A successful installation requires careful planning, proper surface preparation, and a clear understanding of electrical safety to ensure your display remains secure and beautiful throughout the entire month of Syawal.
To achieve a professional, polished look, you need to select the right type of light strip, map out your power sources, and mount the strips using methods that protect your walls from damage. Whether you are decorating a cozy HDB flat corridor, framing a living room archway, or outlining a landed property patio, this guide provides a systematic approach to planning, mounting, powering, and eventually removing your hari raya light setup safely and cleanly.
Planning Your Hari Raya LED Light Layout
Before purchasing any lighting equipment, you must design a clear layout plan. Mapping out your display beforehand helps you determine the exact length of LED strips required, identify the nearest power outlets, and choose the correct specifications for each location.
Products mentioned in this guide
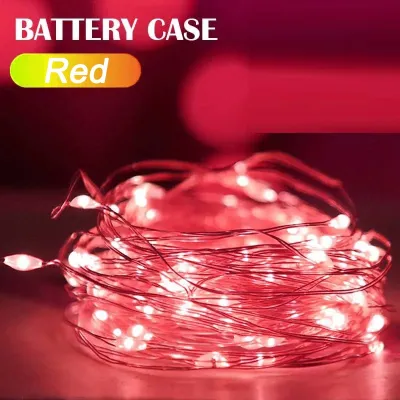
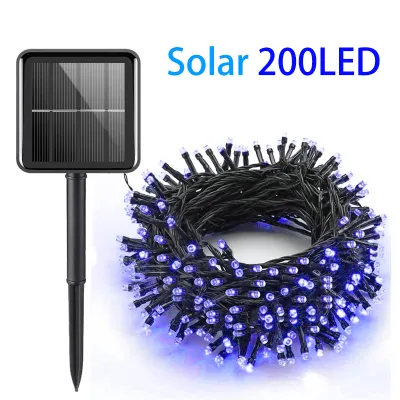
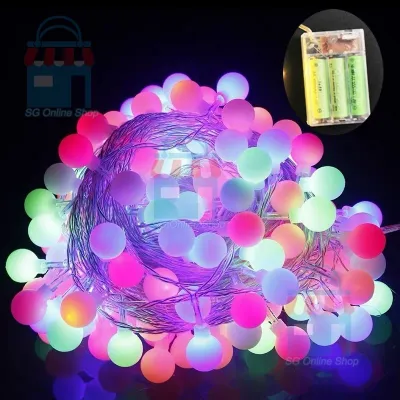
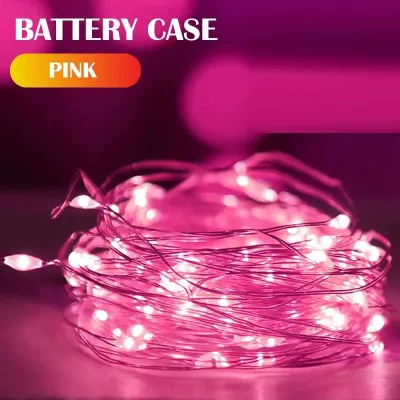
Prices are valid at publication and may change. Please refer to the product page for the latest price.
In Singaporean homes, certain areas serve as perfect backdrops for festive decorations. The main entrance door frame is a primary focal point, welcoming guests with a warm glow during open house visits. Inside, structural elements like living room archways, window perimeters, and the undersides of cabinets offer excellent opportunities for indirect, ambient lighting. You can also use flexible LED strips to shape custom festive motifs, such as stars and crescent moons, on accent walls.
Accurate measurements are critical to avoiding mid-installation delays. Use a physical measuring tape to trace the exact path where you plan to mount the lights, following every corner and turn. When calculating the total length needed, always add a 10% buffer to your final measurement. This extra length accounts for the routing of cables around obstacles, gentle curves, and the inevitable minor adjustments needed to reach your power outlets without stretching the strip.
The installation environment dictates the level of protection your LED strips require against dust and moisture. This protection is measured by the Ingress Protection (IP) rating. For fully indoor areas like bedrooms and living rooms, standard IP20-rated strips are sufficient as they do not require water resistance. However, if you plan to decorate semi-outdoor areas—such as HDB corridors, balconies, or landed property patios—you must use strips with a higher rating, such as IP65 or IP67. These weather-resistant models feature a protective silicone coating that shields the delicate light-emitting diodes from humidity, wind-blown rain, and dust.
Traditional Hari Raya decor relies heavily on a palette of deep emerald greens, warm yellows, and shimmering golds. When shopping for a festive light setup, look for RGB (Red, Green, Blue) or RGBW (which includes dedicated Warm White) LED strips. An RGBW strip is highly recommended because it allows you to transition from vibrant festive colors during celebrations to a cozy, functional warm white for everyday use after the holiday season. Note that decorative styles and specific color temperatures are conditional aesthetic preferences rather than universal performance requirements.
Essential Tools and Materials for Installation
Having all your tools and materials ready before you begin ensures a smooth, uninterrupted installation process. Using the correct accessories also prevents damage to your home’s surfaces and ensures the electrical components operate within safe limits.

Your core setup consists of the LED light strips themselves, a compatible controller (for adjusting colors and patterns), and a dedicated power adapter. Ensure that all components are compatible with Singapore’s standard 230V electrical system. When choosing a power adapter, look for models equipped with a standard Type G three-pin plug, which is the standard socket type used across Singapore. Additionally, verify that the power adapter carries recognized electrical safety certifications, such as the local Safety Mark, to ensure it has undergone rigorous testing for fire and electrical hazards.
The adhesive backing on LED strips requires a completely clean surface to bond effectively. Gather high-purity isopropyl alcohol (rubbing alcohol) and a lint-free microfiber cloth. Standard household spray cleaners often leave behind a thin chemical residue that prevents adhesives from sticking long-term, so isopropyl alcohol is the preferred choice for degreasing and cleaning the mounting surface.
While many LED strips come with pre-applied adhesive tape, this tape may not hold securely on textured walls, rough wood, or in humid environments. To ensure a long-lasting and professional finish, consider the following accessories:
- Aluminum Channels: These metal tracks house the LED strips and feature a frosted diffuser cover. They protect the strip, dissipate heat, and eliminate harsh "hot spots" of light, creating a smooth, neon-like glow.
- Mounting Clips: Small plastic or silicone clips that screw or stick to the surface, holding the strip firmly in place at regular intervals.
- Heavy-Duty Double-Sided Tape: Useful for reinforcing the strip's built-in adhesive on challenging surfaces, or for securing mounting channels without drilling.
- Cable Ties and Adhesive Clips: Essential for securing loose power cords and keeping them flush against walls or baseboards.
Keep a measuring tape, a pencil for marking your layout, and a pair of sharp scissors nearby. If your chosen LED strip model is designed to be cut to length, a sharp pair of scissors is necessary to make clean cuts through the copper connection pads without crushing the internal circuitry.
Step-by-Step Guide to Mounting Your Light Strips
With your layout planned and tools gathered, you can begin the physical installation. Following a systematic mounting process ensures that your lights look neat, stay securely attached, and function perfectly without electrical issues.
Preparing the Surface
The most common reason LED light strips fall down is poor surface preparation. Dust, grease, and moisture prevent the adhesive from forming a permanent bond with the wall.
Begin by wiping down the entire mounting path with a microfiber cloth dampened with isopropyl alcohol. This process removes invisible oils, airborne dust, and fingerprint residue. Allow the surface to dry completely, which typically takes only a few minutes as alcohol evaporates quickly.
Do not apply adhesive backing directly to freshly painted walls, delicate wallpaper, or heavily textured surfaces like brick or rough plaster. Fresh paint must cure for at least three to four weeks before any adhesive is applied, or the weight of the strip will peel the paint right off. For wallpapered or textured surfaces, use alternative mounting methods such as lightweight aluminum channels secured with small screws, or specialized mounting clips designed for delicate surfaces.
Mounting and Routing the Strips
Once the surface is clean and dry, you can begin mounting the LED strips. This step requires patience to avoid damaging the delicate copper pathways inside the flexible strip.
Start at the end closest to your power outlet. Peel away a small section of the adhesive backing—about 30 to 50 centimeters at a time. Press the strip firmly against the surface using your thumb, applying steady pressure for at least 10 seconds to activate the pressure-sensitive adhesive. Slowly work your way along the planned path, peeling and pressing as you go. Avoid pulling or stretching the strip, as this can break the internal electrical connections.
Navigating 90-degree corners requires special care. Never bend or crease an LED strip sharply at a right angle, as this will permanently damage the internal circuit board. Instead, use one of two methods:
- Corner Connectors: Cut the strip at the designated cut line and use solderless L-shaped snap-on connectors to join the two segments at a perfect 90-degree angle.
- Folding Loops: Create a small, loose loop with the strip at the corner, allowing it to curve gently without creasing. Secure the loop with a mounting clip.
If the strip is longer than your layout, you can cut it to the exact length required. However, you must only cut along the manufacturer’s designated cut lines. These lines are clearly marked with a scissor icon or a set of exposed copper pads. Cutting anywhere else will sever the electrical circuit, rendering that entire section of the strip useless.
Hiding Cables and Power Bricks
A professional-looking installation hides all unsightly wires, controllers, and bulky power adapters from plain sight, keeping the focus entirely on the beautiful glow of your festive lights.
Route extension cables and power cords along the top of baseboards, behind large furniture, or inside paintable plastic cable management channels. These channels stick directly to the wall and can be painted to match your wall color, making them virtually invisible. Secure any loose hanging wires with adhesive cable clips spaced every 30 to 40 centimeters to prevent sagging and tripping hazards.
Place the controller and power adapter in a discreet, well-ventilated location. Power adapters generate heat during operation and must never be tucked into tight, enclosed spaces, stuffed behind heavy curtains, or covered with decorative fabrics or drapes. Keep them elevated off the floor, especially in areas where wet cleaning occurs, and ensure they remain easily accessible so you can safely switch off the power when leaving the house or going to bed.
For complex installations involving high-altitude mounting, semi-outdoor wiring exposed to heavy rain, or any modification to your home’s fixed electrical wiring, always isolate the main power at the distribution board, consult the manufacturer’s detailed instructions, and hire a licensed electrical worker to perform the work safely.
Powering Up and Setting Festive Smart Scenes
Once your lights are physically mounted and the cables are neatly managed, it is time to connect the electrical components and configure your festive lighting effects.
Before plugging your lights into the wall, verify that your power adapter is capable of handling the total electrical load. The wattage rating of your power adapter must meet or exceed the cumulative wattage of all connected LED strips. For example, if you are running two 24-watt strips together, your power adapter must be rated for at least 48 watts (ideally with a 20% safety margin, meaning a 60-watt adapter is preferred).
Connecting too many strips in a single continuous line from a weak power source leads to voltage drop. This phenomenon causes the lights at the far end of the strip to appear noticeably dimmer, flicker, or shift to incorrect colors. If you experience voltage drop, you must use a more powerful adapter, split the run into shorter parallel segments using a multi-channel controller, or introduce a power injection cable to deliver power directly to the far end of the strip.
If you are using smart LED strips, plug the power adapter into your wall outlet and put the controller into pairing mode. Open the manufacturer’s mobile app on your smartphone, ensure your phone is connected to your home’s Wi-Fi network, and follow the on-screen instructions to pair the device. Once paired, you can link the lights to smart home ecosystems for convenient voice control.
Use the mobile app’s color wheel and customization settings to design dynamic lighting scenes that match the spirit of Hari Raya. You can set up a slow, alternating pattern of deep emerald green and warm golden yellow, or configure a gentle “breathing” or pulsing effect where the lights slowly fade in and out, creating a calm, welcoming ambiance for visiting relatives. If your smart strip features a built-in microphone, enable the music synchronization mode during your open house gatherings to allow the lights to pulse gently in time with festive Hari Raya songs.
To save energy and extend the lifespan of your LED strips, configure automated schedules within the smart app. Set the lights to turn on automatically at sunset—around 7:00 PM—when guests are likely to arrive. Program them to turn off late at night, such as midnight or 1:00 AM, after visiting hours have ended and the household has gone to sleep.
Electrical Safety and Damage-Free Removal Tips
Festive decorations should bring joy, not safety hazards or costly home repairs. Practicing basic electrical safety and knowing how to remove your lights properly at the end of the festive season will protect both your family and your home.
During Hari Raya, it is common to have multiple decorative items running simultaneously. However, you must avoid overloading your wall sockets. Do not daisy-chain multiple extension blocks or plug several high-wattage appliances into a single multi-way adapter. Keep all power adapters and controllers completely dry; if you are decorating a semi-outdoor HDB corridor or balcony, ensure the power connections are housed inside a weatherproof, IP-rated electrical junction box.
During the first few hours of continuous operation, physically inspect your LED strips and power adapter. It is normal for them to feel slightly warm to the touch, but they should never feel hot. If any component feels uncomfortably hot, smells of burning plastic, or starts to flicker, immediately switch off the power at the wall socket, unplug the system, and inspect the connections for short circuits.
When the festive season concludes and it is time to take down your decorations, rushing the removal process can tear off patches of wall paint or damage your furniture’s finish. Follow this gentle, step-by-step method to remove adhesive LED strips cleanly:
- Warm the Adhesive: Plug in a standard handheld hairdryer and set it to a low or medium heat setting. Hold the hairdryer a few centimeters away from the start of the LED strip, moving it back and forth for 20 to 30 seconds. The gentle heat will soften the acrylic adhesive backing, making it pliable.
- Peel at a 45-Degree Angle: Slowly and gently peel the strip away from the wall at a shallow 45-degree angle. Do not pull the strip straight out at a 90-degree angle, as this exerts maximum upward force on the paint layer.
- Apply Heat Progressively: Work in small sections. As you peel, move the hairdryer ahead of your hand to warm the next segment before pulling.
- Clean Sticky Residue: If any sticky adhesive residue remains on the surface, do not scrub it with abrasive sponges. Instead, apply a small amount of a gentle adhesive remover or eucalyptus oil to a microfiber cloth and rub the spot gently. Always test the solvent on a small, hidden area of the wall first to ensure it does not discolor or dissolve the paint.
Frequently Asked Questions (FAQ)
Can I cut LED light strips to fit specific lengths?
Yes, most LED light strips can be cut to fit your spaces, but only along the manufacturer’s designated cut lines, which are typically marked with a small scissor icon or vertical copper pads. Cutting anywhere else breaks the internal electrical circuit, causing the segment after the cut to stop working. To reuse the cut-off segment later, you must solder wires onto the copper pads or use specialized solderless gapless connectors to link them to a new power source.
Will LED light strips damage my wall paint?
The risk of damage depends on the paint quality, how well it has cured, and the adhesive strength. On high-quality, fully cured paint, LED strips can often be removed cleanly, especially when using a hairdryer to soften the adhesive. However, on older or poorly primed walls, the strong adhesive is highly likely to peel the paint. To avoid this risk, mount your strips inside lightweight aluminum channels secured with removable mounting putty, or use low-tack double-sided tape.
Why is only half of my LED light strip turning on?
If only the first half of your LED strip lights up, the most common cause is a loose or damaged connection along the strip, particularly at a corner connector or joint. Inspect the point where the light stops to check for visible cracks, sharp creases, or loose pins. Another common cause is an inadequate power supply. If you have connected multiple strips together without a sufficiently powerful adapter, the voltage drop prevents the electrical current from powering the LEDs at the far end. Verify that your power adapter’s wattage matches or exceeds the total wattage requirements of all connected strips.
Community discussion
Share your experience or ask a question. Comments are reviewed before publication.