
Installing LED light strips is a highly effective way to transform your living space, adding depth, warmth, and modern ambiance to any room. Whether you want to highlight architectural features, create under-cabinet task lighting, or set a vibrant mood behind a television, a successful installation relies on careful planning and precise execution. By understanding the electrical requirements, preparing the mounting surface, and following a systematic mounting process, you can achieve a seamless, professional-grade finish that enhances your home’s interior design.
In Singapore’s residential environments—ranging from high-rise apartments with concrete walls to modern condominiums with gypsum drywall—factors like humidity and surface texture play a significant role in how well your lights adhere. Taking the time to select the correct specifications and prepare your space ensures that your decorative lighting remains secure and functional for years to come.
Planning Your LED Light Strip Layout and Requirements
Before purchasing any lighting equipment, accurately measure the dimensions of the installation area. Use a metal measuring tape to trace the exact path where the light strip will run, noting any sharp corners or obstacles. If your layout requires navigating 90-degree turns, plan to use flexible corner connectors rather than bending the strip itself, as sharp folds can damage the internal circuitry.
Products mentioned in this guide
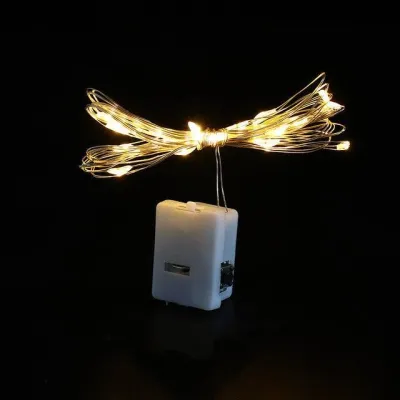
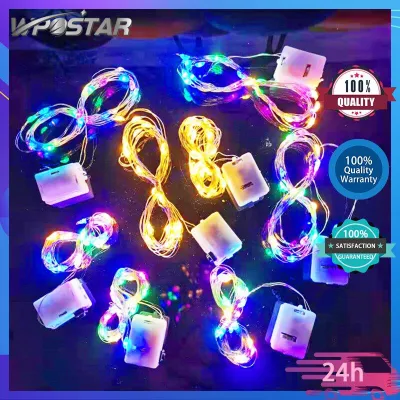
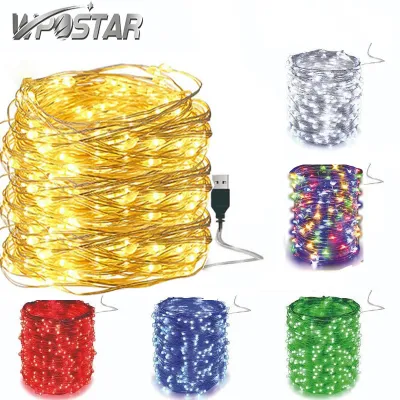
![[V.Home] *Any 2 off $2* LED Fariy String Lights USB w/Remote for Gift Party Wedding Christmas Festival Decoration](https://img.lazcdn.com/g/p/3642250970409f384190a5dde2dfc56b.jpg_400x400q80.jpg_.webp)
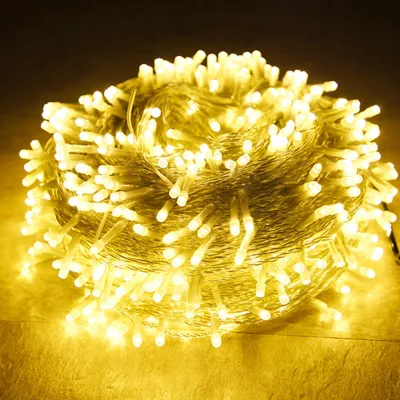
Prices are valid at publication and may change. Please refer to the product page for the latest price.
Electrical compatibility is the next critical factor to verify on the product labels. Most LED light strips operate on low-voltage direct current, typically 12V or 24V DC, requiring a compatible power adapter to step down the standard 230V AC mains electricity found in Singapore homes. Calculate the total wattage of your planned run by multiplying the strip’s wattage per meter by the total length; your power supply must have a wattage capacity that exceeds this total by at least 20% to prevent overheating. Additionally, ensure the controller is compatible with your existing smart home protocols.
The physical characteristics of the mounting surface will determine the longevity of the installation. Smooth, non-porous surfaces such as sealed wood, glass, metal, and smooth painted drywall are ideal for the adhesive backing. Conversely, highly textured plaster, unfinished brick, damp walls, or freshly painted surfaces will not hold the adhesive securely. If you must install lights on these challenging surfaces, plan to use mounting channels or mechanical clips instead of relying solely on the adhesive tape.
Gathering Tools and Preparing the Installation Surface
Having the right tools on hand before you begin will streamline the installation process. Gather a reliable measuring tape, sharp scissors or a utility knife for cutting the strip at designated points, and cleaning supplies such as isopropyl alcohol and a microfiber cloth. For semi-permanent or heavy-duty installations, keep plastic mounting clips, small screws, or high-strength double-sided mounting tape nearby to reinforce areas prone to peeling.

Proper surface preparation is the single most important step to guarantee that the adhesive backing bonds permanently. Dust, grease, and airborne oils naturally accumulate on walls and cabinets, creating a barrier that prevents the adhesive from sticking. Wipe down the entire installation path thoroughly with isopropyl alcohol, which removes grease without leaving a residue, and allow the surface to dry completely. In Singapore’s humid climate, even a small amount of trapped moisture can compromise the bond, so ensure the area is dry to the touch before proceeding.
Safety must remain your top priority throughout the preparation phase. Before handling any electrical components, mounting controllers, or connecting adapters, ensure the power outlet or circuit breaker dedicated to the installation area is switched off. If your project involves connecting the light strips to fixed household wiring or installing them in elevated recessed ceilings, always isolate the power at the main distribution board and follow the manufacturer’s safety instructions explicitly.
Step-by-Step Installation Process for LED Light Strips
Begin the physical installation by unrolling the entire LED light strip from its plastic spool and connecting it to the controller and power adapter. Plug the adapter into a power outlet to conduct a brief functionality test before mounting the strip. This step allows you to verify that all light-emitting diodes illuminate correctly, the colors are consistent, and the remote or smart controller pairs successfully. Do not leave the strip powered on while fully coiled on the spool for more than a few seconds, as heat can build up rapidly and damage the components.
Once you confirm the strip is fully functional, disconnect the power and prepare to mount it. Start at the end closest to your power source, gradually peeling away a small section of the adhesive backing—about 30 to 50 centimeters at a time. Press the strip firmly onto the prepared surface using flat, even pressure with your thumb or fingers, moving slowly along your planned path. Avoid pulling or stretching the strip during application, as physical tension can tear the delicate copper traces inside the flexible printed circuit board.
When you reach the end of a run or need to navigate a corner, you must make cuts only at the designated cut lines. These lines are clearly marked on the strip with a scissor icon or vertical copper solder pads, typically spaced every few centimeters. Cutting anywhere else will permanently disable the LEDs in that section. To join two cut sections or navigate a sharp corner, slide the cut ends into a manufacturer-approved solderless connector, ensuring the positive (+) and negative (-) markings on the strip align perfectly with the corresponding markings on the connector.
After securing the strip along the entire path, route the power cable discreetly to the power outlet. Avoid bending the power cable at extreme angles or pinching it behind heavy furniture, which can cause wire fatigue or short circuits. Mount the controller and power brick in a well-ventilated area using mounting tape or brackets, ensuring they are not covered by fabrics or placed in tight, unventilated enclosures where heat can accumulate. Finally, plug the power adapter into the outlet, restore power, and enjoy your newly installed decorative lighting.
Troubleshooting Common Installation Issues
Even with careful installation, you may encounter issues such as peeling strips or weak adhesion over time. If a section of the light strip begins to sag or pull away from the surface, avoid trying to re-stick the worn adhesive. Instead, clean the area behind the strip and apply small plastic mounting clips or a thin strip of high-strength, heat-resistant double-sided tape to secure the loose section. This is particularly common in areas exposed to minor temperature fluctuations, such as behind television screens or near kitchen appliances.
If a section of your light strip fails to light up or begins to flicker, the issue is usually located at a cut point or a connector. Turn off the power and inspect the nearest solderless connector to ensure the copper pads on the strip are making clean, direct contact with the metal pins inside the connector. If the entire strip is flickering or dimming, verify that your power supply is not overloaded; a power adapter with insufficient wattage capacity will struggle to deliver stable power, leading to erratic behavior or automatic thermal shutdown.
Smart connectivity issues, such as a failure to pair with a mobile application or home automation system, are often resolved by resetting the controller. Refer to the manufacturer’s manual for the specific button sequence or power-cycling pattern required to trigger pairing mode. Ensure your home wireless router is broadcasting on a compatible frequency, as many smart light controllers require a standard 2.4 GHz network rather than a 5 GHz network to establish a stable connection.
Advanced Tips for Enhancing Your Lights Decoration
To elevate your lights decoration from a simple DIY project to a professional-grade architectural feature, consider installing the strips inside aluminum channels equipped with frosted diffusers. These channels protect the delicate LED components from dust and physical contact while scattering the light evenly. The frosted cover eliminates the harsh, dotted “hotspots” typical of bare LED strips, replacing them with a smooth, continuous glow that mimics expensive custom neon or architectural lighting.
Layering different color temperatures and utilizing smart scenes can dramatically alter the mood and functionality of your living space. For instance, you can program a warm white setting (around 2700K) to create a cozy, relaxing atmosphere in the evening, and transition to a cooler, brighter white (around 4000K) during the day to enhance focus and productivity. Integrating these settings into smart scenes allows you to change the entire room’s aesthetic with a single voice command or automated schedule.
A clean, professional installation requires keeping all supporting hardware completely out of sight. Conceal bulky power bricks, controllers, and excess wiring behind furniture, underneath cabinets, or inside dedicated, ventilated junction boxes. If you are running cables along a wall to reach an outlet, use paintable cable raceways that match your wall color to blend the wiring seamlessly into the background, ensuring the focus remains entirely on the beautiful light effect.
Frequently Asked Questions (FAQ)
Can I install LED light strips in high-humidity areas like bathrooms?
Yes, but you must select a product with the appropriate Ingress Protection (IP) rating to ensure safety and durability. Standard indoor light strips usually carry an IP20 rating, which offers no protection against moisture and will quickly fail or short-circuit in a damp environment. For bathrooms, vanity mirrors, or semi-outdoor balconies, look for strips rated IP65 or higher, which are encased in a protective silicone sleeve to resist splashes and steam. For any installations involving fixed wiring, mains power connections, or placement near water sources, always consult a qualified electrician to comply with local electrical safety standards.
How do I safely extend or connect multiple LED light strips?
To safely extend your lighting setup, you must first verify that the total wattage of the combined strips does not exceed the maximum output capacity of your power adapter. Exceeding this limit can cause the adapter to overheat or fail. Always use manufacturer-approved solderless connectors designed specifically for your strip’s width and pin configuration, avoiding temporary solutions like electrical tape or hand-twisted wires. Be aware of voltage drop, which causes the light to become dimmer or change color toward the end of a long run; if your total run exceeds the manufacturer’s recommended maximum continuous length, you will need to install additional power injection points or use a higher-capacity power supply.
Community discussion
Share your experience or ask a question. Comments are reviewed before publication.