
Installing LED strip diffusers in a dimmable lighting setup requires mounting a protective aluminum channel, securing a compatible dimmable LED strip inside, and snapping or sliding a frosted or milky diffuser cover into place. To achieve smooth, flicker-free dimming, you must pair your LED driver and dimmer switch using matching protocols, such as TRIAC or Pulse Width Modulation (PWM). This guide covers the physical mounting steps, electrical wiring sequence, and safety standards required to complete this installation successfully.
Preparation: Tools and Dimmer Compatibility Checks
Having the correct tools on hand prevents installation delays and ensures clean cuts on your aluminum profiles. Prepare a drill with appropriate driver bits, mounting screws, wire strippers, a digital multimeter, and a fine-toothed hacksaw or miter saw. For safety and precision, a voltage tester and safety goggles are also essential when preparing the mounting site and handling electrical connections.
Compatibility between your dimmer switch and the LED driver is the most critical factor in a successful dimmable installation. Traditional wall dimmers typically use TRIAC (phase-cut) dimming, which modifies the incoming alternating current (AC) signal. If you are using a standard wall dimmer, you must pair it with a TRIAC-dimmable LED driver that can interpret this phase-cut signal and convert it into a steady, dimmable direct current (DC) output for the LED strip. For low-voltage setups controlled via secondary controllers, PWM dimming is often used to rapidly cycle the DC power on and off, adjusting perceived brightness without shifting the light’s color temperature.
Products mentioned in this guide
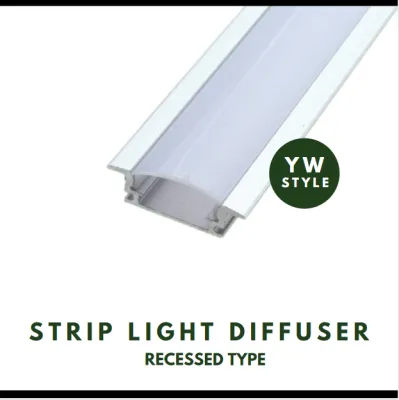
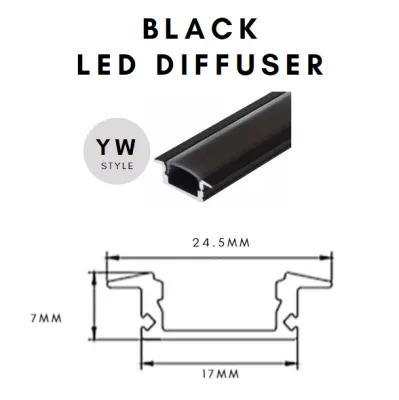
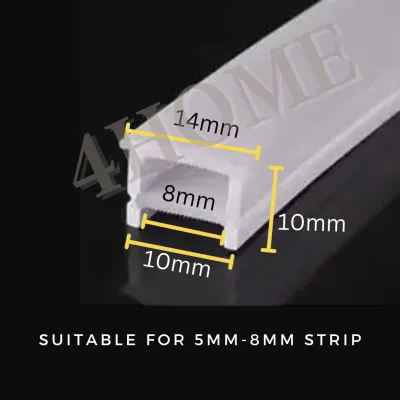
![[Local Seller] LED Strip Light Aluminium Profile Diffuser Corner With Milky Diffuser Light Housing](https://img.lazcdn.com/g/p/c4dcac9dc69ca1857fcdfc77852219a6.jpg_400x400q80.jpg_.webp)
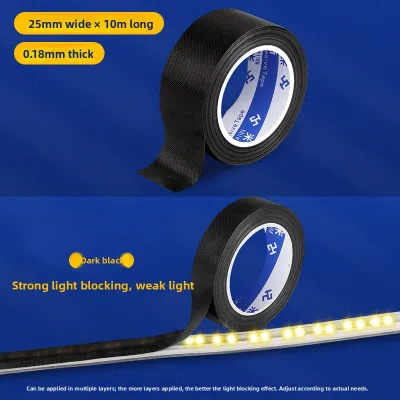

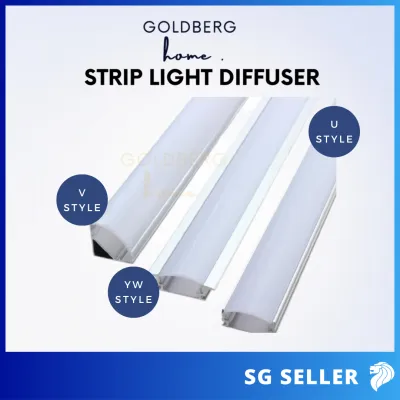
Prices are valid at publication and may change. Please refer to the product page for the latest price.
Calculating the total electrical load prevents system overloads and premature driver failure. Determine the total wattage of your LED strip run by multiplying the manufacturer’s rated wattage per meter by the total length of the installation. For example, a 5-meter strip rated at 14.4 watts per meter requires a minimum of 72 watts of power. Always apply the 80% rule, meaning your LED driver’s maximum capacity should be at least 20% higher than the calculated load; in this scenario, a driver rated for 90 watts or higher is ideal.
Before initiating any physical or electrical work, you must isolate the power source. Locate your home’s main distribution board (DB box) and switch off the circuit breaker dedicated to the lighting zone you are working on. Use a reliable digital multimeter or a non-contact voltage detector at the installation site to verify that the wires are completely dead before touching any electrical components.
Mounting the Aluminum Channel and LED Strip Diffuser
Proper surface preparation ensures that your aluminum channels remain securely attached over time. Clean the mounting surface thoroughly with isopropyl alcohol or a mild degreaser to remove dust, oil, and drywall residue. Allow the surface to dry completely, and verify that the path is flat and free of structural protrusions that could warp the aluminum profile.

To mount the aluminum channels, measure the installation run carefully and mark the cut lines on the metal profiles. Secure the channel in a vice and use a fine-toothed hacksaw or a miter saw equipped with a metal-cutting blade to cut the aluminum to the required length. Once cut, file down any sharp burrs at the ends of the channel to prevent them from cutting into the LED strip or your fingers during installation. Secure the channel to the surface using the provided mounting clips and screws, or apply high-quality, heat-resistant double-sided mounting tape if drilling is not an option.
When preparing the LED strip, peel back the adhesive backing in small, manageable sections rather than all at once. Press the strip firmly and evenly into the center of the aluminum channel, paying close attention to the solder joints and wire connectors. Ensure that any clip-on connectors sit flat and do not create elevated bumps, as these can press against the diffuser cover or create visible dark spots in your finished lighting run.
Installing the diffuser cover requires patience to avoid cracking the plastic material. Align one end of the acrylic or polycarbonate cover with the start of the aluminum channel, then gently press down until you hear or feel it snap into the groove. Work your way down the entire length of the channel, applying even pressure with your thumbs. Selecting a milky or frosted diffuser cover will effectively blend the individual LED light points into a continuous, dot-free glow, whereas a clear cover will provide physical protection but will not eliminate visible hotspots.
Wiring the Dimmer Switch and LED Power Supply
Understanding the distinction between high-voltage and low-voltage connections is essential for electrical safety. The incoming mains power supply in Singapore operates at 230V AC, which is highly dangerous if mishandled. The LED driver acts as a safety barrier, converting this high-voltage AC power into a safe, regulated low-voltage DC output (typically 12V or 24V) suitable for powering the LED strips.
The wiring sequence must follow a strict, logical path to ensure the dimming signals are processed correctly. Connect the incoming 230V AC mains supply to the input side of the wall dimmer switch. Run the output from the dimmer switch to the AC input terminals (Live and Neutral) of your dimmable LED driver. Finally, connect the low-voltage DC output terminals (Positive and Negative) of the driver directly to the corresponding input wires of the LED strip inside the channel.
In Singapore, strict regulatory boundaries govern all domestic electrical work. Any fixed electrical wiring involving the 230V mains supply must be performed or verified by a Licensed Electrical Worker (LEW) to comply with the Energy Market Authority (EMA) regulations and SS 638 standards. Attempting to wire mains-voltage switches without proper licensing can void your home insurance and violate local safety laws.
If you encounter unclear wire colors, complex multi-way switching configurations, or if you are installing lighting in damp environments like bathrooms or outdoor patios, stop work immediately. Damp areas require specialized IP-rated enclosures and drivers to prevent moisture ingress. Consult a qualified professional to inspect your setup and complete the high-voltage connections safely.
Testing the Setup and Troubleshooting Flicker or Buzzing
Once all physical and electrical connections are secure, perform a systematic power-on test to verify the system’s performance. Before turning the main circuit breaker back on, set your wall dimmer switch to its lowest brightness setting. Restore power at the breaker, turn on the switch, and slowly rotate or slide the dimmer control up to its maximum level, observing the light output for any inconsistencies.
If you experience flickering or buzzing, use the following troubleshooting steps to identify and resolve the root cause:
- Flickering at Low Brightness: This is commonly caused by a mismatch between the dimmer switch and the dimmable driver, or because the electrical load is below the dimmer's minimum operating threshold. Check if your dimmer has a physical trim pot (a small adjustment dial) on the back or side of the switch body. Adjust this dial to raise the minimum dimming threshold until the flickering stops.
- Audible Buzzing or Humming: Buzzing typically indicates that the rapid switching frequency of an incompatible TRIAC dimmer is vibrating the internal magnetic components of the LED driver. Verify that both the dimmer and the driver are explicitly rated for LED compatibility, and ensure the driver is not overloaded or severely underloaded.
- Ghosting (LEDs glowing when turned off): This occurs when a small amount of leakage current flows through the dimmer switch even when it is in the "off" position. Installing a dummy load resistor or switching to a high-quality dimmer that utilizes a neutral wire connection can eliminate this residual current.
Upgrading to Smart or Wireless Dimming Controls
If you want to avoid modifying your existing 230V mains wall switches, smart or wireless dimming controls offer an excellent alternative. These systems utilize smart LED controllers that operate on Wi-Fi, Zigbee, or Bluetooth protocols, or standard Radio Frequency (RF) wireless receivers. They are wired entirely on the safe, low-voltage DC side of the circuit, positioned directly between a standard non-dimmable power supply and the LED strip.
By keeping the high-voltage mains wiring untouched, you eliminate the need for complex wall switch replacements or professional electrical modifications. This low-voltage control method allows you to adjust brightness smoothly via smartphone apps, physical wireless remotes, or voice assistants. Additionally, using a smart controller unlocks advanced features such as automated scheduling, integration with smart home ecosystems, and color temperature tuning if you install compatible multi-channel LED strips.
Frequently Asked Questions (FAQ)
Can I cut the aluminum channel and diffuser cover to size?
Yes, both components can be cut to fit your specific space. Cut the aluminum channel first using a fine-toothed hacksaw or a miter saw equipped with a metal-cutting blade. To prevent the plastic diffuser cover from cracking or splintering, insert it into the channel and cut both simultaneously, or score the plastic cover deeply with a utility knife before snapping it cleanly along the line.
Why do my dimmable LED strips buzz or flicker at low brightness?
Buzzing and flickering are usually caused by an electrical mismatch between the wall dimmer and the LED driver, or by an insufficient electrical load. Many traditional dimmers require a high minimum wattage to operate stably, which highly efficient LED strips fail to meet. To resolve this, adjust the dimmer’s minimum brightness trim setting, or upgrade to a dedicated LED-compatible dimmer and a matching dimmable driver.
Community discussion
Share your experience or ask a question. Comments are reviewed before publication.