
Upgrading your closet with dedicated wardrobe lighting transforms a dark, cluttered space into a highly functional, organized zone. In many Singapore apartments, built-in wardrobes are designed to maximize vertical space, often reaching all the way to the ceiling. This layout can create deep, shadowed corners that standard bedroom ceiling lights cannot reach, making dedicated wardrobe lighting highly beneficial. The installation process depends heavily on the power source you select, ranging from simple adhesive-backed wireless pucks to sophisticated hardwired track systems. Achieving a clean, safe, and reliable setup requires matching the fixture to your wardrobe’s structure, preparing the mounting surfaces correctly, and respecting the boundaries of electrical safety.
Determine the Most Suitable Power Source for Your Wardrobe Light
Selecting the right power source is the first step in planning your wardrobe lighting project. Battery-operated or rechargeable LED lights offer the highest level of convenience and are ideal for renters or shallow wardrobes where drilling is restricted. These fixtures typically use lithium-ion batteries and mount using adhesive magnetic strips, allowing you to remove them easily for recharging. While they eliminate the need for wiring, they do require regular maintenance to keep them charged, making them less practical for high-traffic closets.
Plug-in LED strips or puck lights provide a reliable, continuous power supply without the need for battery maintenance. These systems are excellent for wardrobes located near an existing wall outlet. The primary challenge with plug-in options is cable management, as you must route the power cord out of the wardrobe neatly, which may require drilling a small, discreet hole in the back panel.
Products mentioned in this guide
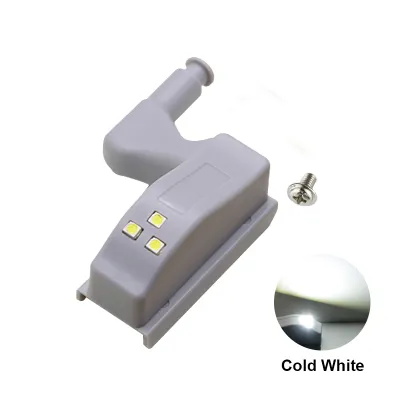
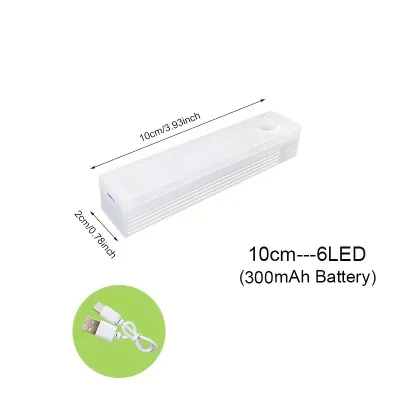
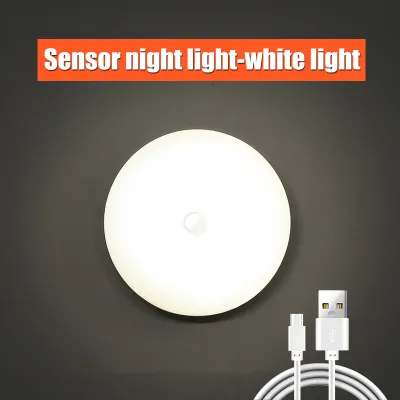
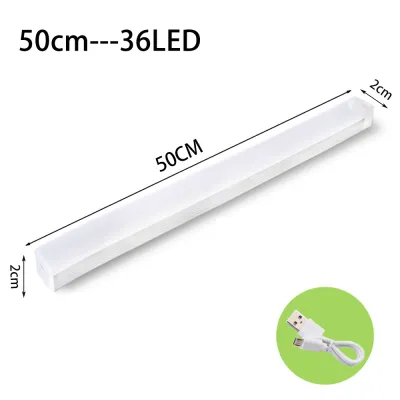
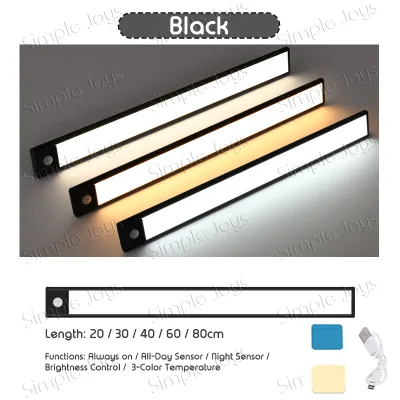
![🔥[SG STOCK]Motion Sensor Led Light Usb Charging Square Lamp for Bedroom Kitchen Stair Hallway Wardrobe Cupboard Lighting](https://img.lazcdn.com/g/p/f428d140fe987d3205b9a836161d62d2.jpg_400x400q80.jpg_.webp)
Prices are valid at publication and may change. Please refer to the product page for the latest price.
Hardwired spot or track lights offer a seamless, integrated look that can be connected to door-activated microswitches or smart home controllers. This option is highly durable and provides consistent, high-quality illumination, but it requires professional electrical integration. Hardwired systems are best planned during a home renovation or wardrobe build, as running cables behind walls is highly invasive.
Before choosing a fixture, evaluate your wardrobe’s construction material. Solid wood offers excellent screw retention but requires pre-drilling to prevent splitting. Medium-density fibreboard (MDF) and particle board are softer and can strip easily, meaning you must use specialized wood screws or light-duty anchors. Glass or mirrored wardrobes rely entirely on high-quality adhesives, requiring meticulous surface preparation to prevent the fixtures from falling.
Gather the Necessary Tools and Materials
Having the correct tools on hand before you begin ensures a smooth, safe, and efficient installation process. For basic mounting, you will need a measuring tape, a pencil for marking positions, and a spirit level to ensure your fixtures are perfectly aligned. A spirit level is crucial even inside a wardrobe, as crooked light strips or misaligned tracks can ruin the visual appeal of the closet.

If you are mounting fixtures with screws, prepare a drill with appropriate wood or masonry drill bits, along with a manual screwdriver to avoid overtightening. For adhesive-based installations, gather isopropyl alcohol and a clean microfiber cloth to prepare the surfaces.
For plug-in and hardwired setups, additional tools are necessary. Keep adhesive-backed cable clips or conduit channels ready to secure loose wires. If you are working near any existing electrical wiring, a non-contact voltage tester is mandatory to verify that the power is completely off before you begin. Always review the manufacturer’s product manual before starting, as it will specify unique tool requirements, clearance distances from fabrics, and maximum wattage limits.
Step-by-Step Installation Process
Mounting Battery-Operated or Rechargeable Lights
Wireless lighting solutions offer a straightforward, drill-free setup process that prioritizes ease of use. The key to a long-lasting adhesive bond is thorough surface preparation. Dust, lint, and manufacturing residues on laminate or wood surfaces will cause adhesive tape to fail within days. Clean the mounting area thoroughly with isopropyl alcohol and let it dry completely before applying any adhesive. Given the high humidity levels in Singapore, standard double-sided tape can degrade quickly, so opt for moisture-resistant, heavy-duty mounting tapes to ensure a secure bond.
Next, determine the optimal placement for your motion sensors. For hinged doors, place the sensor near the top front corner where the door swings open. For sliding doors, position the sensor so that sliding either door open triggers the light immediately without creating a blind spot. Avoid placing sensors where they can be triggered by external room movement, which would drain the battery unnecessarily.
Once the position is marked, apply the adhesive side of the magnetic mounting strip to the wardrobe surface. Press firmly for at least 30 seconds to ensure a strong bond, and let the adhesive cure according to the manufacturer’s instructions before snapping the light fixture onto the magnetic base. This magnetic setup allows you to slide the light off easily for recharging without pulling the adhesive off the wardrobe wall.
Setting Up Plug-in LED Strips or Puck Lights
Plug-in LED strips and puck lights offer continuous illumination but require careful cable routing to maintain a neat appearance. Begin by measuring the length of the shelves or wardrobe frame where the lights will be installed. If you are using LED strips, locate the designated cut marks, which are usually marked with a copper pad or scissor icon. Cutting the strip anywhere else will break the electrical circuit and ruin that section of the light.
Plan the path of the power cable to the nearest wall outlet. If your wardrobe has a back panel, you may need to drill a small hole just large enough for the cable connector to pass through. Route the cable along the inner corners of the wardrobe frame to keep it hidden from view.
Mount the lights using their adhesive backing or mounting clips. Once the fixtures are in place, use adhesive-backed cable clips to secure the loose wires every 20 to 30 centimeters. Loose cables are a safety hazard; they can catch on clothing hangers, get pinched in drawer slides, or interfere with sliding door tracks. Ensure the power adapter is placed in a well-ventilated area, such as a top shelf, away from direct contact with clothing.
Installing Hardwired Spot or Track Lights
Installing a hardwired track or spotlight system provides a highly adjustable and professional lighting solution. Start by positioning the track against the ceiling of the wardrobe or the underside of a top shelf. Use a spirit level to align it perfectly, then mark the mounting holes with a pencil. Drill pilot holes into the marked spots, using appropriate hollow-wall anchors if mounting into thin panels, or wood screws if mounting directly into solid timber.
Secure the track firmly to the surface using the provided screws. Once the track is stable, insert the spotlight adapters into the track and twist them into the locked position according to the manufacturer’s instructions. You can slide and adjust the spacing between the spotlights to ensure even light distribution across your clothing racks.
While you can physically mount the track and position the fixtures yourself, you must stop before connecting the track to your home’s electrical wiring. Mains wiring poses severe shock and fire risks. Cease work and hire a licensed electrician to handle the connection to a junction box, wall switch, or dedicated circuit.
Electrical Safety and Wiring Verification
Working near electrical systems requires strict adherence to safety protocols to prevent accidents. Before inspecting or touching any existing wiring, turn off the main power supply at the distribution board (DB box) or circuit breaker. Never rely solely on a wall switch to cut the power. Use a non-contact voltage tester on the wires to confirm there is no active current before proceeding.
When setting up low-voltage LED systems, verifying compatibility is essential. LED lights operate on low-voltage direct current (DC), while home outlets provide high-voltage alternating current (AC). The LED driver or transformer converts this power. You must verify that the driver’s output voltage matches the lights’ input voltage, such as a 12V driver for 12V lights. Additionally, calculate the total wattage of your lights; the driver’s maximum wattage rating must exceed the total wattage of the connected lights by at least 20% to prevent overloading and overheating.
Establish clear stop conditions during your installation. If you encounter exposed wiring, damaged insulation, uncertain grounding, or conflicting instructions in the product manual, do not attempt to proceed. These issues require the expertise of a qualified professional to resolve safely.
Testing and Adjusting the Final Setup
Once the installation is complete, turn the main power back on to test and optimize your new wardrobe lighting. Walk up to the wardrobe to ensure motion sensors trigger reliably when the doors open and turn off automatically after you close them. If your system includes dimmers or manual switches, test them across their full range to check for flickering or inconsistent performance.
Next, adjust the physical angles of your spotlights or adjust the positioning of your light bars. Aim the light toward the center of the clothing racks and shelves rather than directly outward, which can cause uncomfortable glare when you open the wardrobe in a dark room. Proper adjustment helps eliminate harsh shadows, making it easier to distinguish clothing colors and find items quickly.
Finally, monitor the system during its first few hours of use. Feel the fixtures, cables, and drivers to check for excessive heat generation. While LEDs run relatively cool, poor ventilation or a faulty driver can still generate heat. Ensure there is adequate ventilation around the LED driver and that no fabrics or wooden panels are in direct contact with heat-generating components.
Frequently Asked Questions (FAQ)
Can I install hardwired wardrobe lights myself without an electrician?
While you can safely perform the mechanical mounting of the light tracks, fixtures, and cable channels, you must not perform the actual electrical wiring. Connecting the system to your home’s mains power supply, installing new junction boxes, or running cables behind walls must be done by a licensed electrician. Attempting DIY mains wiring poses severe risks of electrical shock and fire, and it can void your home insurance coverage. Hiring a professional ensures the installation complies with local electrical safety standards.
How do I prevent LED lights from damaging my wardrobe surfaces?
To protect your wardrobe surfaces, use high-quality, damage-free adhesive tapes designed for clean removal, such as acrylic-based mounting strips. When it is time to remove the lights, apply gentle heat from a hairdryer on a low setting to soften the adhesive before peeling it away slowly to avoid damaging wood laminates or paint. Additionally, ensure there is a clearance gap of at least a few centimeters between high-output LED fixtures and any wooden panels or clothing to allow heat to dissipate safely, preventing discoloration or heat damage over time.
Community discussion
Share your experience or ask a question. Comments are reviewed before publication.