
Installing recessed downlights is an effective way to achieve clean, modern, and even illumination throughout your living spaces. To install a Philips downlight successfully, you must follow a systematic process: isolate the electrical power, prepare a precise ceiling cutout using the manufacturer’s template, establish secure wiring connections, and safely mount the fixture using its spring-loaded clips. While the physical mounting is highly manageable, handling fixed electrical wiring requires strict adherence to safety protocols and local regulations to prevent electrical hazards.
Before beginning, it is essential to understand that electrical installations demand precision. Every downlight model has specific physical and electrical requirements, including voltage compatibility, driver configurations, and thermal clearances. By taking a methodical approach and verifying each step against your specific product manual, you can achieve a seamless, professional finish that enhances your home’s interior.
Pre-Installation Safety and Ceiling Checks
Electrical safety must be your absolute priority before undertaking any installation work. Begin by locating your home’s main distribution board (consumer unit) and switching off the circuit breaker dedicated to the lighting circuit you will be working on. Do not rely solely on the wall switch to cut the power. Use a reliable, non-contact voltage tester or a digital multimeter directly on the cables to verify that there is zero voltage present before touching any wires.
Products mentioned in this guide
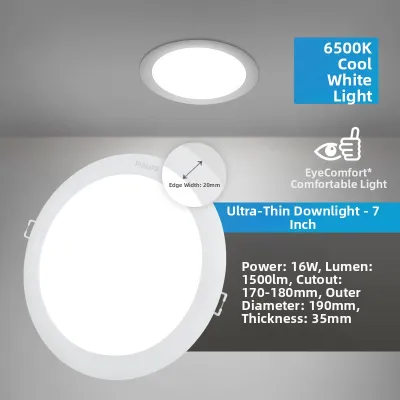
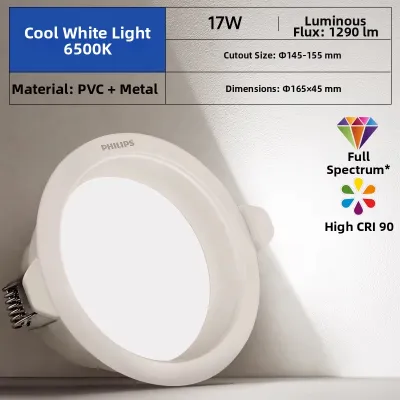

![[Climate Voucher] PHILIPS 3 Color Meson LED Downlight 5.5W 9W 13W 17W Tri Tone Scene Switch for False Ceiling Local Warranty](https://img.lazcdn.com/g/p/4f25f6fa6bf4fcf754b08b97b4102da3.jpg_400x400q80.jpg_.webp)
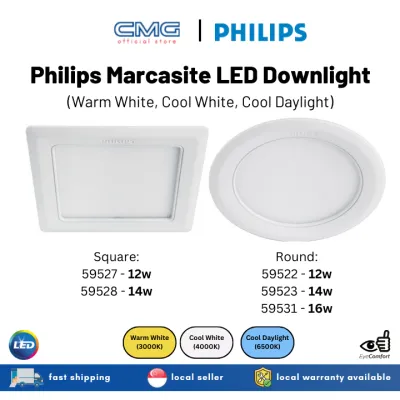
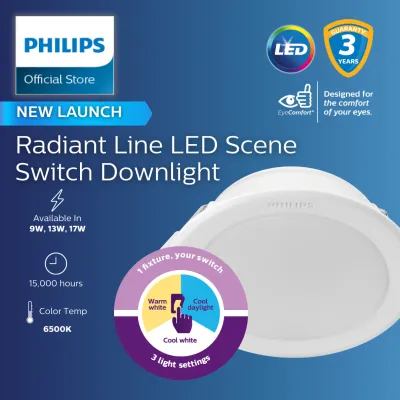

Prices are valid at publication and may change. Please refer to the product page for the latest price.
Next, inspect the ceiling structure where you plan to position the downlights. Most modern residential properties utilize false ceilings made of gypsum board or plasterboard. You must identify the location of hidden obstructions behind the ceiling panel, such as metal support channels, timber joists, air conditioning ducts, or existing electrical conduits. Cutting into these structural elements can compromise the integrity of your ceiling or damage vital home utility systems.
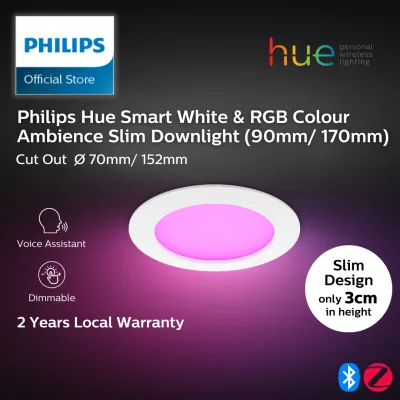
Finally, consult the specific installation sheet included with your Philips downlight. Take note of the fixture’s physical dimensions, required thermal clearances, and IP (Ingress Protection) rating. For instance, dry living areas generally require standard IP20-rated fixtures, whereas damp environments like bathrooms or kitchen cooking zones demand higher IP ratings, such as IP44 or IP65, to prevent moisture ingress and ensure long-term safety.
Tools and Materials Needed
Having the correct tools prepared beforehand ensures a smooth, efficient, and safe installation process. For the physical preparation and mounting, you will need a measuring tape, a pencil, a stud finder to locate ceiling joists, and a drywall utility saw or a hole saw attachment compatible with your power drill. A clean, precise cut is vital for a flush fit.

For the electrical work, gather wire strippers, insulated screwdrivers rated for electrical use, and a non-contact voltage tester. Personal protective equipment is highly recommended: wear safety glasses to protect your eyes from falling plaster debris, a dust mask to avoid inhaling gypsum particles while cutting, and insulated gloves for handling components.
Lastly, prepare the necessary electrical consumables. These include high-quality wire connectors, such as push-in connectors or screw terminal blocks, and electrical insulation tape. Ensure all consumables comply with your local electrical safety standards and are rated appropriately for the voltage and current of your home’s lighting circuit.
Step-by-Step Installation Process
Executing the installation in a logical sequence minimizes errors and ensures that both the structural and electrical components of the downlight are integrated correctly. The workflow moves systematically from marking and cutting the ceiling to wiring the electrical connections, and finally securing the fixture into place.
Because Philips offers a wide range of downlight designs—including ultra-slim integrated LED models, deep recessed fixtures, and options with external drivers—always keep the product manual nearby. If the physical design of your specific fixture differs from general installation steps, prioritize the manufacturer’s explicit instructions regarding mounting depth and wiring configurations.
Measuring and Cutting the Ceiling Hole
To begin the physical installation, locate the cardboard cutout template provided in the Philips packaging. Do not attempt to estimate the hole size based on the outer bezel of the downlight, as doing so often results in a hole that is too large, preventing the spring clips from gripping the ceiling securely. Mark the exact circle on the ceiling using a pencil.
Before making any cuts, use a stud finder or gently probe the marked area to confirm that no metal framing, timber joists, or utility pipes run directly behind it. If the path is clear, carefully insert your drywall saw or position your hole saw over the marked circle. Cut slowly and steadily, keeping the blade perpendicular to the ceiling to ensure a clean, vertical edge.
Once the hole is cut, gently smooth any rough edges or loose plaster around the rim using fine-grit sandpaper. This prevents debris from interfering with the downlight’s trim and ensures the outer bezel sits completely flush against the ceiling surface without leaving visible gaps.
Wiring the Downlight Safely
With the power verified as off, pull the supply cable carefully through the ceiling cutout. Strip back the outer sheath of the cable to expose the individual wires, then strip approximately 10mm of insulation from the ends of the live, neutral, and earth conductors using your wire strippers.
Identify the wires based on your local electrical wiring codes. Typically, modern installations use Brown for Live, Blue for Neutral, and Green/Yellow for Earth. Connect these wires to the corresponding terminals on the downlight’s connector block or driver. Ensure that the connections are tight, secure, and that no bare copper is exposed outside the terminal block.
If your Philips downlight is a Class II double-insulated fixture, it may not feature an earth terminal. In this scenario, you must still safely terminate the incoming earth wire from your home’s circuit into an isolated terminal block rather than cutting it off, preserving the continuity of the earth loop for the rest of the circuit.
Mounting and Securing the Fixture
Once the wiring is complete and safely housed within the terminal cover, prepare to insert the downlight into the ceiling cavity. Most Philips downlights utilize strong, spring-loaded metal clips on either side of the housing to hold the fixture in place.
Carefully fold both spring clips upward against the sides of the downlight body and hold them firmly in place with one hand. Guide the connected wiring and the driver into the ceiling hole first, ensuring they do not become pinched or trapped between the fixture and the edge of the cutout.
Slowly push the downlight housing upward into the hole while releasing the spring clips. The clips will snap outward inside the ceiling cavity, pulling the fixture upward and securing it tightly against the plasterboard. Check that the outer trim sits perfectly flat against the ceiling without tilting or leaving gaps.
Post-Installation Testing and Adjustments
After securing all downlights in the circuit, clear the workspace of tools and debris. Return to your main distribution board and switch the lighting circuit breaker back to the “on” position. Operate the wall switch to test the newly installed downlights.
Observe the lights closely for the first few minutes of operation. They should illuminate instantly and provide steady, consistent light. Watch for any signs of abnormal behavior, such as flickering, buzzing sounds, or unusual heat buildup around the fixture, which could indicate a loose wiring connection or an incompatible dimmer switch.
If you have installed adjustable spot or gimbal downlights, you can now adjust the direction of the light beam. Gently tilt or rotate the inner bezel of the fixture to direct the light toward your preferred focal points, such as artwork, workspaces, or architectural features, taking care not to touch the hot bulb surface if the light has been running.
When to Stop and Call a Licensed Electrician
While replacing an existing light fixture is a common DIY task, certain scenarios present significant safety and regulatory challenges. In many regions, including Singapore, any modification to fixed electrical wiring—such as adding new light points, extending circuits, or modifying the distribution board—must legally be performed by a Licensed Electrical Worker (LEW) to ensure compliance with safety standards.
If you encounter outdated wiring (such as degraded rubber insulation), missing earth connections, or evidence of previous faulty electrical work, stop immediately and contact a professional. Attempting to connect modern fixtures to compromised electrical systems poses severe fire and shock hazards.
Additionally, complex structural environments require professional intervention. If your home features solid concrete ceilings that require specialized core drilling, or if you are installing fixtures in wet zones like bathrooms that demand strict adherence to IP-rated safety zones, hiring a qualified professional ensures the job is completed safely, legally, and to code.
Frequently Asked Questions (FAQ)
Can I install Philips downlights in an existing concrete ceiling?
Standard recessed downlights cannot be installed directly into solid concrete ceilings because they require a hollow ceiling cavity to accommodate the housing, wiring, and spring clips. Attempting to chisel or drill deep recesses into structural concrete slabs can compromise the structural integrity of your home.
If you have concrete ceilings, the most practical solution is to install a false ceiling (plasterboard partition) below the concrete slab to create the necessary cavity. Alternatively, you can select surface-mounted luminaires or track lighting systems from Philips, which are designed to mount directly onto solid surfaces without requiring cutouts.
Do Philips downlights require a separate transformer or LED driver?
Whether a downlight requires a separate driver depends entirely on the specific model you purchase. Many modern Philips LED downlights feature integrated drivers, meaning they connect directly to your home’s mains voltage supply (typically 220V-240V AC) without needing external gear.
Other models utilize an external LED driver that is included in the packaging. This driver must be wired between the mains supply and the light fixture. When installing fixtures with external drivers, ensure the driver is placed in a well-ventilated area within the ceiling cavity, away from direct contact with thermal insulation.
How much clearance is needed above the downlight for heat dissipation?
Adequate clearance is essential to prevent heat buildup, which can shorten the lifespan of the LED components and pose a potential fire hazard. You must consult the specific installation sheet for your Philips model to find the exact clearance measurements, which typically range from 50mm to 100mm of free space above and around the fixture.
Never cover a downlight or its driver with ceiling insulation material unless the product is explicitly certified and labeled as Insulation Covered (IC) rated. If your downlight is non-IC rated, you must install an insulation guard or maintain the specified clearance gap to keep insulation materials away from the hot surfaces of the fixture.
Community discussion
Share your experience or ask a question. Comments are reviewed before publication.