
Installing smart curtain lights is an excellent way to transform a plain window or blank wall into a dynamic, glowing focal point. Whether you want to create a cozy backdrop for your living room or add festive illumination to a bedroom window, the installation process is straightforward when approached systematically. Success relies on choosing the correct mounting method for your specific surface, preparing the area to withstand environmental factors like humidity, and safely configuring the electrical and smart control components. By following a structured approach, you can achieve a clean, professional-looking setup that operates reliably within your smart home ecosystem.
Preparation and Safety Checks Before Installation
Before unpacking your smart curtain lights, take time to assess your installation environment and verify the technical specifications of your hardware. Start by locating the nearest power outlet and measuring the distance to your intended mounting area. Because smart curtain lights rely on a continuous power supply, you must ensure the power cord reaches the outlet without stretching or creating a tripping hazard. Check the manufacturer’s label on the power adapter to verify that the input voltage matches your household supply and confirm that the adapter carries recognized electrical safety certification marks. If you plan to install the lights near a balcony window or in an area prone to condensation, verify the ingress protection (IP) rating of both the light strings and the power adapter to ensure they are rated for damp environments.
Evaluate the weight-bearing capacity of the mounting surface. While individual LED strings are lightweight, the combined weight of the main header cable, controller, and power cord can put significant strain on weak adhesives or fragile plaster. Gather your tools before starting, including a measuring tape, a pencil for marking alignment, a stable step ladder for working at height, and appropriate mounting hardware. For non-destructive installations on glass or smooth window frames, high-quality adhesive hooks or a tension rod are ideal. For permanent installations on concrete walls or drywall, prepare a drill, appropriate wall plugs, and small screws. Finally, clean the mounting surface thoroughly with isopropyl alcohol to remove dust, grease, and moisture, which can severely compromise adhesive strength.
Products mentioned in this guide
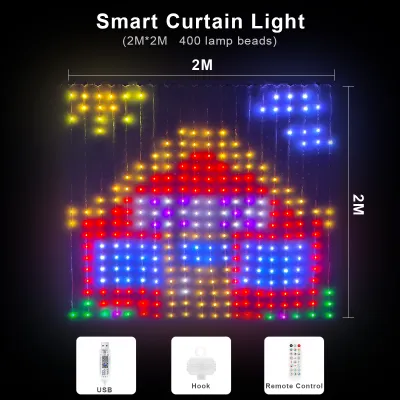
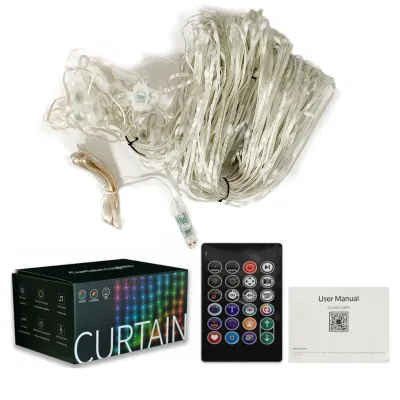
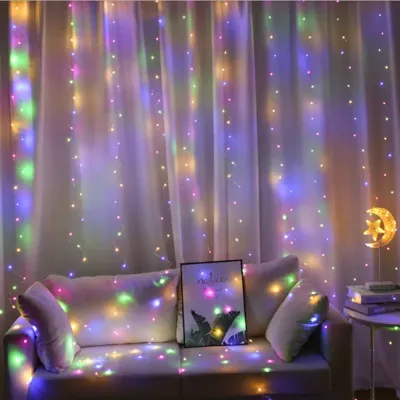
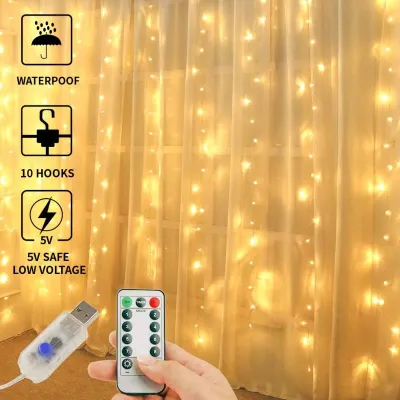
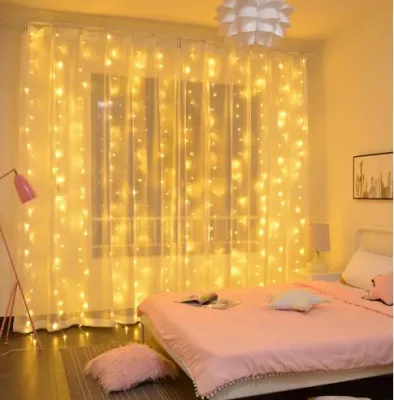
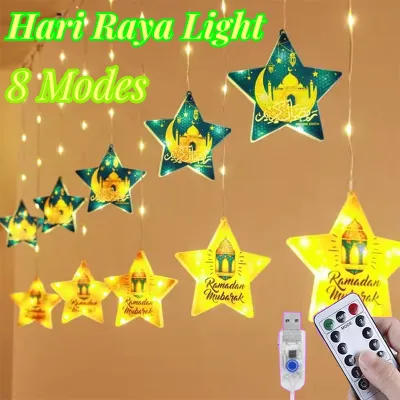
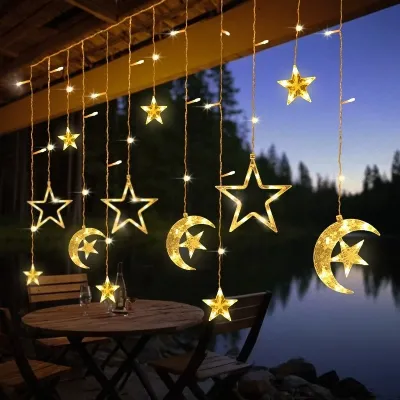
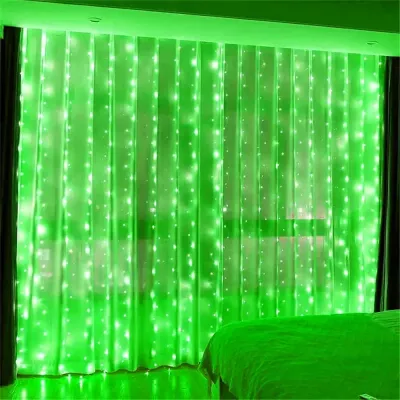
Prices are valid at publication and may change. Please refer to the product page for the latest price.
Step-by-Step Mounting Guide for Windows and Walls
The longevity of your installation depends heavily on proper surface preparation. In warm, humid climates, moisture and airborne oils accumulate quickly on glass, metal window frames, and painted walls. Wipe down the entire mounting line with a clean, lint-free cloth dampened with isopropyl alcohol, then allow the surface to dry completely. Avoid using household glass cleaners or surface sprays, as they often leave behind a thin, slick residue that prevents adhesives from bonding securely.

Once the surface is dry, determine the best mounting method for your specific wall or window type. If you are mounting the lights on a glass window or a smooth aluminum frame, adhesive hooks are highly effective. Space the hooks evenly along the top frame, typically every 15 to 20 centimeters, to distribute the weight evenly and prevent the header cable from sagging. If you prefer not to stick hooks directly to the window, a tension rod placed inside the window recess is an excellent alternative; you can simply loop the light hangers over the rod. For concrete walls—a common feature in modern apartments—standard adhesives may fail due to the textured paint or porous surface. In this case, use a drill with a masonry bit to install small wall plugs and screw-in hooks, ensuring a permanent and secure hold.
With your mounting hardware firmly in place, it is time to hang the main header cable. Keep the individual vertical light strings bundled or tied as they came from the factory; do not untangle them yet. Hanging the main horizontal cable while the vertical strings are still bound prevents a tangled mess and makes the process much easier to manage. Carefully hang the header cable onto your hooks or rod, ensuring it is perfectly level and centered. Once the main cable is securely anchored and you have verified that the weight is distributed evenly, slowly release and untangle the vertical light strings one by one. Let them drop naturally, avoiding any pulling, stretching, or sharp bending of the delicate copper wires inside the plastic casing.
Power Connection and Smart App Pairing
With the physical installation complete, you can transition to the electrical setup and smart integration. Before securing the power controller permanently, plug the power adapter into the wall outlet to perform an initial functionality check. The lights should perform a brief startup sequence or flash to indicate they are receiving power and are ready for pairing. If the lights do not turn on, immediately isolate the power by unplugging the adapter and check that all connections between the adapter, controller, and main header cable are firmly seated.
Once you confirm the hardware is functioning, download the manufacturer’s official smart home application onto your smartphone or tablet. Ensure your mobile device has Bluetooth enabled and is connected to your home Wi-Fi network. Most smart lighting controllers operate exclusively on the 2.4GHz Wi-Fi frequency band due to its superior range and wall-penetration capabilities. If your home router uses a combined 5GHz and 2.4GHz network under a single name, you may need to temporarily separate the bands in your router settings or move further away from the router during the pairing process to force your phone onto the 2.4GHz band.
Open the app and select the option to add a new device. Follow the step-by-step in-app pairing instructions, which typically involve holding down the power button on the physical controller for a few seconds until the lights flash rapidly to enter pairing mode. Once the app detects the curtain lights, enter your Wi-Fi credentials to complete the connection. After a successful pairing, you can link the manufacturer’s app to broader smart home ecosystems, such as Apple Home, Google Home, or Amazon Alexa, allowing you to control your new light display using voice commands or integrate it into existing smart home scenes.
Customizing Scenes and Routine Maintenance
Now that your smart curtain lights are fully integrated, you can explore the customization options available in the app. Take time to adjust the brightness levels and explore different color temperatures to find the setting that best complements your room’s decor. Many smart curtain lights feature pre-programmed dynamic scenes, such as gentle color fades, holiday themes, or music-syncing modes that utilize the controller’s built-in microphone. Keep in mind that highly active, flashing patterns are best enjoyed in moderation, while soft, warm white tones are ideal for creating a relaxing evening ambiance.
To maximize energy efficiency and convenience, set up automated schedules within the app. You can program the lights to turn on automatically at sunset and turn off at a specific bedtime, ensuring they do not run unnecessarily throughout the night. If your smart home ecosystem includes motion sensors or door contacts, you can create automation rules that trigger the curtain lights when someone enters the room.
Maintaining your setup requires minimal effort but is essential for long-term safety and performance. Periodically inspect the power adapter and controller to ensure they have adequate ventilation and are not covered by heavy curtains or furniture, which can cause overheating. Dust the light strings gently using a dry, clean microfiber cloth; never use wet cloths or liquid cleaners while the lights are plugged in. Finally, check the mounting hooks or tension rod every few months to ensure they remain secure, especially in humid environments where adhesives can gradually degrade over time.
Troubleshooting Common Setup and Connection Issues
Even with a careful installation, you may occasionally encounter technical issues. If a section of your curtain lights fails to illuminate while the rest of the string works perfectly, inspect the affected area for visible signs of physical damage, such as a severed wire or a sharp bend. Because these lights are wired in specific configurations, a break in one segment can disable subsequent LEDs. If the entire unit fails to light up, verify that the outlet is active by plugging in another device, and check that the controller cable is fully inserted into the power adapter.
If you experience persistent app pairing failures or the lights frequently drop offline, start by restarting your home Wi-Fi router and power-cycling the light controller. Ensure the controller is positioned within a reasonable range of your Wi-Fi router and is not blocked by thick concrete walls or large metal objects that degrade wireless signals. If the connection issues continue, perform a factory reset on the light controller by following the specific button-press sequence outlined in your user manual, then attempt the pairing process again from the beginning.
Always prioritize safety when troubleshooting electrical devices. If you notice a burning smell, unusual buzzing sounds, or if the power adapter becomes excessively hot to the touch, immediately unplug the unit from the wall. Do not attempt to splice broken wires or repair a damaged controller yourself. If basic troubleshooting steps do not resolve the issue, contact the manufacturer’s customer support or consult a qualified professional to avoid electrical hazards.
Frequently Asked Questions (FAQ)
Can smart curtain lights be installed on textured walls or uneven window frames?
Standard adhesive pads rely on full surface contact to create a strong bond, making them highly unreliable on textured plaster, brick, or uneven wooden window frames. On these porous or rough surfaces, standard adhesives will likely peel off under the weight of the lights. To achieve a secure installation on textured walls, use small, removable screw-in hooks or wall anchors that physically grip the wall material. Alternatively, you can mount a lightweight curtain rod above the window frame using traditional hardware and drape the curtain lights over it, completely bypassing the need for adhesives.
Is it safe to leave smart curtain lights on overnight or when away from home?
Modern smart curtain lights utilize low-voltage LEDs that generate very little heat, making them significantly safer than traditional incandescent bulbs. However, leaving any electrical device running continuously when unattended carries minor risks, particularly if the power adapter is covered or lacks proper ventilation. To ensure maximum safety, always use the original, certified power adapter supplied by the manufacturer. It is highly recommended to use the app’s scheduling feature or built-in timers to automatically turn the lights off overnight or when you leave the house, which conserves energy and reduces wear on the components.
How do I extend or connect multiple curtain light sets together?
Before attempting to connect multiple sets of curtain lights, you must consult the manufacturer’s manual to verify if your specific model supports physical daisy-chaining. Many smart curtain lights have a strict limit on the number of strings that can be linked together, as exceeding this limit will overload the power adapter and controller, leading to dimming, flickering, or permanent hardware failure. If your model does not support physical extension, do not attempt to splice the wires. Instead, mount the second set adjacent to the first, plug it into a separate power outlet, and use the smart app to group both controllers together so they operate in perfect synchronization.

Community discussion
Share your experience or ask a question. Comments are reviewed before publication.