
Crafting your own holiday decorations can feel intimidating if you have never picked up a glue gun or worked with craft clay, especially when high-end store displays make holiday decor look impossibly complex. Creating beautiful, personalized Christmas ornaments is entirely achievable for beginners using simple household items, basic crafting techniques, and affordable materials that require no specialized skills. By focusing on three straightforward projects—salt dough, no-sew felt, and natural cinnamon sticks—you can easily craft charming, rustic decorations that bring a warm, handmade touch to your festive tree.
What basic tools and materials do you need to start making DIY Christmas ornaments?
To begin crafting your own holiday ornaments, you only need a handful of accessible, low-cost household tools and basic craft supplies. Gathering these items beforehand ensures a smooth, stress-free crafting experience without constant interruptions.
For cutting and shaping, a sharp pair of craft scissors is indispensable for clean edges on fabrics and ribbons. A utility knife, paired with a self-healing cutting mat, allows you to make precise cuts on thicker materials without damaging your work surface. Keep standard kitchen measuring spoons and cups nearby, as these are essential for measuring out ingredients for homemade dough projects.
Products mentioned in this guide
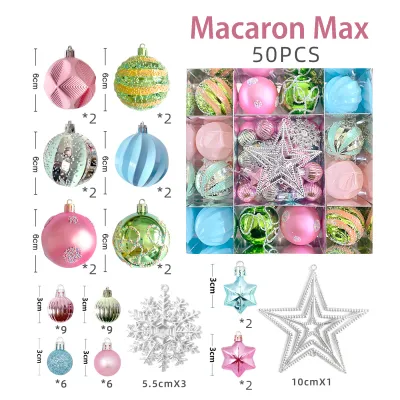
224 Lazada user ratings
Everything good, quality good , delivered quickly. Recommend to buy. Thank you 😊 👌🏻
Fast delivery. Received in good condition. Quality looks good.
Love this product and this is repeated third order already .
Love this product and this is repeated third order already.
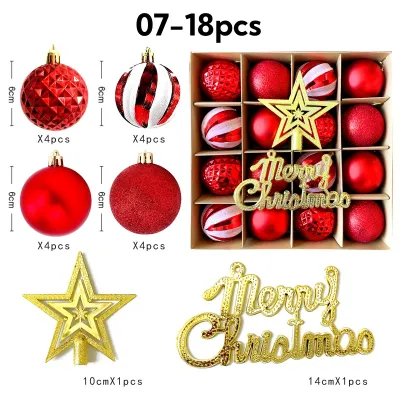
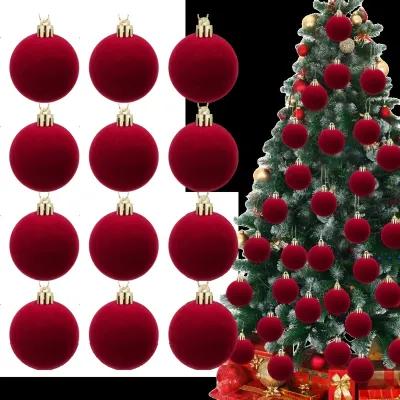
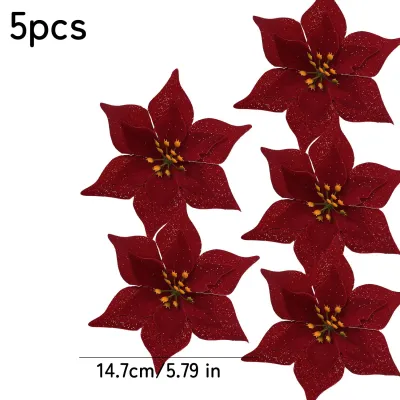
Prices are valid at publication and may change. Please refer to the product page for the latest price.
Adhesives play a critical role in the durability of your ornaments. Safe, non-toxic white craft glue (PVA) is excellent for paper, light cardboard, and basic felt layering because it dries clear and is easy to wash off hands. However, for heavier materials or projects that require an instant bond, a low-temperature hot glue gun is highly recommended. Low-temperature models are much safer for beginners than high-temperature versions, significantly reducing the risk of accidental skin burns while still providing a strong, immediate hold.
Sourcing these supplies is highly convenient and budget-friendly. You can find almost all of these basic materials at local craft stores, neighborhood stationery shops, or popular online marketplaces. A complete starter kit containing colorful felt sheets, twine, non-toxic glue, and basic cutting tools typically ranges from S$10 to S$30. This low entry cost makes DIY ornament crafting an incredibly economical way to decorate your home while enjoying a creative holiday activity.
How do you shape and bake simple salt dough ornaments?
Shaping and baking salt dough ornaments involves mixing a simple three-ingredient pantry dough, cutting out festive shapes, and drying them slowly in a low-temperature oven. This classic project uses everyday kitchen staples to create durable, ceramic-like decorations that can last for years.

To prepare the dough, combine two parts all-purpose flour, one part fine table salt, and one part warm water. Stir the mixture until it forms a cohesive dough, then knead it on a lightly floured surface for five to ten minutes until smooth. If the dough feels sticky, add a sprinkle of flour; if dry, add a few drops of water.
Roll the dough to an even thickness of 5mm to 6mm. Use cookie cutters to stamp out shapes like stars or trees, then immediately use a straw to punch a clean hole near the top of each ornament, leaving 1cm of space from the edge.
Bake the shapes on a parchment-lined sheet at 100°C to 120°C for two to three hours, turning them over halfway through. This slow, low-heat process prevents the dough from puffing or cracking. Always exercise caution when operating the oven, and ensure children are supervised during the baking process. Let them cool completely on a wire rack.
Once cooled, paint the ornaments with acrylics. To protect them from humidity, apply a thin coat of clear, non-toxic protective craft sealant or varnish over the entire surface after the paint dries.
How do you assemble a no-sew felt tree ornament?
Assembling a no-sew felt tree ornament requires layering pre-cut felt shapes and securing them with fabric glue or low-temperature hot glue to create a clean, modern holiday design. This project is ideal for anyone who wants to work with soft textiles but lacks sewing skills or equipment.
Gather stiff felt sheets, fabric glue or a low-temp glue gun, sharp scissors, and ribbon or twine. Stiff felt is highly recommended over soft felt because it holds its shape beautifully and is much easier to cut cleanly without fraying.
Cut three green felt triangles in graduating sizes (small, medium, and large) to represent the tree branches. You will also need a small brown felt rectangle for the trunk, and optional tiny colorful felt circles to act as ornaments.
Apply a thin line of fabric glue along the bottom edge of the small triangle and overlap it onto the medium triangle. Repeat to join the medium triangle to the large one, then secure the brown trunk to the bottom. Press the layers together firmly on a flat surface to prevent curling.
To attach the hanging loop, fold a 15cm piece of ribbon in half and glue the loose ends to the back of the top triangle. Glue a small, matching scrap of felt directly over the ribbon ends to sandwich them securely and reinforce the joint.
How do you build a natural cinnamon stick star?
Building a natural cinnamon stick star involves arranging five uniform cinnamon sticks into a classic five-point star shape and securing the overlapping joints with adhesive and twine. This project adds a rustic, organic aesthetic to your holiday decor while filling your living space with a warm, festive fragrance.
Select five cinnamon sticks of roughly equal length and thickness. Using sticks of similar dimensions is essential for achieving a balanced, symmetrical star that hangs straight. Gently wipe the sticks with a dry cloth to remove any loose dust before assembly.
Arrange the five cinnamon sticks on a flat surface into an overlapping five-point star pattern, where each stick passes over one stick and under another. Adjust the angles until the star looks symmetrical and all five outer points are clearly defined.
Apply a small dab of low-temperature hot glue or strong craft glue between the contacting wood surfaces at each overlapping joint. Press and hold each joint firmly for ten to fifteen seconds to allow the adhesive to bond while keeping the star flat.
Once the glue has set, wrap rustic jute twine or colorful embroidery floss tightly around each of the five outer points and the inner intersections. Tie off the twine with a neat knot on the backside. This wrapping technique provides vital structural support and adds to the ornament’s rustic charm.
For a beautiful finishing touch, glue a dried orange slice, a single star anise, or a small sprig of faux greenery over the central intersection. Finally, tie a loop of twine around the top point of the star for hanging.
What common crafting mistakes should beginners avoid when making holiday decor?
Beginners can avoid ruined ornaments by managing drying times in humid conditions, using the correct glue temperatures, and storing finished pieces properly. Understanding these common pitfalls ensures your handmade decorations remain beautiful throughout the festive season and beyond.
One of the most significant challenges for crafters in Singapore is the high relative humidity, which drastically slows down the drying times of water-based craft glues, acrylic paints, and salt dough. If you paint or seal salt dough before it is completely dry inside, the trapped moisture will cause the dough to soften, warp, or develop mold. Always allow extra curing time—often 24 to 48 hours—in a well-ventilated room before applying paint or sealants.
Another frequent mistake is using high-temperature hot glue guns on delicate or synthetic materials. The intense heat can easily melt synthetic felt fibers, scorch dried botanicals, and cause painful burns on your fingers. For beginner projects, always opt for a low-temperature glue gun or specialized fabric and craft glues, which offer excellent adhesion without the safety risks.
When making salt dough, rushing the drying process by raising the oven temperature is a common recipe for failure. High heat causes the moisture inside the dough to turn to steam rapidly, forcing the dough to puff up, bubble, or develop deep structural cracks. Keep your oven temperature strictly between 100°C and 120°C, and ensure your dough is rolled to a consistent thickness so that it dries uniformly.
Finally, proper post-holiday storage is essential for preserving your handmade creations. Organic ornaments made from salt dough or cinnamon sticks are highly susceptible to moisture damage if left exposed to humid air. Store your finished ornaments in an airtight plastic container, wrapping each piece gently in tissue paper to prevent crushing. Adding a few packets of silica gel inside the container will absorb residual moisture, keeping your ornaments dry and mold-free.
Community discussion
Share your experience or ask a question. Comments are reviewed before publication.