
Selecting the ideal frame for an A3 print involves more than simply finding a border that matches the dimensions of your paper. The right frame acts as a visual bridge, connecting the artwork to the surrounding room and enhancing the overall design narrative of your home. Whether you are displaying a minimalist line art print, a gritty industrial photograph, or a classic botanical illustration, the frame’s material, color, profile width, and mounting style will significantly influence how the piece is perceived. By understanding how different frame styles align with popular interior design themes, you can transform a simple A3 print into a deliberate, sophisticated design statement that elevates your living space.
To achieve a cohesive look, you must evaluate how the visual weight of the frame interacts with both the artwork and the architectural features of your room. A frame that is too heavy can overwhelm a delicate sketch, while a frame that is too thin may disappear against a textured wall. This guide explores the practical and aesthetic considerations of framing A3 prints, offering a structured approach to matching frame styles with minimalist, Scandinavian, industrial, and traditional home decor themes.
Understanding A3 Dimensions and Display Basics
Before selecting a frame style, it is essential to understand the physical dimensions of the A3 format and how they translate to your wall space. A standard A3 sheet measures exactly 29.7 x 42.0 centimeters (approximately 11.7 x 16.5 inches). However, the actual footprint of the framed piece on your wall will be larger than these dimensions. The final size depends on the width of the frame profile and whether you choose to include a mat board. For instance, adding a standard 5-centimeter mat board around all sides of an A3 print increases the required frame size to approximately 39.7 x 52.0 centimeters, plus the thickness of the frame border itself.
Products mentioned in this guide
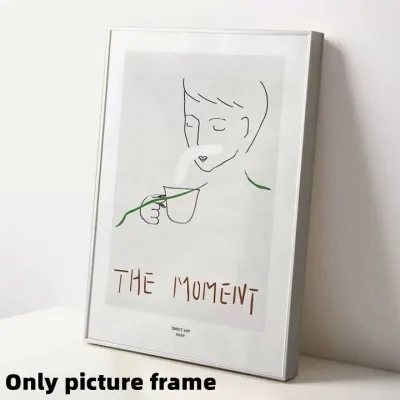
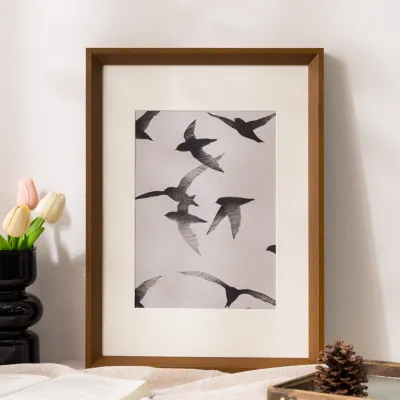
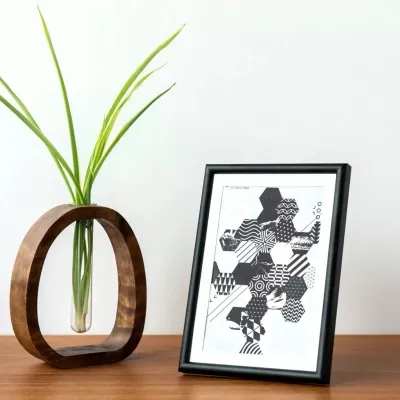

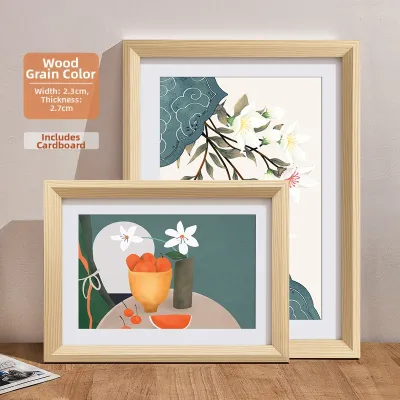
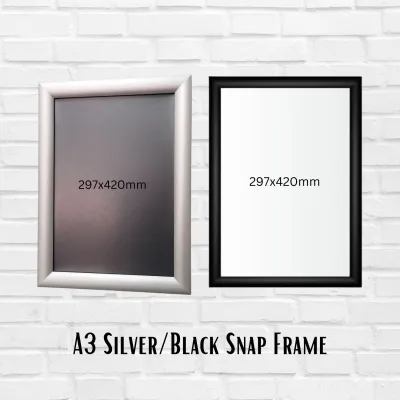
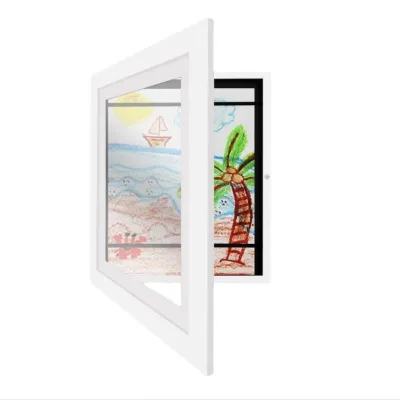
Prices are valid at publication and may change. Please refer to the product page for the latest price.
Evaluating your available wall space is a critical first step. In many modern apartments and homes, wall space can be limited by structural columns, built-in cabinetry, or large windows. An A3 frame is highly versatile; it is large enough to command attention as a standalone focal point above a console table or desk, yet compact enough to serve as a key element in a larger gallery wall layout. Consider the typical viewing distance in the room. If the frame is placed in a narrow hallway, viewers will stand close, making fine details in the frame texture and matting highly visible. In a spacious living room, the frame will be viewed from a distance, meaning the overall silhouette and color contrast will play a more significant role.
Weight and structural safety are equally important considerations, particularly when dealing with solid concrete or masonry walls common in local residential construction. A3 frames glazed with real glass can be surprisingly heavy. You must ensure that your hanging hardware is rated for the total weight of the frame, glazing, and backing. Before purchasing, inspect the back of the frame to verify the type of hanging hardware installed, such as D-rings or hanging wire, and ensure it is compatible with the wall anchors you plan to use.
Matching Frame Materials and Finishes to Decor Themes
The material and finish of a frame dictate its visual weight, texture, and compatibility with different interior styles. Frame profiles range from ultra-thin metal bands to thick, heavily textured wooden moldings. The color and texture of these materials can either harmonize with the existing finishes in your room—such as your flooring, shelving, or light fixtures—or provide a deliberate point of contrast.

To create a balanced look, use a simple decision framework: identify the dominant materials and textures in your space, and select a frame finish that complements them. For example, if your room features warm wood tones and soft textiles, a cold, high-gloss plastic frame may feel out of place. Conversely, a rustic, distressed wood frame might clash with a sleek, high-tech modern office. The goal is to choose a frame that supports the artwork and integrates naturally into the room’s established design language.
Minimalist and Scandinavian Aesthetics
Minimalist and Scandinavian design themes prioritize simplicity, functionality, light, and natural materials. To complement these aesthetics, look for A3 frames with slim, clean profiles that do not distract from the artwork or clutter the wall. Frame widths of 1 to 1.5 centimeters are ideal, as they provide structural support without adding unnecessary visual bulk.
Natural, light-colored woods such as oak, ash, maple, or birch are excellent choices for Scandinavian interiors. These woods bring warmth and organic texture to a space while maintaining a bright, airy feel. For a strictly minimalist look, matte neutral finishes like matte white, soft grey, or matte black work exceptionally well. These colors create a clean, graphic border around the print, especially when paired with a generous white mat board.
You can also explore alternative framing styles, such as frameless clip frames, floating frames, or thin metal borders made of brushed aluminum. Floating frames, which suspend the print between two sheets of clear acrylic or glass, allow the wall color to show through around the edges of the artwork, creating a highly modern, weightless appearance. Avoid ornate carvings, heavy bevels, or high-gloss finishes, as these elements introduce visual noise that contradicts the calm, uncluttered principles of minimalist design.
Industrial and Urban Loft Styles
Industrial and urban loft styles embrace raw, utilitarian elements, exposed structural materials, and a moody, textured color palette. When framing A3 prints for an industrial space, you want frames that possess enough visual weight and character to stand up against textured backdrops like exposed brick, concrete, or rough plaster walls.
Materials such as distressed metals, blackened steel, iron, or dark reclaimed woods are highly suited for this aesthetic. Look for frames that feature visible hardware, such as exposed rivets, corner brackets, or industrial-style bolts. These details echo the architectural elements of loft living and add a layer of rugged authenticity to your wall decor. Thicker, heavier profiles—ranging from 3 to 5 centimeters—work well here, as they prevent the framed print from getting lost against highly textured or dark walls.
Because industrial spaces often feature large windows and open layouts, environmental factors must be considered. If you live in a humid climate, untreated metal frames can rust, and unsealed reclaimed wood can warp or harbor mold. Ensure that any metal frames you select have been treated with a rust-resistant coating, powder-coated, or made from anodized aluminum. Similarly, wooden frames should be properly sealed or varnished to protect them from moisture while preserving their rustic appearance.
Traditional and Classic Interiors
Traditional and classic interiors are characterized by symmetry, rich color palettes, refined architectural details, and a sense of history. To complement this style, choose A3 frames that offer depth, sophistication, and classic craftsmanship. This is an aesthetic where the frame itself can be a work of art, enhancing the elegance of the print inside.
Wider frame profiles with subtle textures, beveled edges, or classic moldings are highly suited for traditional spaces. Look for finishes like metallic leafing in antique gold, champagne, or bronze, which add a warm, luxurious glow to the wall. Rich, dark wood stains such as mahogany, walnut, cherry, or dark oak also work beautifully, especially when coordinated with traditional wooden furniture.
Layered matting and ornate details, such as a subtle gold fillet inside the mat board, can elevate classic artwork, vintage maps, or family portraiture. Avoid ultra-thin, modern metal frames or cheap plastic finishes, as they will look out of place and unsubstantial alongside heavy drapes, crown moldings, and classic furniture. Instead, opt for substantial wooden or high-quality composite frames that convey a sense of permanence and quality.
Choosing the Right Matting and Glazing for A3 Prints
The internal components of your frame—specifically the mat board and the glazing—are crucial for both the visual presentation and the long-term preservation of your A3 print. A mat board is a cardboard-like border that surrounds the artwork inside the frame. It serves two primary purposes: it creates visual “breathing room” between the artwork and the frame, directing the viewer’s eye inward, and it physically separates the print from the glass. This separation is vital, as direct contact with glass can trap moisture, leading to mold growth, ink transfer, or paper sticking over time.
When choosing a mat board for an A3 print, opt for acid-free, archival-quality materials to prevent the paper from yellowing or deteriorating. Neutral colors like off-white, cream, soft grey, or charcoal are generally preferred, as they complement most art styles without competing for attention. A standard mat width of 3 to 5 centimeters is highly effective for A3 prints, providing a balanced proportion that enhances the artwork’s presence on the wall.
Glazing options—the clear protective layer in front of the print—typically fall into three categories: standard glass, acrylic, and UV-filtering glazing. Standard glass is highly scratch-resistant and offers excellent clarity, but it is heavy and fragile. Acrylic (often referred to as plexiglass) is lightweight and virtually shatterproof, making it a safer choice for high-traffic areas, children’s rooms, or heavy frames mounted on partition walls. However, acrylic scratches more easily than glass and can attract dust due to static electricity.
If your A3 frame will be hung in a brightly lit room, opposite a large window, or near balcony doors, reflections can obscure the artwork. In these conditions, consider investing in anti-reflective (AR) or non-glare glazing. This specialized coating diffuses incoming light, reducing harsh reflections and ensuring that your print remains clearly visible from various angles in the room. For valuable or irreplaceable prints, UV-filtering glazing is highly recommended to protect the inks from fading under direct or indirect sunlight.
Installation and Layout Considerations for A3 Frames
Proper installation ensures that your framed A3 prints are displayed safely and look balanced within your room’s layout. The first step is to identify your wall material and select the appropriate mounting hardware. In Singapore, most residential walls are constructed of solid concrete, brick, or structural masonry. Hanging a heavy A3 frame on these surfaces requires drilling a hole, inserting a plastic wall plug (anchor), and securing a screw. For drywall or gypsum board partition walls, you must use specialized hollow-wall anchors or toggle bolts that expand behind the wall to distribute the weight safely.
When planning the layout, the general rule of thumb is to hang the center of the A3 frame at eye level, which is approximately 140 to 150 centimeters from the floor. If you are mounting the frame above a piece of furniture, such as a sofa, sideboard, or console table, the bottom of the frame should sit about 15 to 20 centimeters above the top of the furniture. This prevents the frame from looking disconnected or floating aimlessly on the wall.
If you are incorporating your A3 frame into a gallery wall, maintain a consistent spacing of 5 to 8 centimeters between all frames. This consistent gap creates a sense of order and cohesion, even if you are mixing different frame styles, sizes, or orientations. For complex layouts, map out the arrangement on the floor first, or tape paper templates of the frames to the wall using painter’s tape to visualize the final look before drilling. Always refer to the manufacturer’s instructions for your specific hanging hardware, and consult a qualified professional for heavy, oversized, or high-up installations to ensure safety.
Frequently Asked Questions (FAQ)
Can I use an A4 frame for an A3 print?
No, you cannot use a standard A4 frame for an A3 print without altering the artwork. An A3 print measures 29.7 x 42.0 centimeters, which is exactly twice the size of an A4 print (21.0 x 29.7 centimeters). Attempting to fit an A3 print into an A4 frame would require folding, trimming, or heavily cropping the image, which can ruin the artwork and compromise its visual integrity. To display your A3 print properly, you should purchase a dedicated A3-sized frame or opt for a larger frame (such as an A2 frame) equipped with an A3-cut mat board.
How do I prevent my A3 poster from wrinkling inside the frame?
To prevent an A3 poster or print from wrinkling, buckling, or sagging over time, you must secure it properly inside the frame and manage humidity. Avoid using standard household tapes, liquid glues, or double-sided adhesives, as these contain acids that will damage and discolor the paper over time. Instead, use acid-free framing tape or archival photo corners to secure the top edge of the print to a rigid backing board, such as acid-free foam board. Securing only the top edge allows the paper to expand and contract naturally with temperature and humidity fluctuations without buckling. Additionally, ensure the frame backing fits snugly and applies even pressure across the glazing, which helps keep the paper flat and taut.

Community discussion
Share your experience or ask a question. Comments are reviewed before publication.