
Matching an LED driver to your light fixture requires aligning three critical electrical specifications: the driver’s output type (constant current or constant voltage), the exact voltage or current required by the fixture, and a wattage rating that meets or exceeds the fixture’s total load. The driver acts as the heart of your LED system, converting standard mains electricity into the precise direct current (DC) power your light-emitting diodes need to run safely. Using an incompatible driver can lead to immediate fixture failure, persistent flickering, or serious electrical hazards.
To ensure a safe and successful installation, you must systematically verify the electrical requirements of your fixture before purchasing a replacement driver. This guide outlines how to locate these specifications, calculate the necessary power ratings, choose the correct driver topology, and verify compatibility with your existing dimmers or smart home controls.
How to Find Your Light Fixture's Power Specifications
Before you can select a compatible driver, you must locate the electrical specification label on your existing lighting setup. This information is typically printed on a nameplate or sticker affixed to the back of the light fixture, inside the mounting canopy, or directly on the casing of the original driver. If the fixture is already installed, you may need to carefully remove it from the ceiling or wall to inspect the rear housing.
Products mentioned in this guide
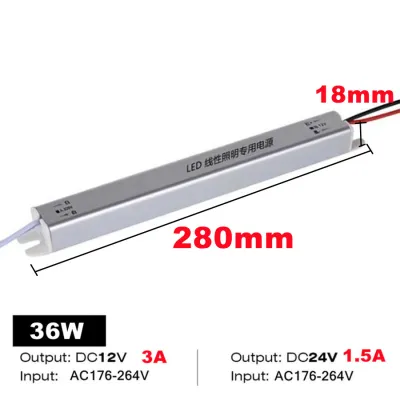
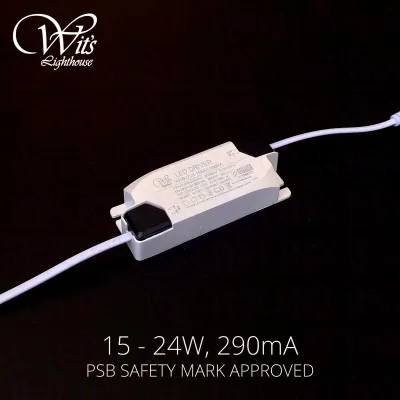
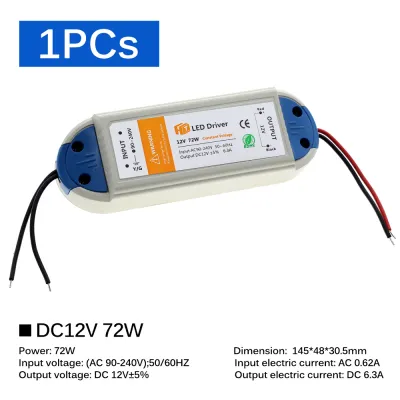
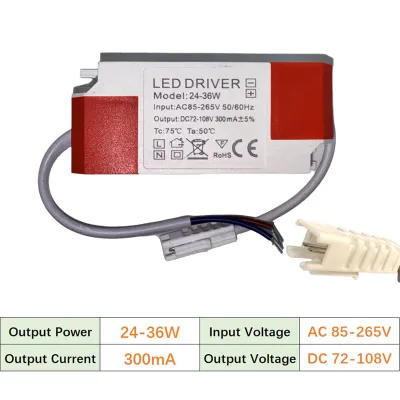
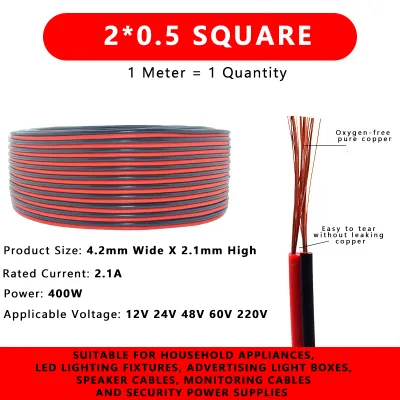
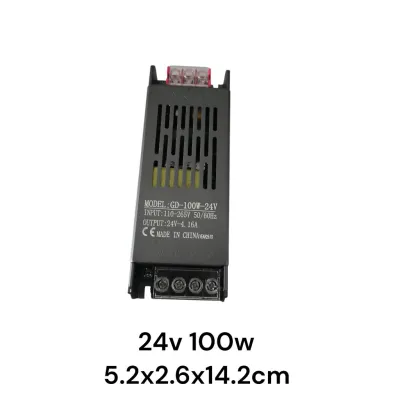
Prices are valid at publication and may change. Please refer to the product page for the latest price.
When reviewing the label, look closely at the input and output specifications. The input rating indicates the mains power supply the driver accepts, which is typically AC 220-240V for standard residential properties in Singapore. The output rating is the most critical part for matching, as it details the exact DC voltage, current (measured in milliamperes or amperes), and maximum wattage that the fixture requires to operate.
Avoid guessing these specifications or assuming compatibility based on the physical size of your old driver. Manufacturers use different internal components, meaning two drivers of identical physical dimensions can have vastly different electrical outputs. Installing a driver based on guesswork can permanently burn out the LED chips or create an electrical fire hazard in your ceiling cavity.
How to Match Wattage, Voltage, and Current Ratings
Once you have located the specifications, you must align the new driver’s output ratings with the fixture’s exact electrical needs. The first parameter to check is the wattage. The driver’s maximum wattage capacity must be equal to or higher than the total wattage of the connected LED fixture. Running a driver at its absolute limit can cause excessive heat buildup and shorten its lifespan; choosing a driver with a slightly higher maximum wattage capacity provides a safe buffer.

For constant voltage systems, the output voltage of the driver must match the voltage requirement of the fixture exactly. Common residential systems operate on 12V DC or 24V DC. If your LED strip requires 24V, connecting it to a 12V driver will result in extremely dim light or no light at all, while connecting a 12V strip to a 24V driver will immediately destroy the LEDs.
For constant current systems, you must match the output current precisely to the fixture’s requirements, such as 350mA or 700mA. While the driver’s wattage rating can be higher than the fixture’s load, the current output must remain exact. Delivering too much current to a constant current fixture will overdrive the LEDs, causing rapid overheating and premature failure, while insufficient current will cause the lights to flicker or fail to illuminate.
Constant Current vs. Constant Voltage: Which Does Your Fixture Need?
LED fixtures are designed to operate using one of two distinct driver topologies: constant voltage (CV) or constant current (CC). Understanding which system your fixture uses is essential, as these two technologies regulate power in fundamentally different ways and cannot be used interchangeably.
Constant voltage drivers maintain a fixed output voltage while allowing the current to fluctuate depending on the electrical load. This setup is standard for LED tape lights, flexible strips, and linear cabinet lighting modules that feature built-in current-limiting resistors. Because the voltage remains stable, you can easily cut or extend these LED strips without changing the driver, provided the total wattage remains within the driver’s capacity.
Constant current drivers maintain a steady, continuous flow of electrical current while dynamically adjusting the output voltage based on the load. This topology is required for high-power downlights, spotlights, and integrated ceiling fixtures that do not have internal current-regulating components. The driver monitors the circuit and adjusts the voltage to prevent thermal runaway, a condition where rising temperatures cause the LEDs to draw more current until they burn out.
To verify which type your fixture requires, check the original driver’s label. If the output section lists a single fixed voltage (such as “Output: 24VDC”), you need a constant voltage driver. If the label lists a fixed current and a variable voltage range (such as “Output: 700mA, DC 30-42V”), your fixture requires a constant current driver.
Ensuring Compatibility with Dimmers and Smart Controls
If your light fixture is connected to a wall dimmer, a remote control, or a smart home automation system, you must select a driver that explicitly supports the corresponding dimming protocol. Standard LED drivers are non-dimmable and will flicker, buzz, or fail to turn on if connected to a dimming circuit.
Inspect the driver specifications for dimmable indicators and supported protocols. Common residential dimming methods include TRIAC (phase-cut) dimming, which is typical for traditional wall dimmers, and 0-10V dimming, which is often used in commercial or high-end residential setups. For smart lighting systems, you may need a driver compatible with specific digital protocols like DALI or wireless standards integrated into your smart home hub.
If you install a new driver and experience flickering, strobing, or a limited dimming range, the driver’s dimming profile likely mismatches your physical wall switch. In such cases, you may need to replace the wall switch with a compatible trailing-edge (electronic) dimmer or consult the driver manufacturer’s compatibility list to find a tested dimmer model.
Safety Rules and When to Call a Licensed Electrician
Working with electrical components carries inherent risks of shock, fire, and equipment damage. Before inspecting, disconnecting, or replacing any LED driver, you must isolate the power. Always turn off the main circuit breaker at your home’s distribution board (DB box) rather than relying solely on the wall switch, as some switches may only cut the neutral wire, leaving live voltage at the fixture.
When preparing to install the new driver, verify that its physical dimensions allow for proper installation inside the fixture’s canopy or ceiling cutout. Ensure there is adequate ventilation space around the driver enclosure to prevent overheating, especially in enclosed ceiling spaces. You must also check that the driver’s IP (Ingress Protection) rating matches the installation environment; fixtures in damp areas like bathrooms or outdoor balconies require drivers with appropriate moisture protection.
For your safety, know when to step back and call a professional. If your installation involves fixed mains wiring, working at significant heights, suspended heavy loads, or complex commercial control systems, do not attempt a DIY replacement. In Singapore, any modifications to fixed electrical wiring must be performed by a licensed electrical worker (LEW) to ensure compliance with local safety standards and building regulations.
Frequently Asked Questions (FAQ)
Can I use a higher wattage LED driver than my fixture requires?
Yes, provided you are using a constant voltage system. A constant voltage fixture will only draw the current and wattage it needs from the driver, meaning a higher-capacity driver will run cooler and potentially last longer. However, you must ensure the larger driver physically fits within your installation space and meets all thermal clearance requirements. For constant current systems, the driver’s maximum wattage rating can also be higher, but you must ensure the output current matches the fixture’s required current exactly and that the fixture’s voltage requirements fall within the driver’s output voltage range.
What happens if I connect a constant current driver to a constant voltage fixture?
Connecting a constant current driver to a constant voltage fixture will cause immediate electrical mismatch issues. The constant current driver will attempt to force its rated current through the fixture, which can rapidly overdrive the LEDs, leading to extreme heat, burnt-out components, or a potential fire hazard. Conversely, connecting a constant voltage driver to a constant current fixture will typically result in the lights failing to illuminate or flickering rapidly. Always verify the driver topology on the product labels before making any electrical connections.
Community discussion
Share your experience or ask a question. Comments are reviewed before publication.