
Choosing the right round wall light involves balancing the physical dimensions of your corridor with the light output needed for safe, comfortable passage. A fixture that is too large can obstruct the walkway, while one that is too dim can make the space feel cramped. By measuring your corridor’s width and calculating the necessary lumens, you can select a round wall light that provides both balanced illumination and a harmonious visual scale.
Assessing Your Corridor Dimensions and Lighting Needs
To establish a baseline, measure the physical dimensions of your corridor. Use a standard measuring tape to record the width from wall to wall, the total length, and the floor-to-ceiling height. These measurements define the spatial volume, which dictates how light behaves and how large your fixtures can safely be.
Next, identify the primary function of the corridor. A simple transitional hallway requires basic ambient lighting to prevent tripping hazards. If the corridor features artwork or architectural details, you may need targeted accent lighting. This helps determine whether you need diffused, omnidirectional round wall lights or fixtures that direct light upward and downward.
Products mentioned in this guide
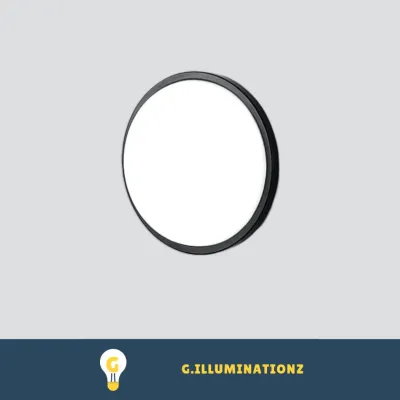
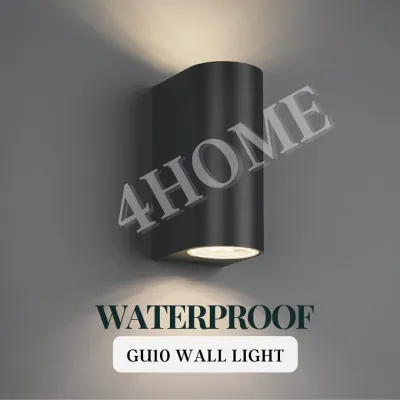
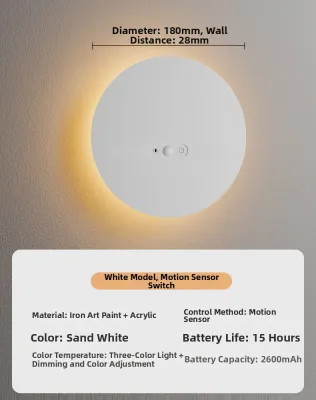
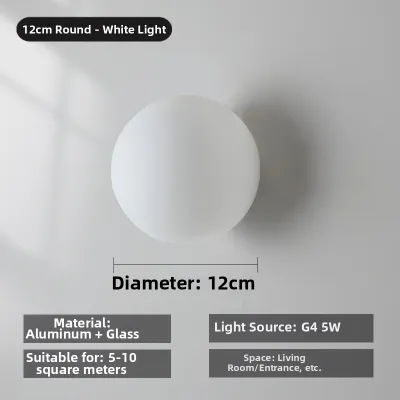
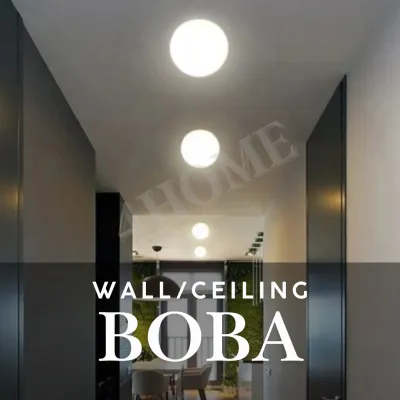
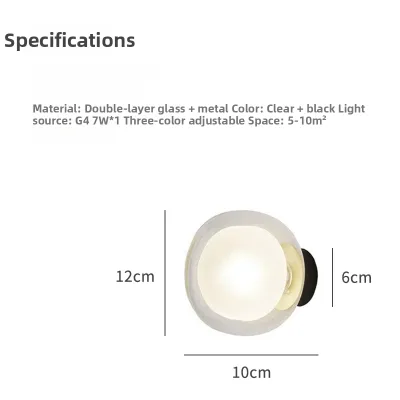
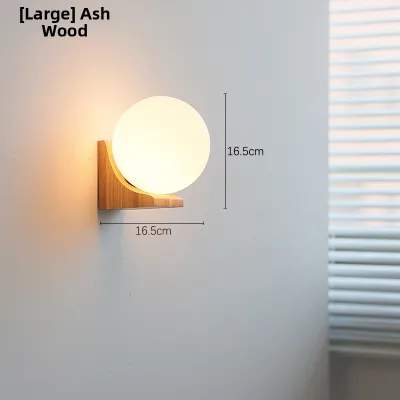
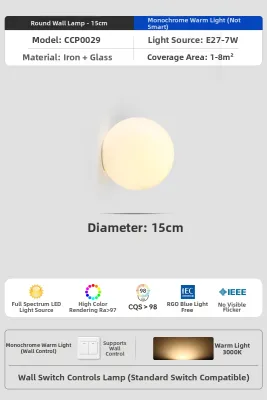
Prices are valid at publication and may change. Please refer to the product page for the latest price.
You must also account for existing light sources and surface characteristics. Note if the corridor receives natural light from adjacent rooms, as this reduces daytime lighting needs. Additionally, evaluate wall and floor reflectance. Light-colored, glossy surfaces reflect more light, reducing the total lumens needed, whereas dark, matte, or textured surfaces absorb light and require higher brightness levels.
Selecting the Right Round Wall Light Size
When selecting a round wall light, its diameter should remain proportional to the corridor’s width. For standard corridors, a common design guideline is to choose fixtures with a diameter that does not exceed one-tenth of the corridor’s total width. For example, in a corridor that is 120 cm wide, a round wall light with a diameter of 12 cm or less typically maintains a balanced visual scale.

Fixture projection—the distance the light extends outward from the wall—is a critical safety factor in narrow passages. To ensure safe headroom and unobstructed movement, check the product specifications for the projection depth. In tight corridors, look for low-profile round wall lights that project no more than 10 cm from the wall surface. This minimizes the risk of residents bumping into the fixtures while walking through the space.
Mounting height plays a vital role in preventing direct glare. Generally, wall lights are installed so that the center of the fixture sits approximately 150 cm to 170 cm above the finished floor level. Adjust this height slightly based on your household’s average height, ensuring that the light source itself is shielded from direct view when standing nearby.
If you are installing multiple fixtures along a longer corridor, calculate consistent spacing intervals. A common approach is to space the wall lights roughly 1.8 to 2.4 meters apart. This spacing prevents dark spots between fixtures while ensuring that the light pools overlap slightly to create a continuous, safe pathway.
Determining Ideal Brightness and Lumen Output
To determine the ideal brightness, calculate the baseline lumen requirements based on standard illuminance guidelines. For corridors, a general target is 100 to 150 lux (lumens per square meter). Multiply the floor area of your corridor (length multiplied by width in meters) by this lux target to find the total required lumens. For instance, a corridor measuring 1 meter wide by 5 meters long has an area of 5 square meters, requiring a total of 500 to 750 lumens distributed across all fixtures.
Adjust these brightness targets based on the specific colors and textures of your corridor walls. Darker paint colors, wood paneling, and textured wallpaper absorb a significant portion of the emitted light. If your corridor features these materials, you may need to select fixtures with a higher lumen output to compensate. Conversely, bright white walls reflect light efficiently, allowing you to use lower-lumen fixtures.
Color temperature is a conditional preference that shapes the corridor’s ambiance. Warm white light (typically 2700K to 3000K) creates a cozy, welcoming atmosphere suitable for residential hallways. Neutral white light (around 4000K) provides a cleaner, more modern look that enhances visibility. Avoid very cool color temperatures (above 5000K) in residential corridors, as they can feel clinical and harsh.
Integrating dimming capabilities allows you to adapt the brightness levels to different times of day. A high-brightness setting is useful during the day or early evening, while a dimmed setting provides a soft, low-glare guide light during the late-night hours. When planning a dimmable setup, always verify that both the LED wall light and the wall-mounted dimmer switch are explicitly rated as compatible by the manufacturers.
Placement, Spacing, and Installation Boundaries
When planning the physical layout, compare staggered and symmetrical placement options. Symmetrical placement—where fixtures are mounted directly opposite each other—works well in wider corridors and creates a formal, balanced look. In narrower corridors, a staggered layout—where fixtures alternate from side to side along the length of the hallway—helps minimize shadows and reduces visual crowding.
Before mounting any fixtures, verify the structural integrity of the walls and identify internal wiring routes. Ensure that the chosen mounting locations do not interfere with hidden plumbing pipes, structural studs, or existing electrical conduits. Always check local electrical compliance and building regulations to ensure your planned installation meets safety standards. Additionally, verify that the fixture’s voltage, base or interface type, wattage limit, and electrical certification match your home’s electrical system before proceeding with the installation.
Fixed wiring, complex switching configurations, and installations at height require professional expertise. For safety, always isolate the power supply at the main circuit breaker before attempting any electrical work. If you are running new electrical cables behind drywall or masonry, or if you are unsure about wiring compatibility, hire a qualified electrician to perform the installation.
Additionally, check the product labels for appropriate Ingress Protection (IP) ratings if your corridor is located near moisture-prone areas. For example, corridors adjacent to bathrooms or semi-outdoor entryways may be exposed to dampness. In these environments, select round wall lights with an IP44 rating or higher to ensure the fixture is adequately protected against water splashes.
Common Sizing and Brightness Mistakes to Avoid
One of the most common mistakes is choosing oversized fixtures that overwhelm narrow walls. A large, bulky round wall light not only disrupts the visual proportions of a tight corridor but also protrudes into the walkway, creating a physical hazard. Always measure the projection and diameter of the fixture before purchasing, and compare these dimensions against your corridor’s physical clearance.
Another frequent error is relying solely on wattage to estimate brightness. With modern LED technology, wattage indicates power consumption rather than light output. Relying on wattage can lead to under-illumination or excessive brightness. Instead, always check the product specifications for the actual lumen output to ensure the fixture meets your calculated lighting needs.
Harsh glare is another issue that arises from poorly designed or poorly positioned fixtures. Avoid round wall lights with completely exposed bulbs or clear glass covers if they are mounted at eye level. Instead, opt for fixtures with frosted diffusers, opaque covers, or designs that direct light back against the wall to shield your eyes from direct glare.
Finally, ensure complete compatibility between your dimmer switches and the selected LED wall lights. Using incompatible components can cause flickering, buzzing, or premature failure of the LED driver. Check the manufacturer’s compatibility list or consult a lighting professional to verify that your dimmer switch is designed to work with the specific LED driver inside your round wall light.
Frequently Asked Questions (FAQ)
Can I use dimmable round wall lights in a narrow corridor?
Yes, dimmable round wall lights are highly beneficial in narrow corridors. Lowering the brightness helps reduce glare and eye strain in confined spaces, especially during the night when your eyes are adjusted to the dark. To ensure a smooth dimming performance, check the product packaging and manufacturer specifications to verify that both the LED driver inside the fixture and your wall dimmer switch are fully compatible.
How do I safely clean round wall lights in a dusty corridor?
To safely clean your round wall lights, always turn off the power at the wall switch or main breaker and allow the light source to cool down completely. Use a dry or slightly damp microfiber cloth to gently wipe away dust and debris from the fixture’s surface. Avoid using harsh chemical cleaners, abrasive pads, or excessive water, as these can damage the fixture’s finish or compromise the internal electrical components.
Community discussion
Share your experience or ask a question. Comments are reviewed before publication.