
An adjustable candle warmer controls scent throw by regulating the thermal energy applied to a candle, which directly dictates the rate at which fragrance oils evaporate from the wax pool. Because different candle brands formulate their products with distinct wax bases—such as soy, paraffin, or coconut blends—and varying concentrations of fragrance oils, a single temperature setting cannot deliver optimal results for every jar. Adjusting the temperature allows you to balance immediate fragrance intensity with the overall lifespan of your candle, customizing the sensory experience to suit your space.
By understanding how heat interacts with different wax types and fragrance loads, you can unlock the full potential of your home fragrance collection. Whether you are seeking a subtle background aroma for a small study or a powerful scent throw to fill an open-concept living area, mastering your warmer’s temperature dial is the key to efficient and safe aromatherapy.
How Heat Settings Control Fragrance Release
Adjustable candle warmers operate primarily through two designs: top-down models that utilize a halogen bulb to melt the wax from above, and bottom-up models that feature a heated plate. In top-down warmers, the adjustable dial acts as a dimmer, controlling the electrical current to the bulb (typically a 35-watt or 50-watt GU10 halogen bulb). As you increase the power, the bulb burns brighter and emits more radiant heat, which quickly liquefies the top layer of wax to release the suspended fragrance molecules into the air.
Products mentioned in this guide
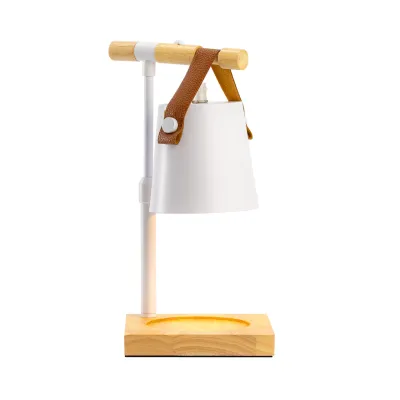
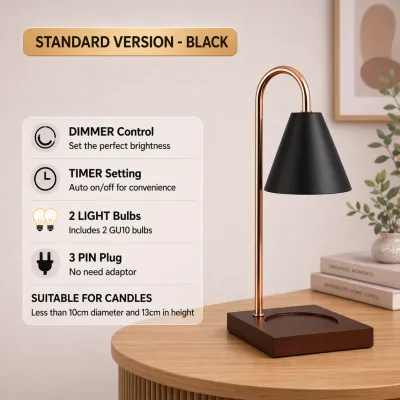
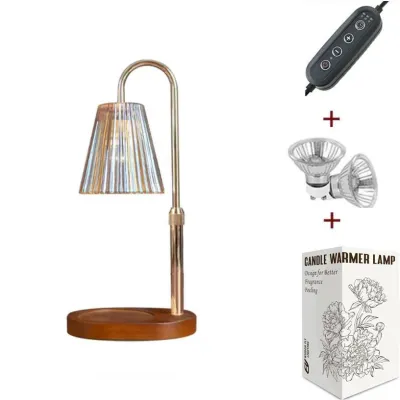
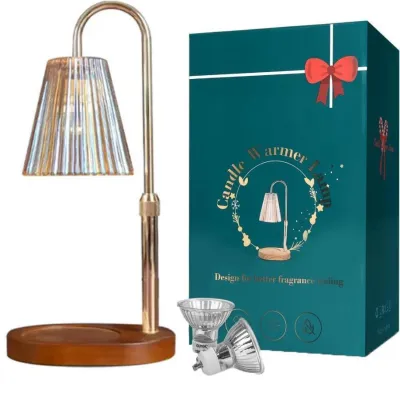
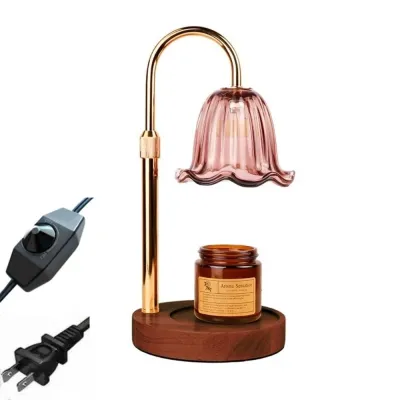
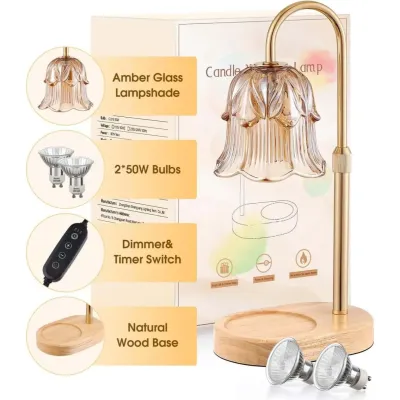
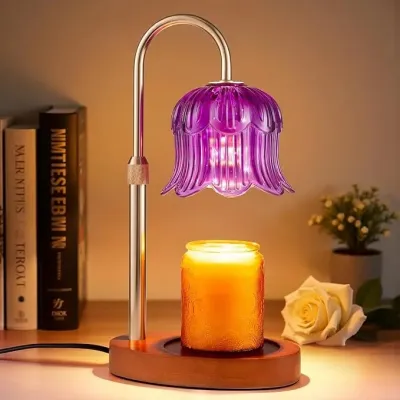
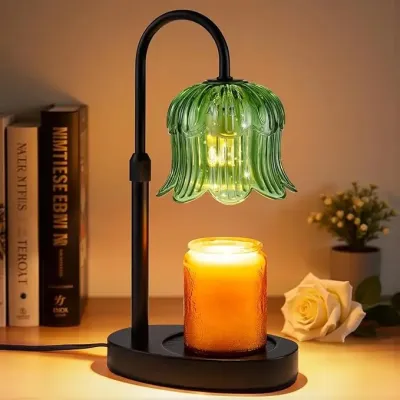
Prices are valid at publication and may change. Please refer to the product page for the latest price.
The relationship between heat and scent throw is governed by the evaporation rate of the fragrance oils. High heat settings create a deep, hot wax pool rapidly, forcing the volatile scent compounds to vaporize at an accelerated rate. While this results in an immediate, intense burst of fragrance that can easily fill large rooms, it also depletes the candle’s scent oils much faster, leaving behind a pool of scentless wax after only a few uses.
Conversely, low heat settings melt the wax at a slower, gentler pace, creating a shallower liquid pool. This slower evaporation rate yields a more subtle, delicate scent throw that is ideal for smaller spaces or sensitive individuals. Because the fragrance oils are released gradually, the overall lifespan of the candle is significantly extended, though the aroma may take longer to become noticeable.
Because candle manufacturers do not standardize their wax formulas or fragrance concentrations, a uniform heating temperature is highly inefficient. A delicate coconut wax candle heated at maximum power will quickly lose its scent and potentially degrade, while a dense paraffin jar heated on a low setting may fail to melt completely, resulting in little to no scent throw. An adjustable warmer resolves this issue by allowing you to customize the thermal output to match the specific physical properties of each candle.
How to Assess Wax Types and Fragrance Loads Before Heating
Before placing a new candle on your warmer, inspect the manufacturer’s label to identify the primary wax composition. Soy wax is highly popular for its clean burn and sustainable profile, but it has a relatively low melting point, typically between 49°C and 54°C. Because soy wax is soft and melts easily, it requires only moderate heat from an adjustable warmer to establish a full melt pool and release its fragrance effectively.

Paraffin wax, commonly used by mass-market candle brands, is a denser petroleum byproduct with a higher melting point, often ranging from 57°C and 65°C. This structural density means paraffin candles require significantly more thermal energy to liquefy. If you attempt to warm a paraffin candle on a low setting, the heat may not penetrate deep enough to create a proper melt pool, leaving the fragrance trapped within the solid wax.
Coconut wax and beeswax blends represent other common formulations, each with unique thermal behaviors. Coconut wax has an exceptionally low melting point and a soft texture, making it highly sensitive to heat; it requires a very gentle setting to prevent the fragrance oils from scorching. Beeswax, on the other hand, is incredibly hard and has a high melting point, demanding a sustained, higher heat setting to release its natural, honey-like aroma alongside any added fragrance oils.
Fragrance load—the percentage of fragrance oil mixed into the wax—also dictates how a candle responds to heat. Premium candles often feature a high fragrance load of 10% to 12%, which can become overwhelmingly cloying or chemically distorted if heated too quickly on a high setting. Budget-friendly candles with lower fragrance loads (around 5% to 8%) generally require a slightly larger, warmer melt pool to project their scent effectively across a room.
Visual cues on the candle’s surface can also guide your initial temperature selection. Soy candles often exhibit “frosting,” a natural, crystalline texture on the surface that indicates a pure, additive-free soy wax that will melt readily under low heat. Hard, glossy surfaces typically indicate paraffin or synthetic blends that will require a higher starting temperature to initiate a successful melt.
Step-by-Step Guide to Dialing in the Perfect Temperature
Finding the ideal temperature setting for a new candle brand requires a systematic approach to avoid damaging the fragrance oils or wasting the wax. Follow this step-by-step method to safely optimize your candle’s performance.
1. Verify Your Hardware and Environment
Before plugging in your adjustable candle warmer, verify that its voltage rating matches your local electrical grid (such as the 220V-240V standard in Singapore). Using an imported warmer designed for 110V without a proper step-down transformer is a severe electrical hazard. Ensure the installed halogen bulb matches the fixture’s maximum wattage rating, and check that the unit carries recognized electrical safety certifications.
2. Start with a Low-to-Medium Baseline
Place your candle on the warmer and turn the adjustable dial to a low-to-medium setting (approximately 30% to 50% of the maximum power). Starting with a conservative heat level prevents thermal shock to the glass jar, which can cause structural failure or cracking. It also ensures that delicate top notes of the fragrance—such as citrus, light florals, or fresh herbs—are not immediately scorched and destroyed by excessive heat.
3. Monitor the Melt Pool Formation
Allow the warmer to run continuously for 20 to 30 minutes. Observe the physical state of the wax. For an optimal scent throw, you want to achieve a consistent, liquid wax pool that is roughly 1 to 2 centimeters deep across the entire diameter of the jar. If the wax is only melting directly under the bulb and leaving a hard ring around the edges of the jar, the heat setting is too low.
4. Evaluate the Scent Radius
Step out of the room for a few minutes to clear your olfactory senses, then return to evaluate the fragrance intensity. Note how far the scent has traveled. In typical air-conditioned spaces, cool air currents can disrupt scent dispersion, meaning you may need a slightly higher setting to overcome the cooling effect of the air conditioner on the wax surface.
5. Make Incremental Adjustments
If the fragrance is barely perceptible after 30 minutes, turn the dial up by about 10% to 15% and wait another 15 minutes. Repeat this process until you achieve a comfortable aroma. If the scent is overpowering, headache-inducing, or smells slightly burnt, immediately lower the dial by 20% to allow the wax pool to cool slightly and stabilize the fragrance release.
6. Record Your Settings for Future Use
Because every candle brand behaves differently under heat, keep a small digital log or place a small adhesive label on the bottom of the jar noting the ideal dial position. For example, you might record that a specific soy-blend jar performs best at 40% power, while a dense paraffin jar requires 80% power to throw its scent effectively. This simple habit ensures consistent results every time you use that specific brand.
Troubleshooting Weak or Overpowering Scent Throws
When switching between different candle brands or moving your warmer to a new room, you may encounter issues with fragrance performance. Most of these problems can be resolved by adjusting your heating technique or environment.
If your candle warmer has created a deep melt pool but you cannot detect any scent, you are likely dealing with a depleted top layer of wax. Unlike traditional burning, where the wax is consumed by the flame, a candle warmer only evaporates the fragrance oils, leaving the physical wax behind. Once the fragrance oils have completely evaporated from the top layer, this scentless liquid wax acts as a barrier, preventing the heat from reaching the scented wax underneath. To fix this, turn off the warmer, let the wax cool slightly, and safely pour off the top centimeter of liquid wax into a disposable container to expose a fresh, highly scented layer of wax.
Another common cause of a weak scent throw is environmental draft. If your warmer is placed directly beneath an air conditioning vent or near an open window, the moving air will cool the surface of the wax, preventing it from reaching the temperature required for fragrance evaporation. Relocate your warmer to a stable, draft-free corner of the room to allow the heat to concentrate efficiently on the wax.
An overpowering, synthetic, or burnt smell indicates that the temperature setting is too high for the specific fragrance formulation. High-quality fragrance oils consist of top, middle, and base notes, each with different boiling points. Excessive heat can cause these notes to evaporate simultaneously or scorch the delicate top notes, resulting in a distorted and unpleasant aroma. Lowering the temperature immediately allows the fragrance to unfold naturally and maintain its intended scent profile.
In some cases, a candle may simply be incompatible with a warmer. If a candle continues to produce no scent despite a proper melt pool, or if the wax begins to discolor, smoke, or emit an acrid smell, discontinue using it on the warmer. Some budget candles use low-grade synthetic oils or incompatible wax blends that do not react well to sustained radiant heat. Always check the candle manufacturer’s guidelines to ensure the product is safe for use with warmers.
Essential Safety and Maintenance for Adjustable Warmers
Operating an electrical heating device requires strict adherence to safety protocols to prevent accidents, electrical fires, or damage to your home decor.
Always place your adjustable candle warmer on a flat, stable, and heat-resistant surface, such as ceramic, stone, or thick wood. Keep the unit away from flammable materials, including curtains, books, loose papers, and bedding. Ensure the power cord is routed safely where it cannot be tripped over, and keep the warmer entirely out of reach of children and pets, as both the melted wax and the halogen bulb can reach temperatures high enough to cause severe burns.
Proper maintenance of the warmer is essential to prevent cross-contamination of scents. If you use a bottom-up plate warmer with a removable wax dish, clean the dish thoroughly between different candle brands. Allow the dish to cool, wipe away any residual wax with a dry paper towel, and wash it with warm, soapy water. Never use abrasive cleaning pads or harsh chemicals, which can damage the protective coating of the heating element.
When disposing of depleted wax, never pour liquid wax down your sink or drain. Liquid wax will quickly cool and solidify inside your plumbing, causing severe blockages that require professional repair. Instead, pour the warm liquid wax into an empty aluminum can, a milk carton, or a paper cup filled with paper towels, and allow it to solidify completely before throwing it in the household trash.
Regularly inspect the physical condition of your adjustable warmer. Check the power cord, rotary dial, and plug for any signs of fraying, cracking, or discoloration. If the adjustable dial feels unusually hot to the touch during operation, or if the halogen bulb flickers consistently, unplug the unit immediately. Replace worn bulbs with the exact wattage and model specified by the manufacturer, and do not attempt to repair a damaged heating element or control switch yourself.
Frequently Asked Questions (FAQ)
Is It Safe to Leave an Adjustable Warmer on High All Day?
No, leaving an adjustable candle warmer on its highest setting for extended periods is not recommended. Continuous high-heat operation shortens the lifespan of the halogen bulb, subjects the electrical components to prolonged thermal stress, and rapidly depletes the candle’s fragrance oils. For optimal safety and performance, limit warming sessions to 2 to 4 hours, or use a warmer equipped with an automatic shut-off timer to manage the operation safely.
Should You Remove the Wick Before Using a Jar Candle on a Warmer?
Generally, you do not need to remove the wick when using a standard jar candle on a top-down adjustable warmer. The halogen bulb melts the wax from the top down, and the wick will simply remain suspended in the liquid pool. However, you should trim the wick to about 6 millimeters before warming to prevent it from leaning against the glass jar or falling completely into the deep melt pool, which can make it difficult to retrieve if you choose to light the candle traditionally in the future.
Community discussion
Share your experience or ask a question. Comments are reviewed before publication.