
Achieving balanced, glare-free illumination in a typical Housing & Development Board (HDB) living room requires a strategic approach to track light placement. Unlike standard ceiling fixtures that cast a single pool of light, a well-planned track lighting system allows you to direct light precisely where it is needed, transforming a flat space into a dynamic, functional environment. By understanding your specific layout, calculating correct spacing, and verifying structural and electrical limits, you can establish an efficient lighting scheme that provides even coverage without harsh shadows or unwanted glare.
Assess Your Living Room Layout and Lighting Needs
Before purchasing any fixtures, you must map out the physical layout of your living room and identify how each zone will be used. HDB living rooms often serve multiple purposes, combining lounging, entertainment, dining, and sometimes a home office. Take a piece of paper or use a digital planning tool to sketch the floor plan, marking the exact positions of your sofa, television console, shelving units, and any artwork or feature walls.
Next, observe the natural light entry points and note how daylight shifts across the room throughout the day. This helps identify areas that remain naturally dark or prone to heavy shadowing, which will require dedicated illumination. You should also note any existing fixed light points on the ceiling, as these will likely serve as the starting electrical feed for your track system.
Products mentioned in this guide
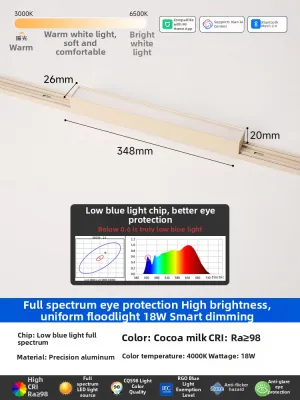
10 Lazada user ratings
Very good product! Nice and compatible light rail track. One of the best one for 3 lines tract
Item received in good condition. Quality is OK. Value for money 👍
Item not received. Have requested for refund
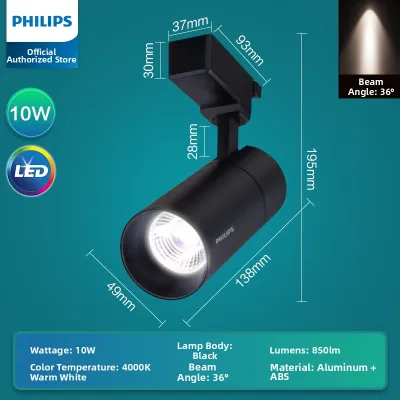
305 Lazada user ratings
💡Brightness:very bright 🎨Design:sleek 🔋Energy Efficiency:not sure Adjustable spotlight direction, Ideal for living room accent lighting,
🎨Design: goody goody goody 💡Brightness: goody goody goody astalavista babeh 🔋Energy Efficiency: ok i guess
💡Brightness:Very bright 🎨Design:Standard track light fitting 🔋Energy Efficiency:Led
Adjustable spotlight direction,
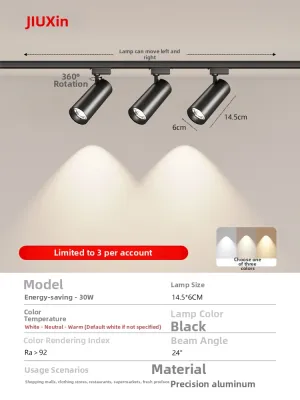
49 Lazada user ratings
The lighting effects are great, and it looks really clean. Plus, installation was super easy. I compared a lot of options before choosing th…Read full reviewShow less
The lighting effects are great, and it looks really clean. Plus, installation was super easy. I compared a lot of options before choosing this one, and I definitely made the right choice!
The track lights are really good quality, they look great once installed, feel quite upscale, and brighten up the room a lot, making it nice…Read full reviewShow less
The track lights are really good quality, they look great once installed, feel quite upscale, and brighten up the room a lot, making it nice for photos.
The light is really bright and works great in the supermarket. I can easily adjust the angle, and I'm very satisfied with it.
The product is great, it's all genuine, and the brightness of the lights is really good. Totally worth buying!
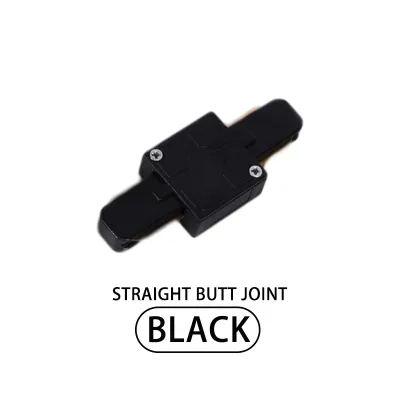
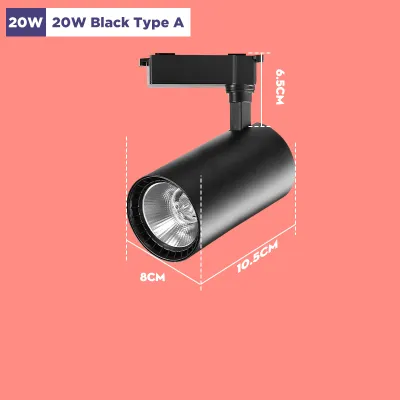
28 Lazada user ratings
yet to try , house is still under Reno as well as the electrical point haven't even started .. haven't power on to give it a try on the watt…Read full reviewShow less
yet to try , house is still under Reno as well as the electrical point haven't even started .. haven't power on to give it a try on the watts as well as the brightness therefore order 10 first . how it goes well
Energy-saving COB LED technology, Long-lasting 1-year warranty, Flexible track rail lighting, Energy-saving COB LED technology,
Modern black and white design, Energy-saving COB LED technology, Flexible track rail lighting,
🛠️Durability:Good 🎨Design:okay 💡Brightness:good 🔋Energy Efficiency:yes
Fast delivery, hope it works well when start installation
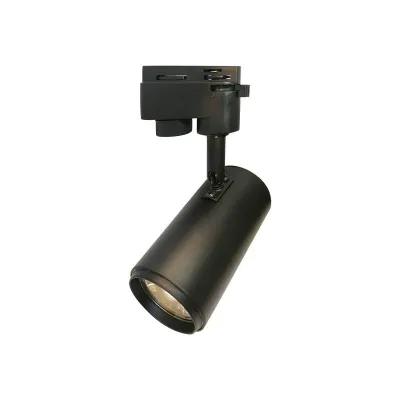
29 Lazada user ratings
Items received in good conditions. Good quality for the price paid. Thanks.
Fantastic buy. Value for money and items are well packed! Thanks!
Received in good working condition.
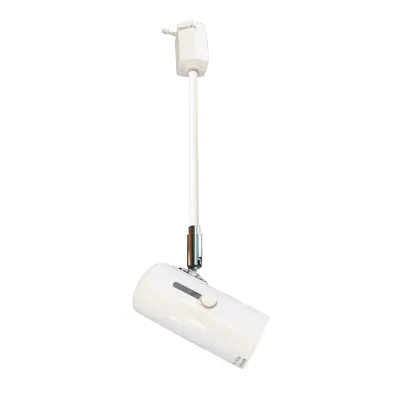
15 Lazada user ratings
I have repeated order from this supplier. I am very happy about their service. Thank you so much. Highly recommended seller.
Received the item on the next day of my ordered and is in good condition. Super fast. Thank u so much
Needed lower hanging track lights for a high ceiling. This one just about does the job
similar to pricenof outside but if price is same and they deliver, wh not?
Sturdy and look nice! Delivery pretty fast. Happy with the purchase.
Prices are valid at publication and may change. Please refer to the product page for the latest price.
With your layout mapped, define the primary role of your track lighting. If you want general, overall illumination, you will need a system designed for ambient lighting, utilizing wider beam angles to flood the space evenly. For reading corners or workspaces, task lighting with focused, adjustable beams is necessary. If your goal is to highlight architectural features, family photos, or a textured feature wall, you will plan for accent lighting, which uses narrow beams to create visual interest.
Determine Track Light Spacing and Positioning
Achieving even illumination without dark spots or overlapping hot spots depends on precise spacing and positioning. As a general guideline for typical HDB ceiling heights—which usually range from 2.6 to 2.8 meters—tracks should be positioned parallel to the walls they are intended to illuminate. To determine the distance from the wall to the track, a standard measurement of 50 to 100 centimeters is highly effective. Placing the track too close to the wall can highlight minor plastering imperfections, while placing it too far can cause the light to shine directly onto the heads of people sitting near the wall, creating uncomfortable glare.

The spacing between individual track light heads depends heavily on the beam angle of the bulbs and the wattage of the fixtures. For general ambient lighting, track heads with a wide beam angle of 36 degrees or more are typically spaced about 60 to 90 centimeters apart along the rail. If you are using narrower beam angles for accent lighting, you may space them closer together or group them to focus on specific design elements.
Irregular room dimensions, structural beams, or false ceilings require careful adjustments to this layout. If your HDB living room features prominent structural concrete beams, you must decide whether to run separate tracks within each ceiling bay or mount a continuous track that bypasses the beams using specialized suspension kits or surface-mounted conduit. For L-shaped living and dining areas, planning independent track runs controlled by separate switches allows you to adjust the light levels in each zone independently, saving energy and creating distinct moods.
Electrical and Structural Pre-Installation Checks
Before mounting any hardware, you must conduct thorough structural and electrical checks to ensure your ceiling can safely support the system. HDB ceilings are typically made of solid concrete slabs, though many homeowners install gypsum false ceilings to conceal wiring or air conditioning ducts. You must identify your ceiling type because it dictates the mounting hardware and anchors required to secure the track rail safely.
For solid concrete ceilings, you will need to use a rotary hammer drill and masonry wall plugs to ensure a secure hold. If you have a false ceiling, you must verify whether it has been reinforced with timber support structures or if you need to use heavy-duty toggle bolts. Mounting a heavy track system directly to unreinforced gypsum board without proper anchoring can lead to structural failure and safety hazards.
On the electrical side, locate your existing ceiling junction box, which will serve as the power source for the track. You must verify that the total wattage of all planned track heads does not exceed the maximum load capacity of the lighting circuit, which is typically rated at 6 amps or 10 amps in Singapore homes. Additionally, use a reliable stud finder with live-wire detection capabilities to scan the ceiling for hidden electrical conduits, plumbing lines, or structural metal reinforcements before drilling any holes.
DIY vs. Hiring a Licensed Electrician
Planning your track lighting layout, selecting the design of the fixtures, and marking out the drill points on your ceiling are excellent tasks for a DIY approach. These planning phases allow you to customize the lighting to your exact lifestyle needs without rushing. You can also handle minor cosmetic tasks, such as patching old screw holes or painting the ceiling before the new track is installed.
However, when it comes to the actual electrical work, Singapore regulations require a licensed electrical worker (LEW) to perform any new wiring installations, circuit alterations, or connections to the main distribution board. Attempting to wire a track light system yourself without the proper licensing poses significant safety risks, including electrical fires, short circuits, and severe electrical shocks.
Furthermore, using unlicensed labor or performing DIY electrical wiring can void your home insurance policy and any manufacturer warranties on your lighting fixtures. A licensed electrician ensures that the installation complies with local electrical safety standards, verifies proper grounding, and provides peace of mind that your system will operate safely for years to come.
Core Installation Steps and Safety Boundaries
If you are assisting with the physical mounting of the track rail or observing the installation process, safety must remain the absolute priority. The very first step of any electrical installation is complete power isolation. You must switch off the corresponding circuit breaker at your home’s main distribution board and verify that the power is truly off at the ceiling point using a reliable, non-contact voltage tester. Never rely solely on the wall switch to isolate the power.
Once power isolation is verified, the track rail can be prepared for mounting. Hold the track against the ceiling to mark the drilling points, ensuring it is precisely aligned and parallel to your walls. Drill the holes using the correct drill bit size for your chosen anchors. For concrete ceilings, insert plastic or metal masonry plugs, then secure the track rail using robust screws. Ensure the track is mounted flush against the ceiling surface to prevent any wobbling or sagging when the heavy light heads are attached.
During this process, you must be prepared to stop work immediately if you encounter any unexpected conditions. If your drill hits an obstruction that feels like metal conduit or structural rebar, stop drilling immediately and shift the mounting point slightly. Similarly, if you discover any signs of moisture, water staining, or crumbling plaster on the ceiling, halt the installation until the underlying structural or plumbing issue is fully resolved by a professional.
Post-Installation Testing and Adjustments
Once the track rail is securely mounted and the electrical connections are completed by a professional, you can proceed with testing and fine-tuning your system. Turn the main power back on and switch on the lights to verify that every track head illuminates properly. If you have installed a dimmable system, test the dimmer switch across its entire range to check for any flickering, buzzing, or dead zones, which could indicate an incompatibility between the LED driver and the dimmer switch.
Let the lights run for a short period to observe their thermal stability and ensure there is no unusual heat buildup around the track connections. Once you are satisfied with the electrical performance, turn the lights off and allow them to cool before making physical adjustments. You can then adjust the tilt and rotation of each individual track head to direct the light precisely onto your target areas, such as the center of the coffee table, a reading chair, or a piece of wall art.
Finally, sit in your usual viewing positions to check for unwanted reflections or glare. Track lights can easily reflect off television screens, glass cabinet doors, or highly polished floor tiles, causing visual discomfort. To resolve this, slightly adjust the angle of the offending track heads away from reflective surfaces, or consider using anti-glare accessories such as honeycomb louvers or barn doors to control the spread of light.
Frequently Asked Questions (FAQ)
Can I install track lights on a false ceiling in an HDB?
Yes, you can install track lights on an HDB false ceiling, but you must take structural weight limits into account. Standard gypsum board false ceilings cannot support the weight of a heavy track system on their own. To ensure a safe installation, the track must be anchored directly into the metal support channels of the false ceiling framework, or secured to the concrete slab above using long threaded rods or heavy-duty toggle bolts.
How do I prevent track lights from causing glare on my TV?
To prevent distracting reflections on your television screen, avoid placing track lights directly opposite the TV wall. Instead, position the track parallel to the TV wall and angle the light heads slightly downward or toward the sides to provide indirect ambient light. You can also select track heads with deep-set light sources or add anti-glare honeycomb louvers to restrict the lateral spill of light.
Community discussion
Share your experience or ask a question. Comments are reviewed before publication.