
Replacing a failing or flickering LED module in your Fanco ceiling fan is a practical way to restore bright, efficient lighting to your living space without replacing the entire fan fixture. In Singapore, where Fanco fans are a staple in many HDB flats and private condominiums, these fixtures often feature integrated LED light kits that can eventually wear out over years of daily use. While the physical swap is generally straightforward—often utilizing magnetic mounts and quick-connect terminal plugs—working with electrical components requires strict adherence to safety protocols. By understanding the correct compatibility requirements, gathering the right tools, and following a systematic disassembly and installation process, you can safely complete a fanco led replacement and ensure your ceiling fan continues to illuminate your home reliably.
Before You Start: Safety and Compatibility Checks
Before attempting any hands-on work with your ceiling fan, you must establish a safe working environment. The absolute first step is isolating the electrical circuit. Do not rely solely on the wall switch or the fan’s remote control to cut the power, as these switches only interrupt the live wire and can still leave active current at the fixture if the wiring was incorrectly polarized during installation. Locate your home’s main Distribution Board (DB) box—typically found in the household shelter or near the entrance of Singapore HDB flats—and switch off the specific miniature circuit breaker (MCB) labeled for the lighting or ceiling fan circuit. For absolute safety, switch off the main incoming isolator if you are unsure which breaker controls the fan.
Once the power is isolated, you must verify that you have the correct replacement LED module. Fanco ceiling fans use several different light kit designs depending on the model, such as the Fanco B-Star, Horizon, Dono, or Trinity. Locate the fan’s model number, which is usually printed on a silver sticker on top of the fan motor housing or on the original user manual. Take note of the existing LED module’s specifications, including its wattage (commonly 18W, 24W, or 36W), physical diameter, mounting method (magnetic or screw-in), and the connector type. Most modern Fanco fans utilize a circular LED plate with integrated magnets that cling directly to the metal base of the light kit, connected via a simple two-pin or three-pin quick-release plastic plug. Purchasing an exact OEM (Original Equipment Manufacturer) replacement or a certified compatible third-party module ensures that the voltage requirements (220-240V for Singapore’s electrical grid) and physical dimensions align perfectly.
Products mentioned in this guide
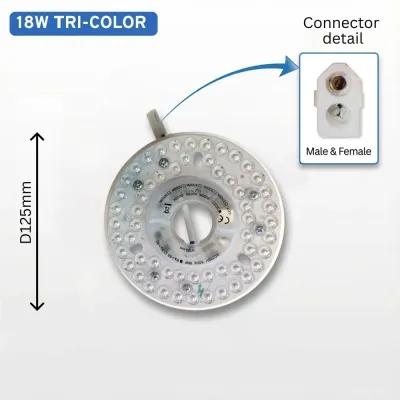
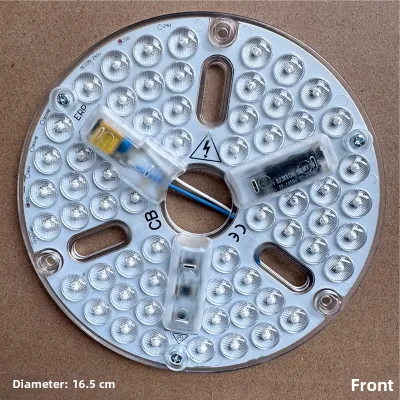
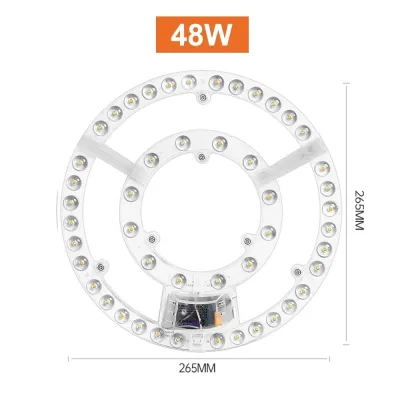
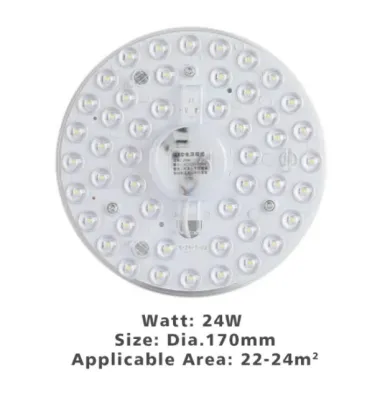
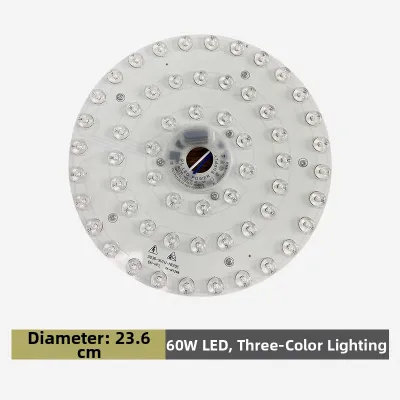
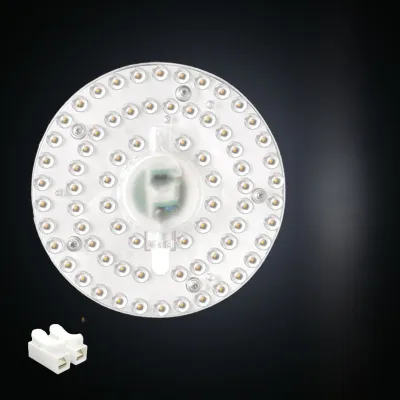
Prices are valid at publication and may change. Please refer to the product page for the latest price.
Finally, consider how a DIY repair affects your product warranty. If your Fanco ceiling fan was recently installed and is still covered under the manufacturer’s local warranty, opening the light kit or replacing internal components yourself may void this coverage. Fanco Singapore typically offers specific warranty periods for the motor, parts, and service. Check your warranty card or contact Fanco’s local customer service center to verify if a professional technician should handle the replacement under warranty before you proceed with any self-repair.
Tools and Materials Needed for the Replacement
Having the proper tools on hand prevents unnecessary trips up and down your ladder and ensures you can complete the replacement safely and efficiently. Because Singapore HDB flats typically have a standard ceiling height of approximately 2.6 meters, a stable three-step or four-step A-frame ladder is usually sufficient to reach the light kit comfortably. Avoid standing on chairs, tables, or unstable household furniture, as this significantly increases the risk of falls while working overhead.

Assemble the following essential tools and materials before starting:
- A sturdy step ladder: Positioned on a flat, non-slip surface directly beneath the fan.
- A non-contact voltage tester: Crucial for verifying that no electrical current is flowing through the wires before you touch them.
- Insulated screwdrivers: Both Phillips and flat-head varieties, to remove any securing screws or bracket plates.
- Safety glasses: To protect your eyes from falling dust, debris, or small screws when looking upward at the fixture.
- The replacement LED module: Verified to match the wattage, dimensions, and connector style of your specific Fanco fan model.
- Electrical tape or wire connectors: While most Fanco models use plug-and-play quick connectors, older or modified units might require wire nuts or terminal blocks to secure the connections.
Step-by-Step Guide to Removing the Old Module for a Fanco LED Replacement
Removing the Light Cover or Diffuser
To access the internal LED plate, you must first remove the protective light cover, also known as the diffuser. On most Fanco ceiling fans, this cover is made of acrylic or frosted glass and is held in place by a twist-lock mechanism. Stand firmly on your step ladder, place both hands flat against the bottom of the diffuser, and gently rotate it counter-clockwise (leftward). It should turn a fraction of an inch and release from the housing slots. If your fan model uses small retaining screws or spring-loaded side clips around the perimeter of the light kit, carefully loosen them while supporting the cover with your other hand to prevent it from falling.
Never use excessive force, metal prying tools, or screwdrivers to wedge the cover open, as this can easily crack the acrylic or shatter a glass diffuser. If the cover feels stuck due to accumulated dust or heat expansion over time, apply gentle, even upward pressure while turning. Once released, carefully lower the diffuser and set it aside in a safe, flat area where it will not be stepped on or knocked over.
Disconnecting the Faulty LED Module
With the internal components exposed, your immediate priority is verifying that the electrical wires are completely dead. Hold your non-contact voltage tester close to the incoming power wires leading from the fan motor to the LED module. The tester should not beep or light up. If it indicates the presence of voltage, stop immediately, descend the ladder, and re-verify that the correct circuit breaker at your DB box has been switched off.
Once you have confirmed the circuit is safe, examine how the LED module is connected to the fan’s wiring. Most modern Fanco fans feature a quick-release plastic connector plug. To disconnect it, press down firmly on the small plastic release tab on the side of the female connector and gently pull the male plug apart. If your fan is an older model that does not feature a quick-release plug and is instead hardwired directly to the fan’s terminal block or joined with wire nuts, stop and take a clear, well-lit photograph of the wiring configuration with your smartphone. This photo will serve as an indispensable reference during the installation of the new module, ensuring you do not miswire the live, neutral, or earth connections. After documenting the setup, carefully unscrew the wire nuts or terminal screws to release the old module’s wires.
Next, detach the physical LED plate from the fan housing. If your Fanco fan utilizes a magnetic mounting system, you can simply pull the LED plate downward; the magnets will release from the metal tray with a slight tug. If the module is secured with small mounting screws, use your insulated Phillips screwdriver to remove them, keeping a firm grip on the plate so it does not drop and pull on any remaining wires.
Installing the New Fanco LED Module
Connecting the Power Wires
Begin the installation by preparing the new LED module for connection. If your replacement kit features a plug-and-play quick connector that matches the fan’s existing wiring harness, align the male and female ends of the plastic plug. Push them together firmly until you hear or feel a distinct click, which indicates that the locking tab has engaged and established a secure, vibration-resistant connection.
For older or hardwired Fanco fan models that do not support quick-connect plugs, refer directly to the reference photograph you took before disassembly. Match the wire colors carefully: in Singapore’s standard electrical wiring, the live wire is typically brown (or red in older installations), the neutral wire is blue (or black), and the earth wire is green-and-yellow (or green). Insert the stripped wire ends into the corresponding slots of the terminal block and tighten the screws securely, or twist the wire ends together and cap them tightly with wire nuts. Wrap the wire nuts with high-quality electrical tape to prevent them from loosening due to the fan’s natural vibrations during operation. Ensure that absolutely no bare copper wire is exposed outside of the terminal block or wire connectors, as exposed live copper poses a severe short-circuit and shock hazard.
Securing the Module and Reattaching the Cover
Once the electrical connections are secure, position the new LED module inside the light kit housing. For magnetic modules, align the plate centrally over the metal tray and gently push it upward. The integrated magnets will snap firmly onto the metal surface. Ensure the plate sits completely flush against the housing and does not pinch or trap any of the electrical wires behind it, as pinched wires can wear down over time and cause electrical faults.
If your module uses screws, align the mounting holes on the LED plate with the corresponding screw holes in the fan housing. Thread the screws in by hand first to prevent cross-threading, then tighten them securely with your screwdriver. Once the module is physically secured, tuck any excess wiring neatly into the center of the housing, keeping it clear of the LED chips to prevent shadows or heat damage. Finally, retrieve the light cover or diffuser. Align its tabs with the slots in the fan housing, push upward gently, and twist it clockwise (rightward) until it locks securely into place. Double-check that the cover is seated evenly and does not rattle when you gently shake the light kit, as loose covers can create annoying buzzing noises when the fan runs at high speeds.
Testing and Troubleshooting the New Light
With the physical installation complete, you can now restore power to the circuit. Return to your home’s DB box and switch the lighting or fan circuit breaker back to the “On” position. Return to the room and test the light using your wall switch. If your Fanco fan is operated via a remote control, ensure the remote has fresh batteries and press the light button to test the fixture.
If the light does not turn on immediately, do not panic. Follow these systematic troubleshooting steps to identify the issue:
- The light does not turn on: Ensure the main circuit breaker at the DB box did not trip immediately upon switching it on, which would indicate a short circuit. If the breaker remains on, turn off the wall switch, isolate the power at the DB box again, remove the light cover, and verify that the quick-connect plug is fully seated or that the hardwired connections are tight.
- The light flickers or blinks: Flickering is often caused by a loose wire connection or an incompatible wall switch. Ensure your wall switch is a standard on/off switch and not a dimmer switch, as standard Fanco LED modules are generally incompatible with phase-cut wall dimmers and will flicker or fail prematurely if dimmed this way.
- The remote control fails to operate the light: If the fan blades spin but the light does not respond to the remote, the remote receiver inside the fan canopy may need to be paired or reset. For most Fanco remote systems, you can pair the remote by turning off the main wall switch for 10 seconds, turning it back on, and immediately holding down the "Light" or "Pair" button on the remote for 3 to 5 seconds until the fan emits a confirmation beep.
When to Call a Professional Electrician in Singapore
While replacing a magnetic, plug-and-play LED module is a highly accessible DIY task, certain scenarios present safety risks that require professional intervention. You must stop working immediately and isolate the power if you encounter any of the following warning signs:
- Damaged internal wiring: If you observe burnt, melted, brittle, or discolored wires inside the fan housing, this indicates a history of overheating or a serious electrical fault that requires professional diagnosis.
- Incompatible or modified wiring: If the replacement LED module does not match the fan's internal wiring and requires cutting, splicing, or modifying the fan's internal circuitry beyond a simple terminal block connection.
- Structural issues: If you notice that the fan housing is loose, wobbles excessively, or shows signs of structural wear where it mounts to the ceiling.
In Singapore, any complex electrical work involving fixed household wiring must comply with local safety regulations. Under the Energy Market Authority (EMA), complex electrical installations and repairs should be performed by a Licensed Electrical Worker (LEW). Hiring a licensed electrician or contacting an authorized Fanco service technician ensures that the repair is completed safely, complies with Singapore Standard SS 538 (Code of Practice for Electrical Installations), and preserves your home’s electrical safety and any remaining product warranties.
Community discussion
Share your experience or ask a question. Comments are reviewed before publication.