
Choosing the right size dining ceiling light requires balancing the physical dimensions of your dining table, the height of your ceiling, and the overall proportions of the room. A fixture that is too large can overwhelm the space, while one that is too small will look visually lost and fail to provide adequate illumination. To achieve a balanced look, interior design guidelines suggest selecting a light fixture with a diameter that is approximately one-half to two-thirds the width of your dining table, and hanging it so the bottom of the fixture sits 75 to 90 centimeters above the tabletop.
By taking precise measurements of your furniture and room before shopping, you can narrow down your options to fixtures that offer both aesthetic harmony and functional illumination. This preparation helps you avoid common installation pitfalls, ensuring that your chosen light fits seamlessly into your home’s layout.
Measure Your Table and Room Dimensions First
To establish a solid foundation for your lighting decision, you must first gather the exact physical measurements of your dining area and furniture. Begin by measuring your dining table’s length, width, and height using a standard measuring tape. The shape of your table—whether it is rectangular, round, oval, or square—plays a critical role in determining the shape and distribution of the light fixture you should choose. Write these dimensions down clearly, as they will serve as the primary baseline for all subsequent calculations.
Products mentioned in this guide
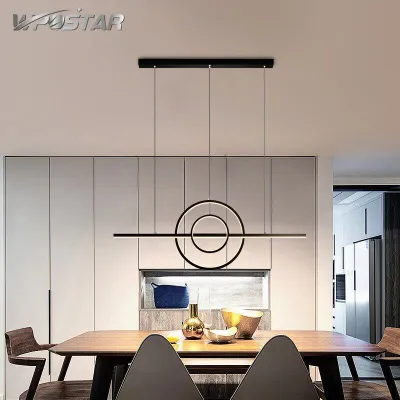

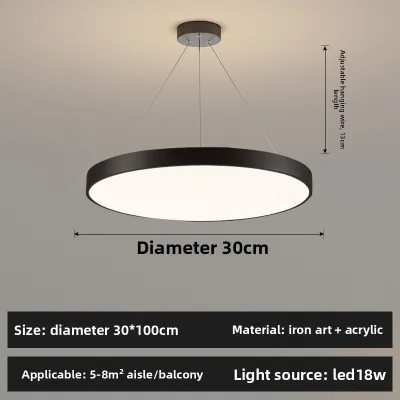
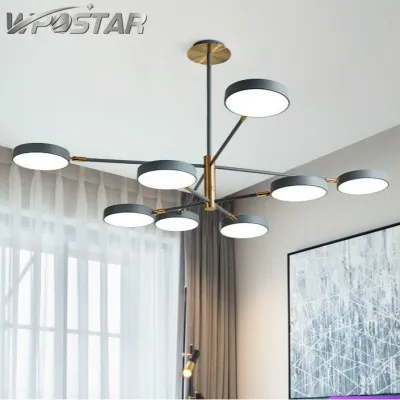
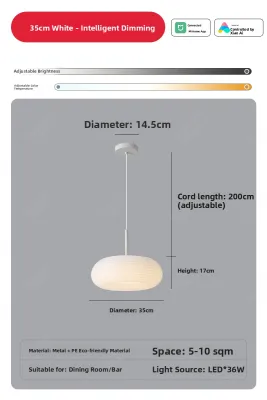
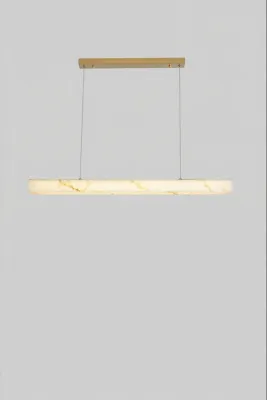
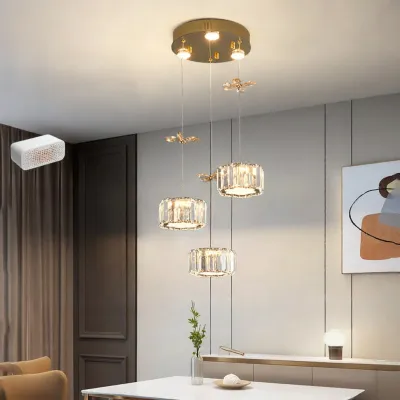
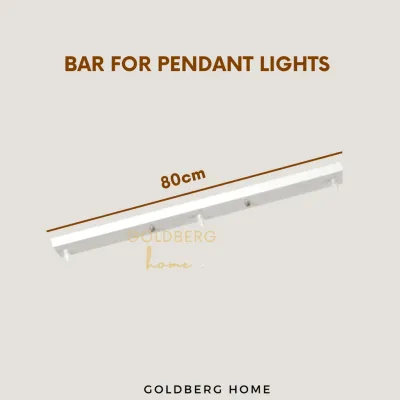
Prices are valid at publication and may change. Please refer to the product page for the latest price.
Next, measure the exact floor-to-ceiling height of your dining room. In Singapore, residential properties can vary significantly in ceiling height, with standard HDB flats often featuring ceilings around 2.6 meters, while some condominiums and landed properties may have much higher clearances. Knowing this height is essential because it dictates how much vertical space you have for both the fixture itself and the suspension cable or chain.
Additionally, you must account for the clearance space around the dining table to ensure safety and comfort. Measure the distance from the edges of the table to the nearest walls, pathways, or adjacent furniture. This step is crucial because guests need to be able to pull out chairs, stand up, and walk around the table without bumping into a low-hanging or overly wide light fixture. A well-proportioned dining space maintains a clear pathway of at least 90 centimeters around the table perimeter, which also helps keep the visual field open and uncluttered.
Calculate the Ideal Fixture Diameter for Your Table
Once you have recorded your table’s dimensions, you can calculate the ideal diameter for your dining ceiling light. The standard interior design baseline recommends that the fixture’s diameter or width should be between one-half and two-thirds the width of the dining table. For example, if you have a dining table that is 90 centimeters wide, your ceiling light should ideally have a diameter between 45 and 60 centimeters. This ratio ensures that the light source is wide enough to illuminate the dining surface effectively without extending past the table edges, which could cause glare or physical obstruction.

You must adapt this sizing ratio to match the specific shape of your dining table. For square or round dining tables, use the table’s width or diameter as your baseline and select a circular or square fixture that adheres to the one-half to two-thirds rule. If you have a long rectangular or oval dining table, a single round fixture might not distribute light evenly across the entire length. In these cases, you should consider a linear light fixture, keeping the width of the fixture narrower than the table width while extending its length to cover approximately two-thirds of the table’s total length.
Beyond pure mathematical ratios, you must also evaluate the visual weight and bulkiness of the fixture design. Light fixtures made of heavy, opaque materials like solid metal, dark wood, or thick ceramic carry significant visual weight and can easily dominate a room. If you select a dense or solid design, you may want to lean toward the smaller end of the recommended size range (closer to one-half of the table width). Conversely, if you choose a delicate, open-frame, or glass-heavy design that allows you to see through the fixture, you can safely select a larger size (closer to two-thirds of the table width) without overwhelming the dining area.
Determine the Correct Hanging Height Above the Table
Positioning your dining ceiling light at the correct height is just as important as choosing the right diameter. The standard hanging height baseline is to position the bottom of the light fixture between 75 and 90 centimeters above the surface of the dining table. This range is widely considered optimal because it places the light source low enough to provide intimate, focused task lighting for dining, yet high enough to keep sightlines clear. This ensures that family members and guests can maintain unobstructed eye contact across the table without a bulky fixture blocking their view.
To ensure accuracy during installation, always measure from the tabletop surface upward, rather than measuring from the ceiling downward. Ceilings are rarely perfectly level, and floor heights can vary, so measuring from the table surface guarantees that the light will hang at the exact intended distance from where people sit. If you measure from the ceiling down, any slight structural variation or inaccuracy in your ceiling height measurement could result in a fixture that hangs too low or too high.
Before finalizing your purchase, check the physical height of the chosen fixture, including its canopy and mounting hardware, to calculate the exact cord or chain length required. Many pendant lights come with adjustable cords, but some semi-flush or fixed-stem fixtures have rigid rods that cannot be easily shortened. Ensure that the product specifications allow for the precise drop length your space requires. Additionally, verify that the fixture’s voltage, base or interface type, wattage limit, dimming method, and electrical certification match your home’s electrical system and installation environment before proceeding. For safety, always isolate the electrical power at the main distribution board before attempting any installation, and follow the manufacturer’s instructions carefully. If the installation involves complex fixed wiring, working at heights, or handling heavy suspended loads, you should engage a qualified professional electrician to complete the work safely.
Adjust Proportions for Your Ceiling Height and Layout
Standard sizing rules provide an excellent starting point, but you must often adjust these proportions to suit your specific ceiling height and room layout. If your dining room features high ceilings—such as those found in double-volume landed homes or loft apartments—standard hanging heights can make the fixture look disconnected from the furniture below. In these spaces, you should scale up the physical size of the fixture slightly to maintain visual balance, and increase the hanging height by approximately 7 to 10 centimeters for every additional 30 centimeters of ceiling height above the standard 2.4-meter baseline.
Conversely, lower ceilings require a different approach to preserve headroom and maintain a comfortable environment. In many standard Singapore HDB flats and condominium units where ceiling heights hover around 2.6 meters or lower, a long, dangling pendant light may not be practical. In these situations, look for low-profile pendant designs, semi-flush mounts, or flush-mount ceiling lights. These fixtures sit closer to the ceiling, providing ample clearance so that taller individuals do not accidentally bump into them when standing up or moving around the table.
For extra-long dining tables that seat eight or more people, a single central light fixture is rarely sufficient to distribute light evenly to the outer seats. Instead of choosing one overwhelmingly large fixture that disrupts the scale of the room, consider using multi-light linear pendants or a clustered arrangement of smaller fixtures. Spacing two or three identical pendants evenly along the length of the table creates a balanced, modern aesthetic while ensuring that every dining spot receives consistent, glare-free illumination.
Common Sizing Mistakes to Avoid
One of the most frequent errors in dining room design is choosing a ceiling light that is too small for the space. A tiny fixture can look visually lost above a substantial dining table, making the entire room feel unbalanced and unfinished. Furthermore, an undersized light often fails to provide sufficient task lighting, leaving the ends of the table in shadow and forcing diners to strain their eyes.
Another common mistake is hanging the light fixture at an incorrect height. Hanging the light too high can cause the light to disperse too widely, reducing the intimate atmosphere of the dining area and potentially exposing diners to direct glare from the exposed bulbs. On the other hand, hanging the fixture too low creates a physical hazard, blocks sightlines across the table, and can make the dining space feel cramped and claustrophobic.
Finally, never overlook the physical weight of your chosen fixture and the load capacity of your ceiling’s junction box. Heavy glass, crystal, or metal chandeliers require robust structural support. Before mounting any heavy fixture, verify that your ceiling junction box is rated for the weight of the light. If you have any doubts about the structural integrity of your ceiling support or the electrical wiring, stop immediately and consult a qualified professional electrician to prevent safety hazards or damage to your home.
Frequently Asked Questions (FAQ)
Can I use multiple smaller pendants instead of one large dining ceiling light?
Yes, using multiple smaller pendants is an excellent way to illuminate a dining table, particularly long rectangular or oval shapes. To ensure the arrangement remains visually balanced, calculate the total combined width of the pendants and the spaces between them so that the entire cluster does not exceed two-thirds of the table’s length. For example, if you hang three small pendants, space them evenly across the center of the table, keeping the outermost pendants at least 15 centimeters inward from the table’s ends. Always verify that your ceiling can accommodate the multiple electrical canopies or that you are using a multi-port canopy designed for a single junction box.
How wide should a linear chandelier be for a rectangular dining table?
A linear chandelier or multi-light fixture placed over a rectangular dining table should generally be approximately two-thirds the length of the table. This proportion ensures that the light source extends far enough to illuminate the place settings at both ends of the table without making the setup look top-heavy. Additionally, you must ensure that the width of the linear fixture is narrower than the width of the table, leaving a comfortable margin of safety on both sides to prevent diners from accidentally bumping their heads when leaning forward or standing up.
Community discussion
Share your experience or ask a question. Comments are reviewed before publication.