
Quick Answer: Evaluating the CL200 for Japandi Spaces
Japandi design—a harmonious fusion of Japanese minimalism and Scandinavian warmth—relies heavily on lighting to establish its signature serene, uncluttered atmosphere. Deciding whether the Philips CL200 aligns with this aesthetic requires looking closely at how its physical form and light output interact with natural textures and neutral color schemes. At its core, the suitability of this fixture depends on its clean lines, low-profile silhouette, and ability to deliver soft, glare-free illumination.
To determine if the Philips CL200 fits your specific minimalist vision, you must evaluate three primary checkpoints: the texture of its outer casing, the warmth of its light emission, and its overall visual weight. While the fixture’s minimalist geometry makes it a strong candidate for modern spaces, its final integration into a Japandi home hinges on verifying the specific variant’s finish. Matching the fixture’s colorway—whether matte white, subtle metallic, or dark trim—against your room’s existing palette of warm wood tones, stone, and textured plaster is essential to ensure a cohesive, grounded look.
Core Japandi Lighting Principles
To successfully curate a Japandi-style interior, one must understand the fundamental principles that govern lighting selection. Japandi spaces prioritize simplicity, functionality, and a deep connection to nature. Lighting fixtures are never merely decorative; they serve as sculptural elements during the day and atmospheric anchors at night.
Products mentioned in this guide
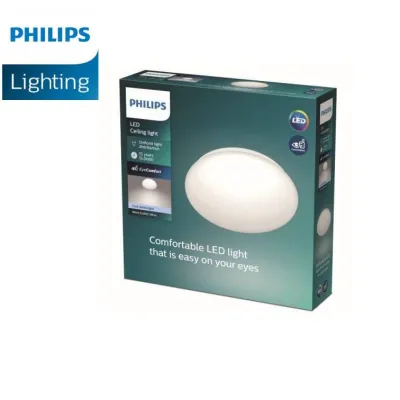
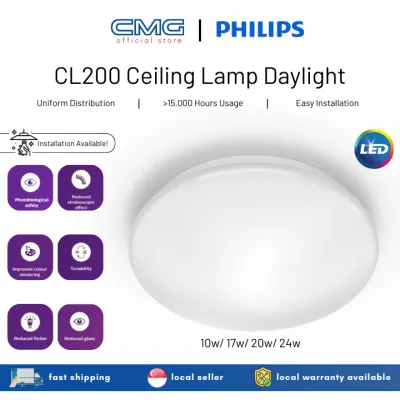
![[3 Year Warranty] Philips LED Ceiling light 17W 20W CL200](https://img.lazcdn.com/g/p/a7513e4a2b3c8a590df1beecd4b3709e.png_400x400q80.png_.webp)
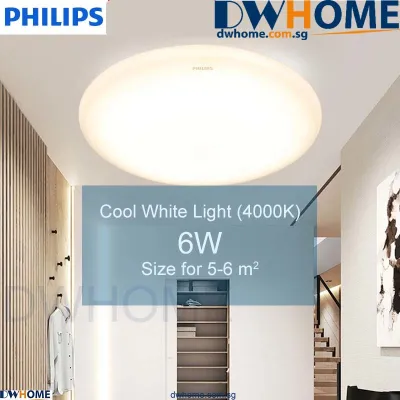
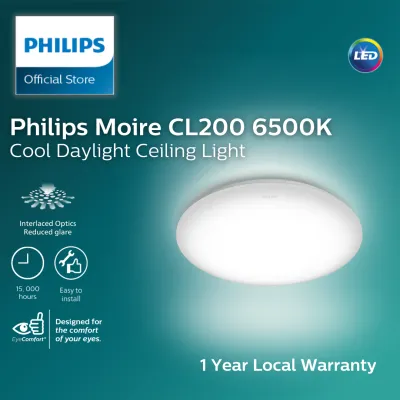
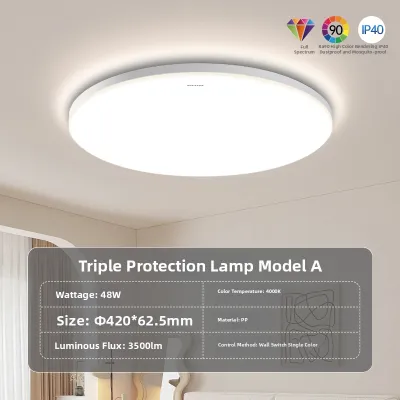
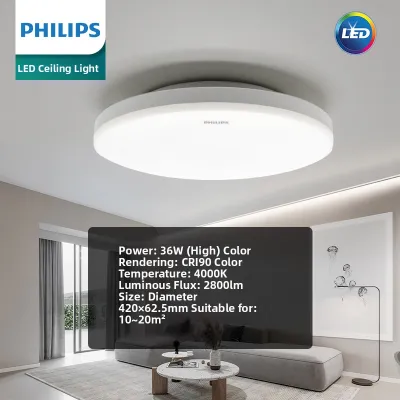
Prices are valid at publication and may change. Please refer to the product page for the latest price.

First, look for natural and organic material cues. Traditional Japandi lighting often incorporates elements like light-toned wood accents, woven bamboo, paper-like textures, or matte ceramic finishes. These materials soften the overall look of a room, introducing tactile warmth that prevents minimalist spaces from feeling sterile or cold. When synthetic materials or metals are used, they should feature non-reflective, matte, or finely brushed finishes that mimic the soft textures found in nature.
Second, clean and uncluttered silhouettes are paramount. Avoid fixtures with intricate scrollwork, heavy industrial chains, or overly ornate glass shades. The ideal Japandi silhouette is geometric yet soft, featuring rounded edges, gentle curves, or simple cylindrical forms. The goal is to maintain an unobstructed visual flow throughout the room, allowing the eye to move smoothly across the space without being jarred by a loud or aggressive focal point.
Finally, prioritize warm, diffused illumination. Japandi interiors reject harsh, direct glare in favor of a cozy, grounded atmosphere—often referred to as hygge in Danish design. This is achieved through shades that completely shield the light source, scattering the glow evenly across the room. The light should feel like soft morning sunlight filtering through a paper screen, casting gentle shadows and highlighting the natural grain of wooden furniture and the weave of linen textiles.
Assessing the Philips CL200's Design and Finish
When evaluating the Philips CL200 for a Japandi interior, you must inspect its physical attributes to confirm they align with the principles of warmth and simplicity. Because product lines can feature subtle design variations across different production runs, verifying the exact specifications of your chosen model is a crucial first step.
Begin by evaluating the fixture’s colorway and surface texture. Many minimalist fixtures utilize a clean white or neutral casing, which can blend seamlessly into a light-colored ceiling to create an airy, spacious feel. However, you should check the product images and manufacturer descriptions to determine if the finish is matte or glossy. A matte finish is highly preferred for Japandi spaces, as it absorbs light and prevents harsh reflections, whereas a high-gloss finish can sometimes introduce an unwanted clinical or ultra-modern feel. Compare the trim color—whether it is a soft white, a warm metallic, or a dark contrast—with your room’s existing palette of oak, ash, beige, or charcoal accents.
Next, examine the shade material and shape. The Philips CL200 typically features a sleek, low-profile circular design that emphasizes functional simplicity. This circular form is highly compatible with Japandi aesthetics, as the circle represents balance and harmony in Japanese design. The absence of unnecessary embellishments ensures that the fixture remains unobtrusive, serving its functional purpose without disrupting the clean lines of your ceiling.
Finally, verify the light diffusion method. To achieve the soft ambient glow characteristic of Japandi spaces, look for fixtures equipped with a high-quality frosted or opal diffuser. This component is essential for breaking up the harsh, directional light of internal LEDs or bulbs, spreading it evenly across the living space. Check the manufacturer’s specifications to ensure the diffuser material is designed to prevent hot spots—visible bright points of light—which can disrupt the calm, uniform ambiance of a minimalist room.
Technical Specifications and Installation Checks
Before purchasing any lighting fixture, conducting a technical and structural audit is essential to ensure safety, compatibility, and proper spatial scale. This is particularly important in Singapore, where typical residential properties like HDB flats often feature concrete ceilings and specific height limitations.
First, verify the electrical compatibility of the fixture. Check the product label or manufacturer specifications to confirm the operating voltage matches Singapore’s standard 230V, 50Hz electrical grid. Additionally, identify whether the fixture uses integrated LEDs or features a standard bulb base (such as E27). If it uses standard bases, verify the maximum wattage limits to prevent overheating. Ensure the fixture carries recognized safety certifications, such as the Safety Mark in Singapore, which indicates the product has been tested and approved for safe domestic use.
Second, measure the physical dimensions and scale of the fixture relative to your room. For pendant variants, check the maximum drop length and determine if the cord is adjustable. In rooms with standard ceiling heights (typically around 2.6 to 2.8 meters in local apartments), a fixture that hangs too low can create a physical hazard and disrupt the visual flow. Ensure there is adequate clearance—typically at least 2.1 meters from the floor to the bottom of the fixture in high-traffic walkways, or 75 to 90 centimeters above a dining table or kitchen island.
Finally, plan for a safe and professional installation. Because installing ceiling fixtures often involves working at heights and handling fixed electrical wiring, safety must be your top priority. Always isolate the power supply at the main distribution board (DB box) before commencing any work. If the installation requires drilling into concrete ceilings, mounting heavy brackets, or modifying existing wiring circuits, do not attempt a DIY installation. Instead, engage a licensed electrical worker (LEW) or a qualified professional electrician to ensure the fixture is securely anchored and wired in compliance with local electrical standards.
Styling and Placement Tips for Minimalist Rooms
Integrating the Philips CL200 into a Japandi-style room requires a thoughtful approach to placement. The goal is to enhance the room’s natural beauty and maintain an open, uncluttered feel while ensuring the lighting serves its practical purpose.
Start by determining the optimal hanging height or placement based on the room’s layout. If you are using a pendant configuration over a dining table, hanging the fixture slightly lower can create an intimate, pool-like lighting effect that draws people together, mimicking the cozy dining experiences of traditional Japanese homes. For general living areas, mounting the fixture closer to the ceiling helps maintain an open vertical space, making the room feel larger and more breathable.
To ground the fixture within the Japandi theme, pair it with complementary natural textures nearby. Position the light so that its glow falls softly over organic materials, such as a solid oak dining table, a woven rattan sideboard, or textured linen curtains. The interaction between the diffused light and these tactile surfaces highlights their natural imperfections, celebrating the Japanese concept of wabi-sabi—finding beauty in transience and imperfection.
Lastly, control the warmth and intensity of the light to match the time of day. Japandi spaces transition beautifully from bright, functional daytime environments to soft, relaxing evening sanctuaries. If your fixture supports dimming, utilize compatible dimmable bulbs or smart wall switches to lower the light levels as evening approaches. Opt for light sources with a warm color temperature—ideally between 2700K and 3000K—to mimic the soothing glow of candlelight, which promotes relaxation and prepares the mind for rest.
Frequently Asked Questions (FAQ)
Can I use smart bulbs with the Philips CL200 for adjustable Japandi moods?
To determine if you can use smart bulbs with the Philips CL200, you must first check the fixture’s packaging or user manual to verify its light source type. If the fixture features an integrated LED module, you cannot replace the light source with a standard smart bulb; instead, you must rely on the fixture’s built-in dimming capabilities or compatible manufacturer-specific controls. If the fixture uses a standard replaceable bulb socket, ensure any smart bulb you select matches the base type, fits within the physical dimensions of the shade, and does not exceed the maximum wattage rating.
What if the CL200's cord is too long for my ceiling height?
If you find that the pendant cord is too long for your room’s ceiling height, consult the manufacturer’s installation manual to see if the fixture includes an adjustable cord mechanism or internal routing space within the ceiling canopy. Never attempt to cut, splice, or modify electrical cords manually, as this can damage the wiring and create severe safety hazards. If the fixture lacks a built-in adjustment feature or requires complex modifications, always hire a qualified professional electrician to safely adjust the drop length and secure the connections.
Community discussion
Share your experience or ask a question. Comments are reviewed before publication.