
To ensure your LED light fixtures operate safely, efficiently, and without annoying flicker, you must select an LED driver that matches your fixture’s precise requirements. An LED driver acts as the dedicated power supply for your lighting, regulating the electrical current and voltage delivered to sensitive light-emitting diodes. Choosing the wrong specifications can lead to immediate component failure, shortened lifespans, or electrical hazards. To find the correct replacement, you must decode its technical label and match its output type, voltage, current, wattage, and dimming system to your specific setup.
The Cost of Mismatched LED Driver Specs
Installing an incompatible LED driver can quickly ruin an expensive light fixture. Because LEDs are highly sensitive semiconductor devices, minor fluctuations or incorrect power delivery will manifest as visible issues. You might experience rapid flickering, strobing, or a complete failure of the light to turn on. In some cases, a mismatched driver can cause the internal components to overheat, leading to a burnt smell, a tripped circuit breaker, or permanent damage to the LED chips.
Understanding the role of the driver helps explain why these issues occur. Unlike traditional incandescent bulbs that run directly on alternating current (AC) mains power, LEDs require regulated, low-voltage direct current (DC). The driver serves as the translator, converting high-voltage AC mains electricity into the precise DC power the LEDs can handle.
Products mentioned in this guide
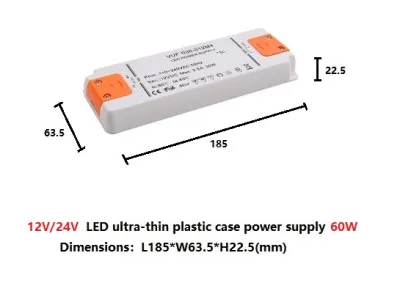
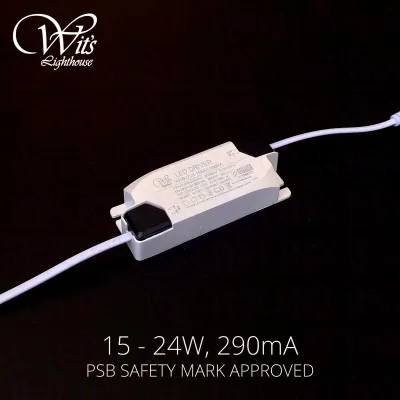
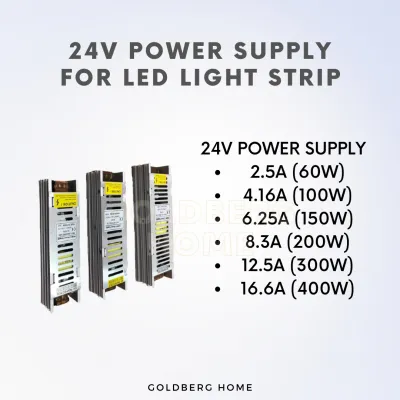
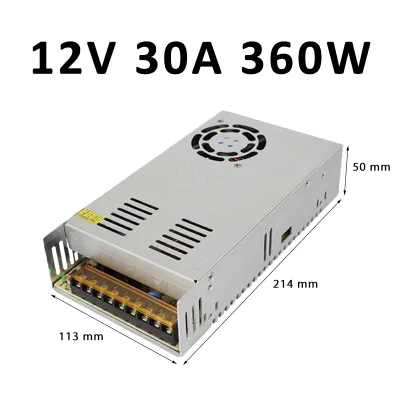
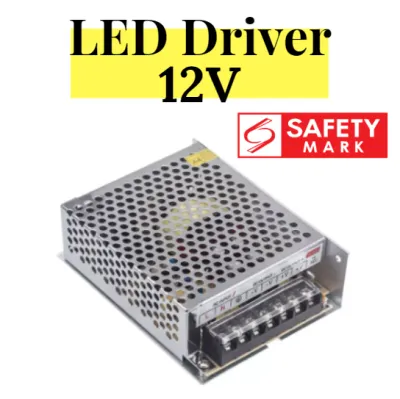
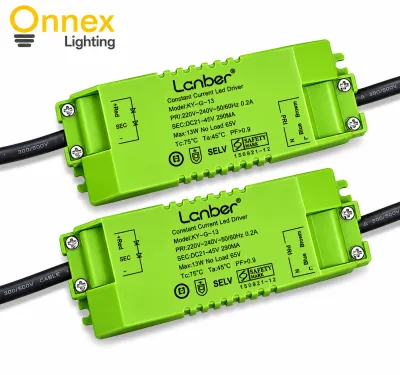
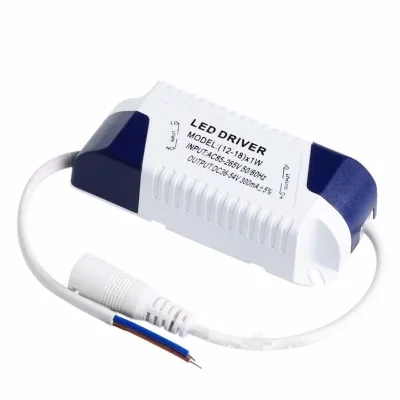
Prices are valid at publication and may change. Please refer to the product page for the latest price.
Before purchasing any replacement, the most critical step is to inspect the existing setup. Look at the label of the old driver or consult the technical datasheet of your light fixture. This label contains a cluster of technical specifications that will serve as your exact blueprint for selecting a compatible replacement.
Decoding Core Electrical Specs: Voltage, Current, and Wattage for Your LED Driver
When shopping for an LED driver, the electrical specifications are non-negotiable parameters that dictate compatibility and safety.

Constant Voltage (CV) vs. Constant Current (CC) LED drivers are divided into two main categories: constant voltage and constant current. Constant voltage drivers maintain a fixed output voltage (typically 12V or 24V DC) while the current varies depending on the load. These are standard for LED strip lights and linear tape lighting. Constant current drivers, on the other hand, maintain a steady current flow (measured in milliamperes, or mA) while the voltage varies within a specified range. These are typically used for integrated downlights, spotlights, and high-power LED fixtures. These two driver types are not interchangeable; connecting an LED strip to a constant current driver will likely destroy the LEDs instantly.
Output Voltage (V) and Current (mA/A) You must match the output requirements of your fixture precisely. For a constant voltage driver, the output voltage must match the fixture’s rated voltage exactly (e.g., a 24V strip needs a 24V driver). For a constant current driver, the output current must match the LED fixture’s rated current (for example, 350mA, 500mA, or 700mA). Additionally, the constant current driver’s output voltage range must fully encompass the forward voltage range of the LED fixture.
Wattage (W) Capacity Calculating the correct wattage involves a simple safety margin. While it might seem logical to match the driver’s maximum wattage exactly to the total wattage of your lights, standard engineering practice recommends selecting a driver with a maximum wattage capacity that exceeds your total LED load by a safe margin of 10% to 20%. For example, if you are powering a 40-watt LED strip, choosing a driver rated for at least 48 to 50 watts prevents the unit from running at 100% capacity. This headroom reduces heat generation, prevents overloading, and significantly extends the lifespan of the driver.
Input Voltage Range The driver’s input voltage must match the local mains power supply of your installation site. In Singapore, the standard residential mains electricity is supplied at 230V AC at a frequency of 50Hz. Ensure the driver you select is rated for an input range that accommodates this standard, such as a universal input of 100V–240V or a dedicated 220V–240V range. A driver designed solely for a 110V market will fail immediately or trip your distribution board when connected to Singapore’s higher voltage mains.
Dimming Protocols: Matching Drivers to Your Controls
Achieving smooth, flicker-free dimming requires precise compatibility between your wall switch, smart controller, and the LED driver.
Understanding Dimming Protocols Not all dimmable drivers operate on the same technology. The most common residential protocol is TRIAC (phase-cut) dimming, which is often used in traditional wall dimmer retrofits. For commercial spaces or advanced smart homes, 0-10V dimming is common, utilizing separate low-voltage control wires to adjust brightness. DALI (Digital Addressable Lighting Interface) offers highly precise, addressable digital control for complex commercial lighting networks. Finally, PWM (Pulse Width Modulation) is frequently used to dim LED strip lights by rapidly switching the current on and off at high frequencies.
Controller and Driver Alignment You must match the driver’s dimming protocol to the physical controller installed on your wall or integrated into your smart home hub. If you attempt to control a 0-10V driver with a standard TRIAC wall dimmer, the system will not function and may damage the components. Always verify the wiring requirements of your chosen protocol, as systems like 0-10V and DALI require extra control wires run from the switch to the driver, which may not be present in standard residential conduits.
Manufacturer Compatibility Lists Simply buying a driver labeled “dimmable” does not guarantee it will dim smoothly down to 1% with your existing switch. Dimmer switches and LED drivers from different brands can experience electronic interference, leading to flickering or a restricted dimming range. To avoid this, always consult the manufacturer’s official dimmer compatibility list or matrix. These documents list specific tested dimmer models that are verified to work seamlessly with that particular driver model.
Environmental Ratings and Physical Fit
Where and how you install your LED driver will dictate its physical shape, size, and protection requirements.
IP (Ingress Protection) Ratings The physical environment of your installation determines the necessary IP rating of the driver. For dry indoor areas like living rooms, bedrooms, or hallways, a standard IP20-rated driver provides adequate protection against dust and finger contact. However, if you are installing lighting in damp or wet environments—such as bathrooms, kitchens, balconies, or outdoor landscapes—you must use a driver with a higher rating. Look for IP65 or IP67 ratings, which indicate the driver is sealed against high humidity, water splashes, or direct rainfall. In Singapore’s humid tropical climate, choosing a driver with robust environmental sealing for semi-outdoor or bathroom installations is highly recommended to prevent premature failure from moisture ingress.
Operating Temperature and Thermal Management LED drivers generate internal heat as they convert electrical energy. This heat must be dissipated efficiently to prevent the internal capacitors from drying out and failing. Always check the driver’s maximum operating temperature (often labeled as Tc or case temperature on the housing). Ensure the driver is installed in a well-ventilated area. If you plan to tuck the driver inside a tight ceiling cavity, a concrete recess, or a sealed light fixture housing, choose a model designed for high-temperature environments and avoid crowding it with insulation material.
Physical Dimensions Before finalizing your purchase, physical measurements are essential. LED drivers come in various form factors, including long linear profiles for light troughs, compact square blocks for downlight cutouts, and slim profiles for shallow ceiling voids. Measure the physical opening of your light fixture, the inside of the junction box, or the ceiling cutout to ensure the replacement driver can physically fit through the hole and sit securely in the designated space.
Safety Marks and Installation Boundaries
Electrical safety should always be the top priority when dealing with lighting components.
Recognized Safety Certifications When purchasing electrical products in Singapore, look for recognized safety marks to ensure the item complies with national safety standards. Regulated electrical goods should carry the Singapore Safety Mark, which verifies that the product has been tested and approved for safe use under local grid conditions. Depending on the source of your driver, you may also see international certifications such as CE, CB, or UL. Avoid buying unbranded, non-certified drivers from unregulated online marketplaces, as they often lack essential short-circuit, over-current, and over-temperature protections.
Safety Boundaries and Professional Installation Replacing an LED driver requires a clear understanding of your technical limits and safety regulations. If your light fixture uses an external, plug-and-play driver with simple low-voltage DC connectors (such as a barrel jack or a quick-connect plug), replacing it is a low-risk task that can be completed safely. However, if the replacement involves hardwiring the driver directly to the 230V AC mains electricity, you must isolate the circuit first. Always turn off the main power at the distribution board (DB box) and verify the circuit is dead before touching any wires.
If your local regulations mandate it, or if you feel unsure about handling mains wiring, do not attempt a DIY installation. Hardwired electrical work should always be performed by a licensed electrical worker or a qualified professional. This ensures the installation complies with local electrical codes, prevents fire hazards, and preserves your home insurance coverage.
Frequently Asked Questions (FAQ)
Can I use a higher wattage LED driver for a lower wattage light fixture?
Yes, using a driver with a higher wattage rating than your light fixture is safe and highly recommended. The wattage rating on an LED driver indicates the maximum power it can safely deliver, not the amount of power it forces into the light. The LED fixture will only draw the wattage it requires to operate. However, this rule only applies if the driver’s output voltage (for constant voltage systems) or output current (for constant current systems) matches the fixture’s requirements exactly. Using an under-powered driver will overload the unit, causing it to overheat and fail prematurely.
Why does my new LED driver buzz or hum when dimmed?
An audible buzzing or humming sound is almost always a symptom of electronic incompatibility between your dimmer switch and the LED driver. This typically occurs when using an older leading-edge TRIAC dimmer with a modern driver designed for trailing-edge dimming, or when there is a mismatch in 0-10V control signals. This incompatibility causes rapid, unstable switching of the electrical current, which vibrates the internal magnetic components of the driver. To resolve this issue, check the driver’s technical datasheet to identify its preferred dimming protocol, and replace your wall switch with a compatible model from the manufacturer’s recommended list.
Community discussion
Share your experience or ask a question. Comments are reviewed before publication.